2022
We pick up 2022 while still waiting for the brake calipers to return from being refurbished. I took this opportunity to drop the exhaust and replace the various heat shields around and above the exhaust system. Mine were dirty, crusty, and had some of the mounting holes washed out due to aluminum corrosion. In order to remove one of the shields, the driveshaft had to come out. I noted a slight tick from the center support bearing, so I replaced that as well. Before installation, I installed a fresh flex disk while I’m in here. With the driveshaft out, I was staring at the bottom of the shifter assembly… with 6 year old bushings. See why I call this a can of worms? After new shifter carrier bushings, rod joint, and cup, I noticed a very crusty slave cylinder soft line. So, new slave cylinder, soft/hard line between the clutch slave and master cylinders, and all the brackets and hardware. While reinstalling the exhaust, I noticed the series of brackets were missing that hold it to the transmission. I checked photos from 2016, and they were missing then too! I have no idea what happened to those exhaust brackets. I ordered and installed the factory replacement parts.
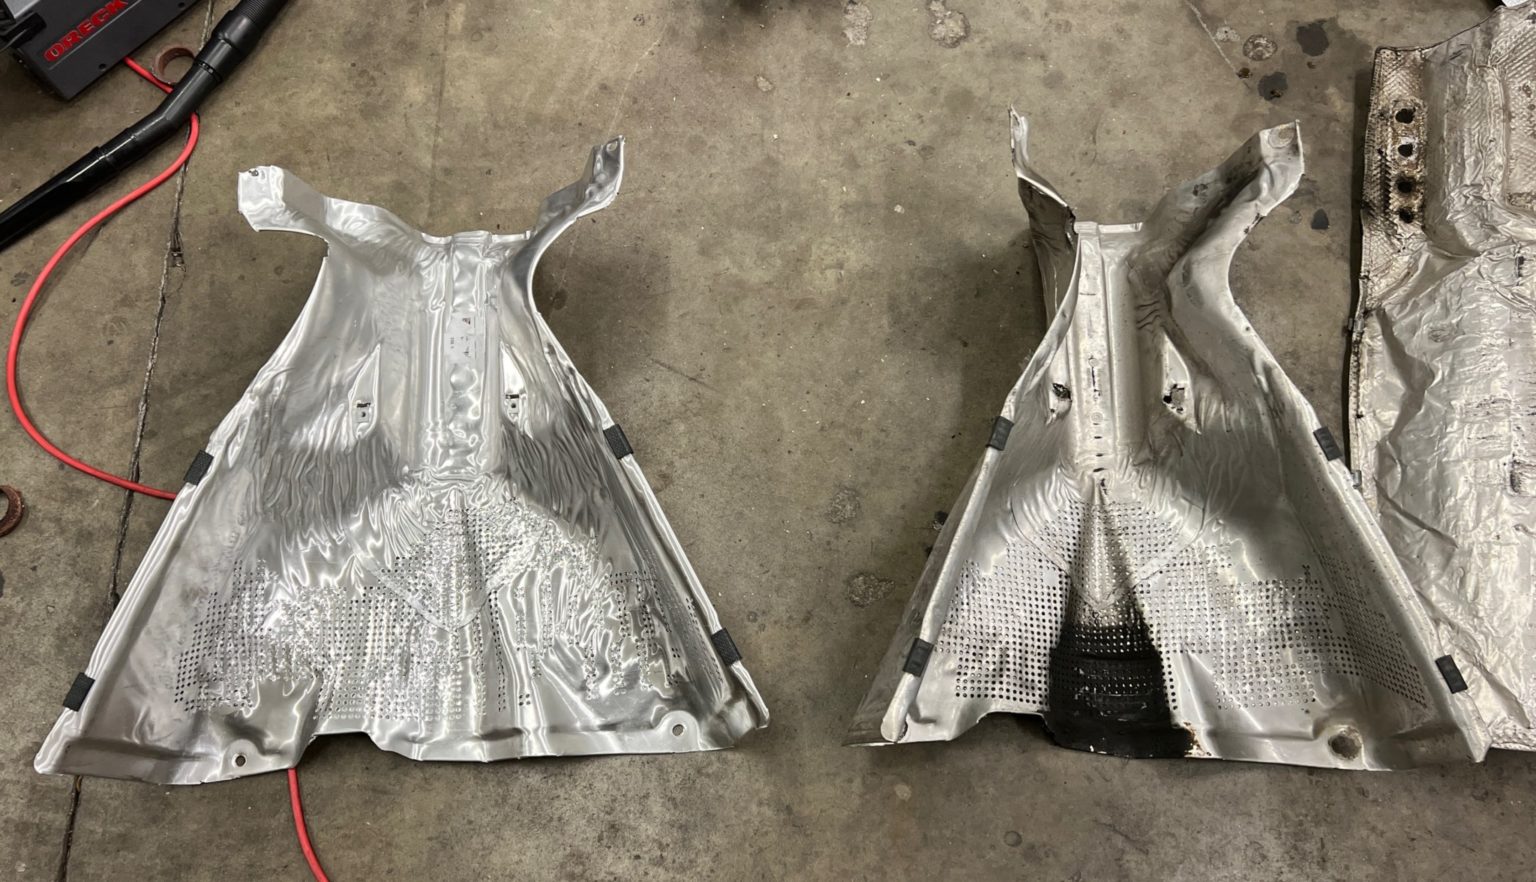
Heat shield near differential.
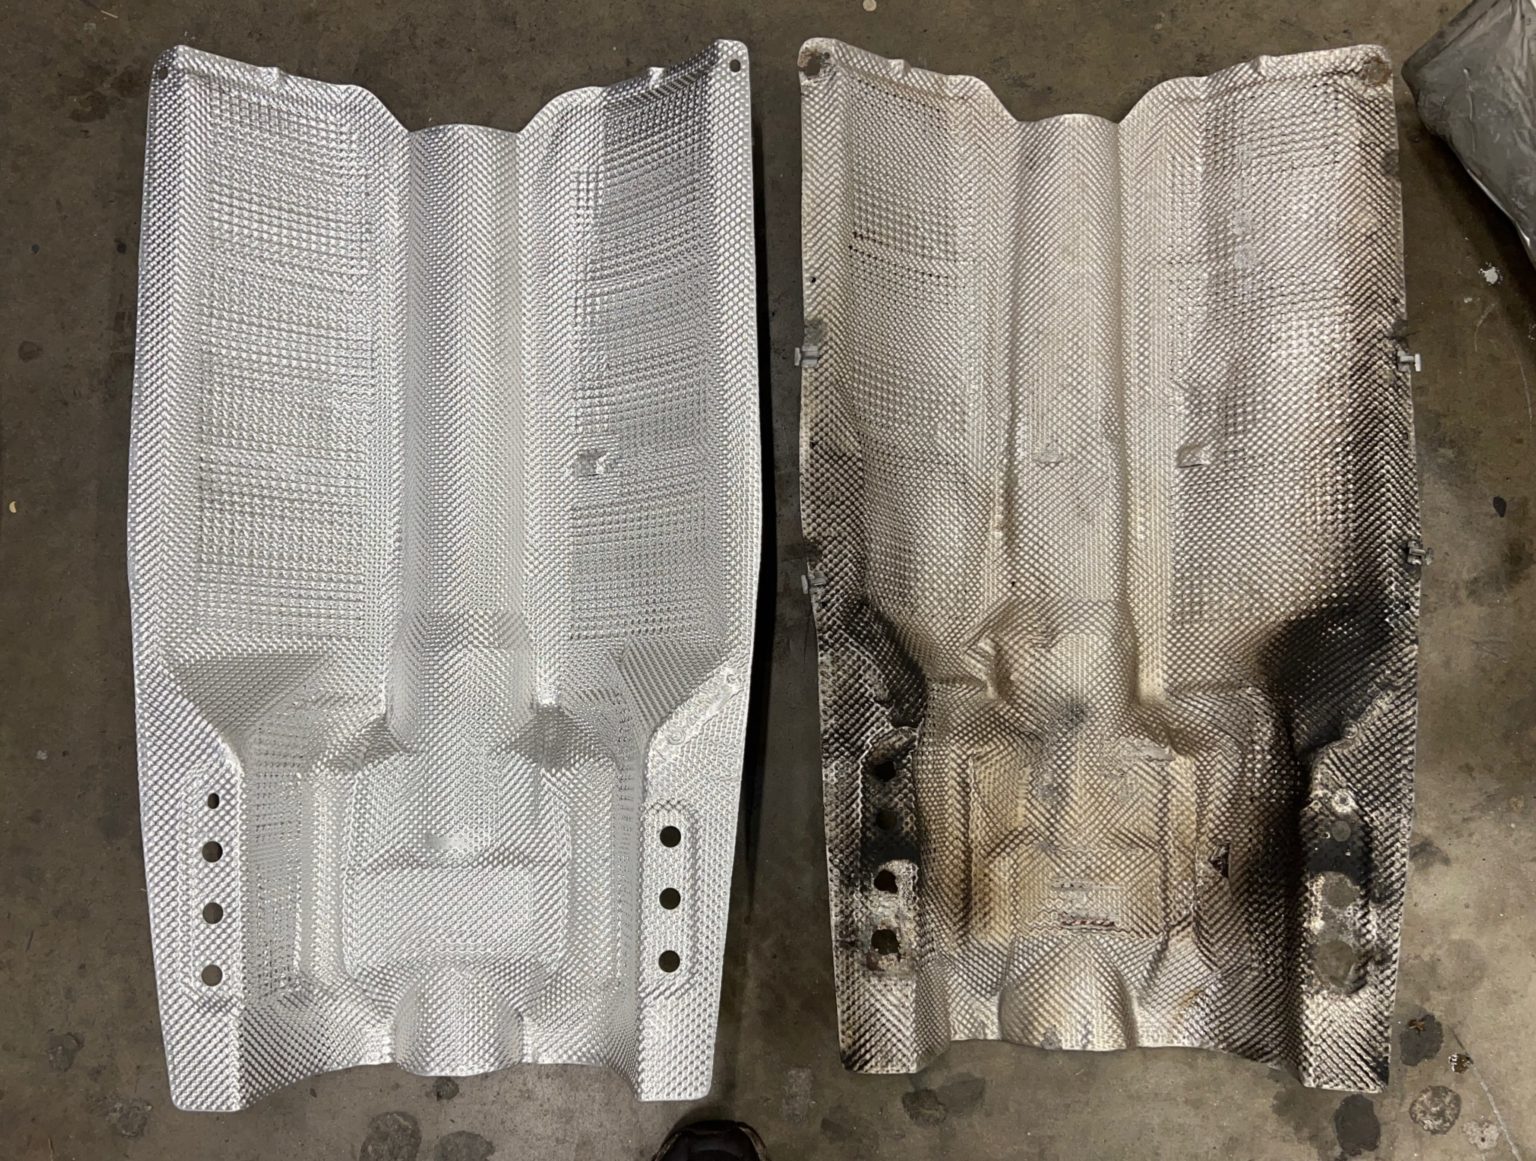
Driveshaft heat shield.
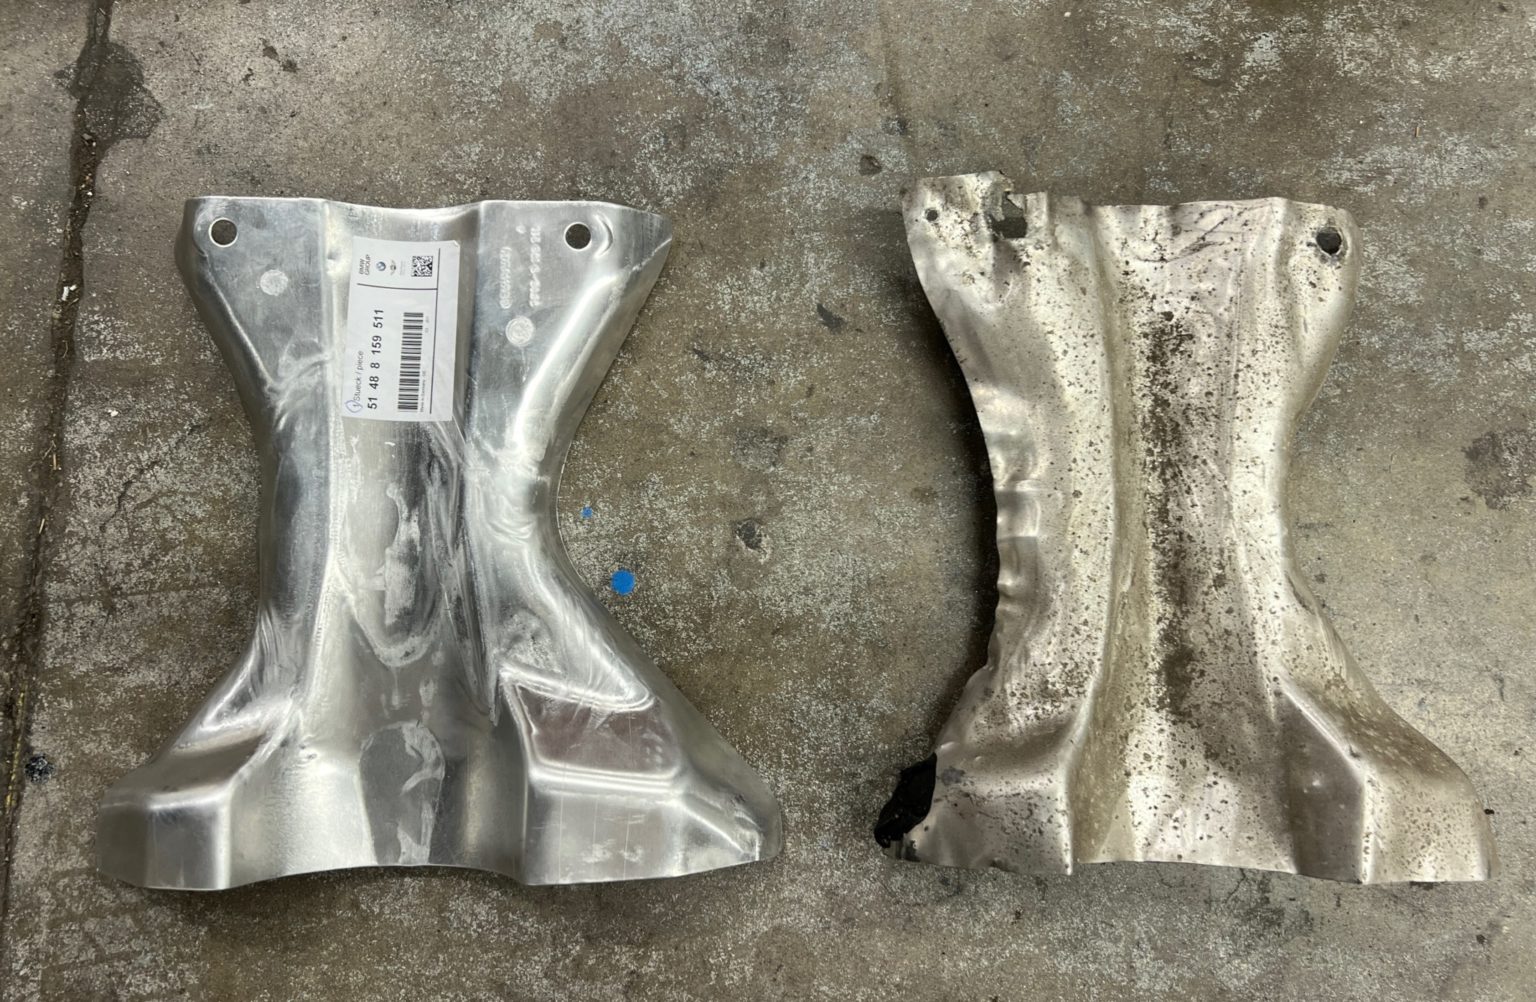
Heat shield near differential pinion.
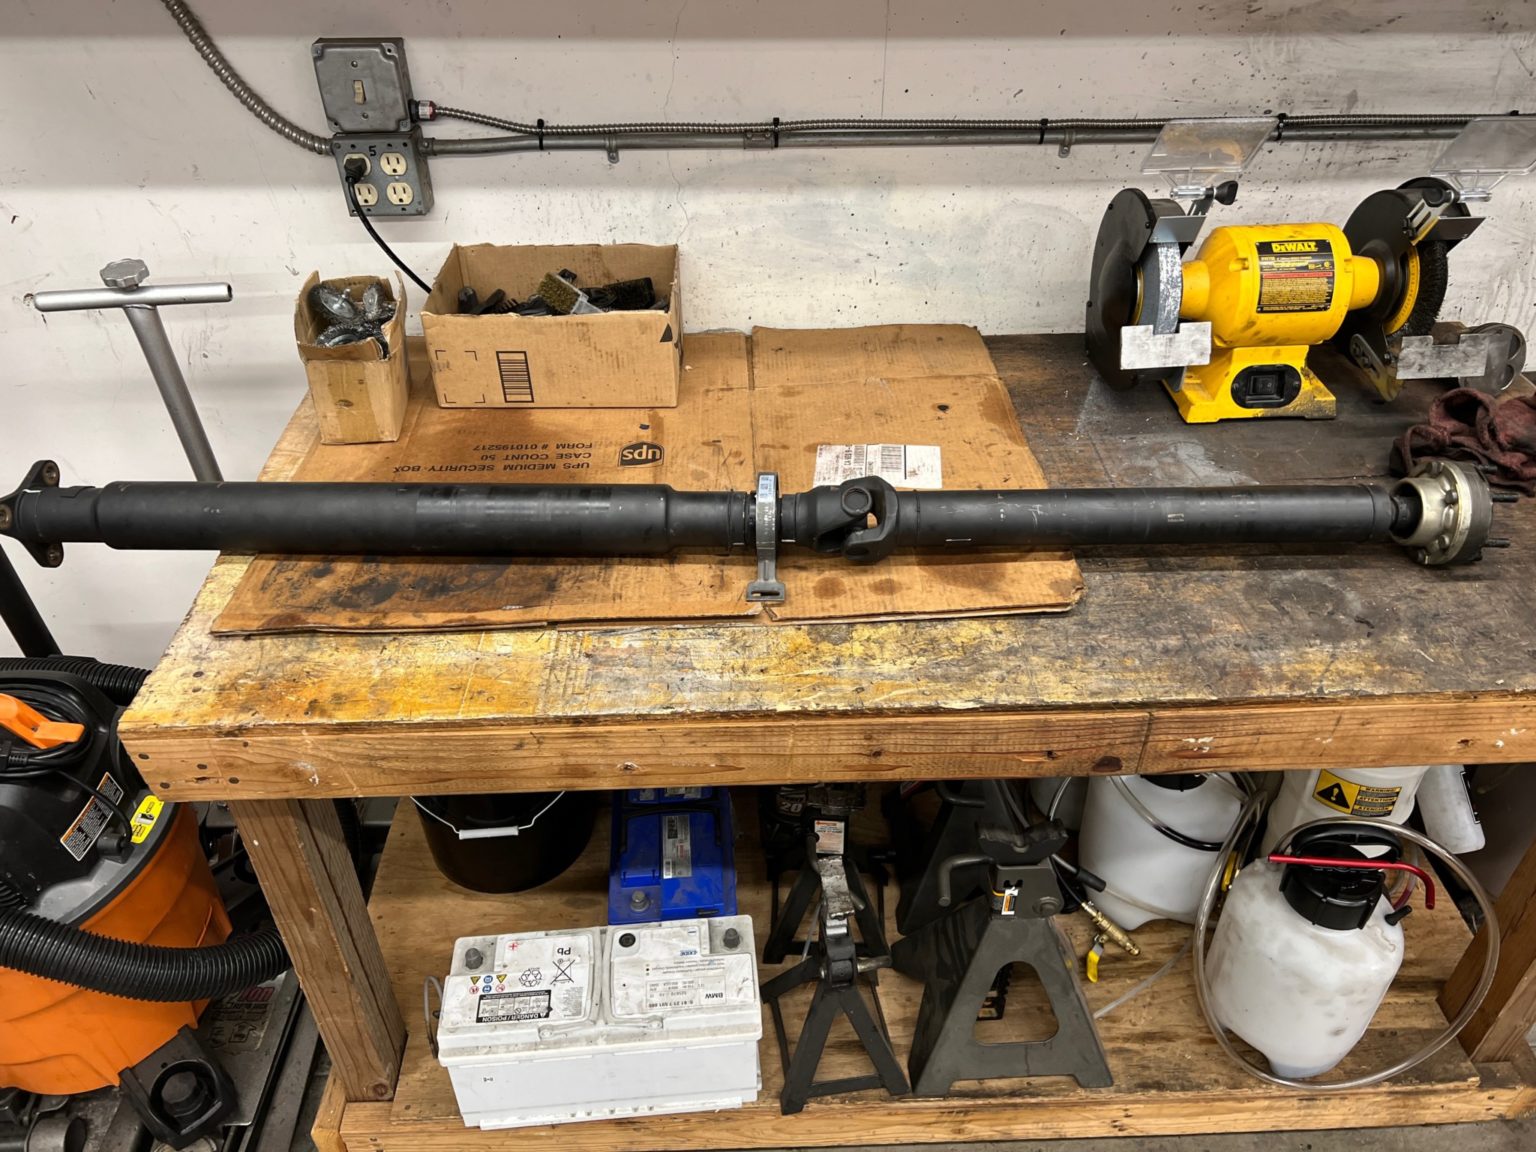
Driveshaft with fresh center support bearing.
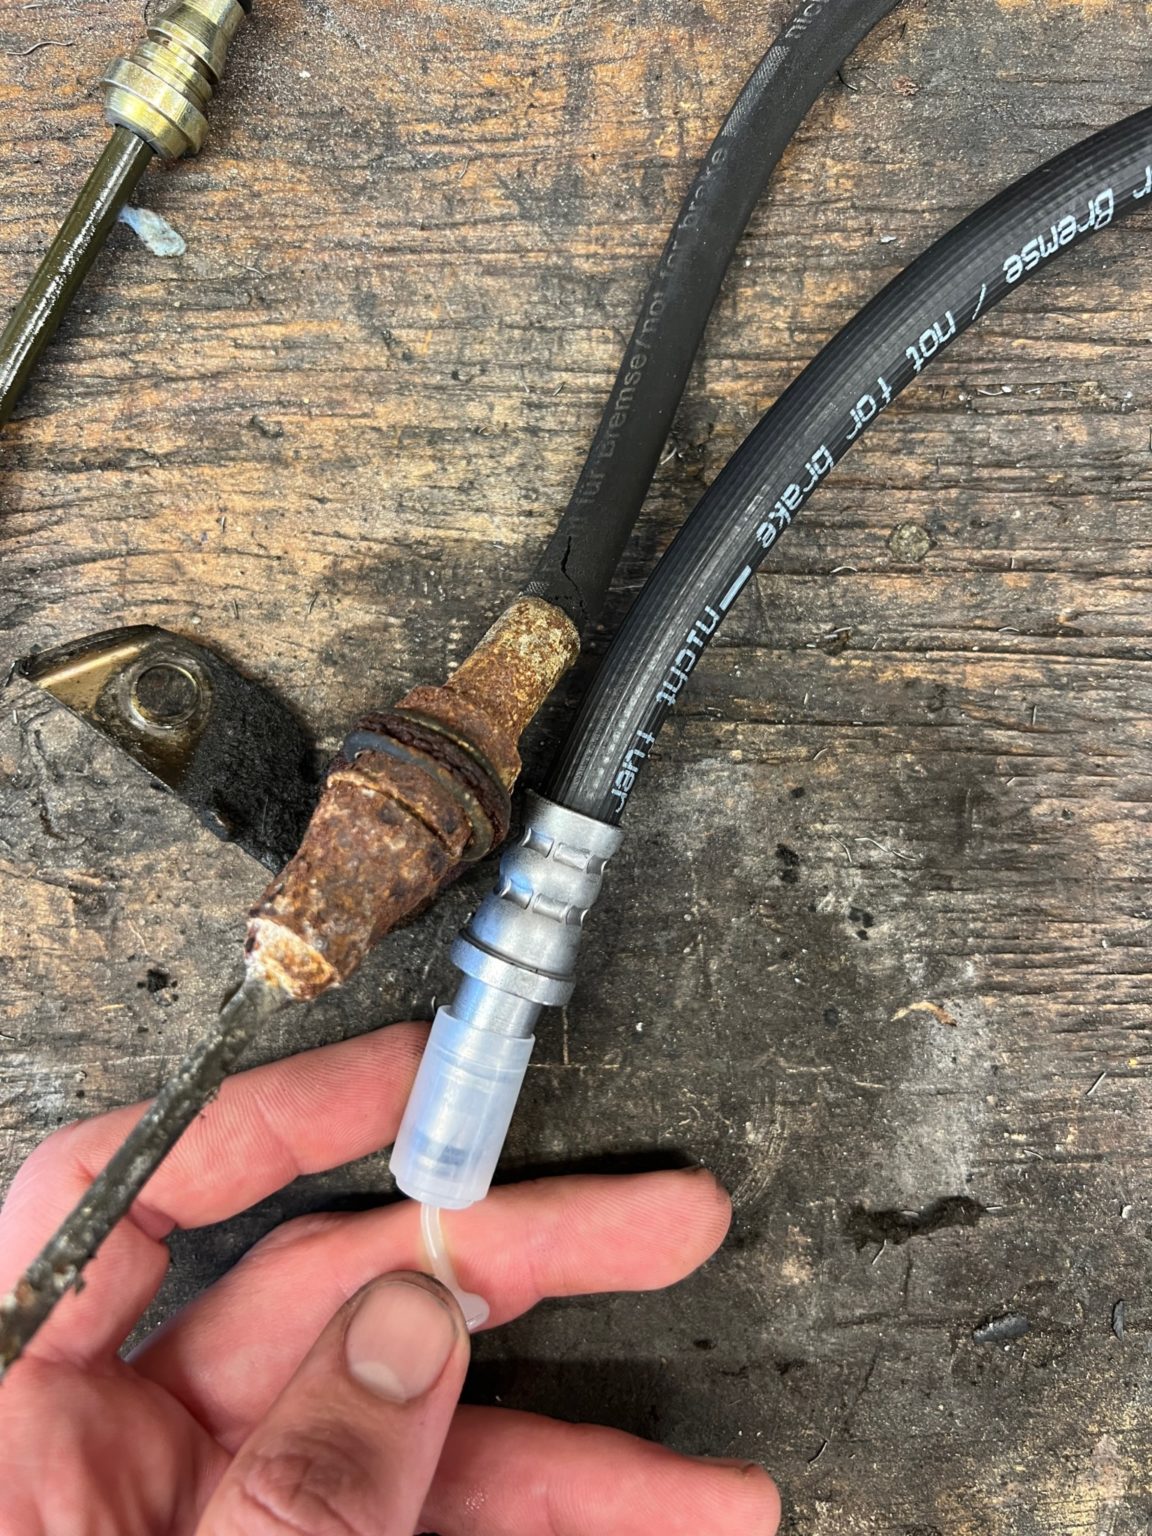
Clutch slave cylinder plumbing.
Back to the calipers. I had replaced my fronts years ago with low mileage used units, so they were prime (rust-free) rebuild candidates. The rears were original, and they looked like Titanic artifacts. I took a much less used donor set I had and supplied them to my refurbisher for better results. I also included the caliper carriers and anti-rattle clips so the satin black powder-coat finish matches throughout.
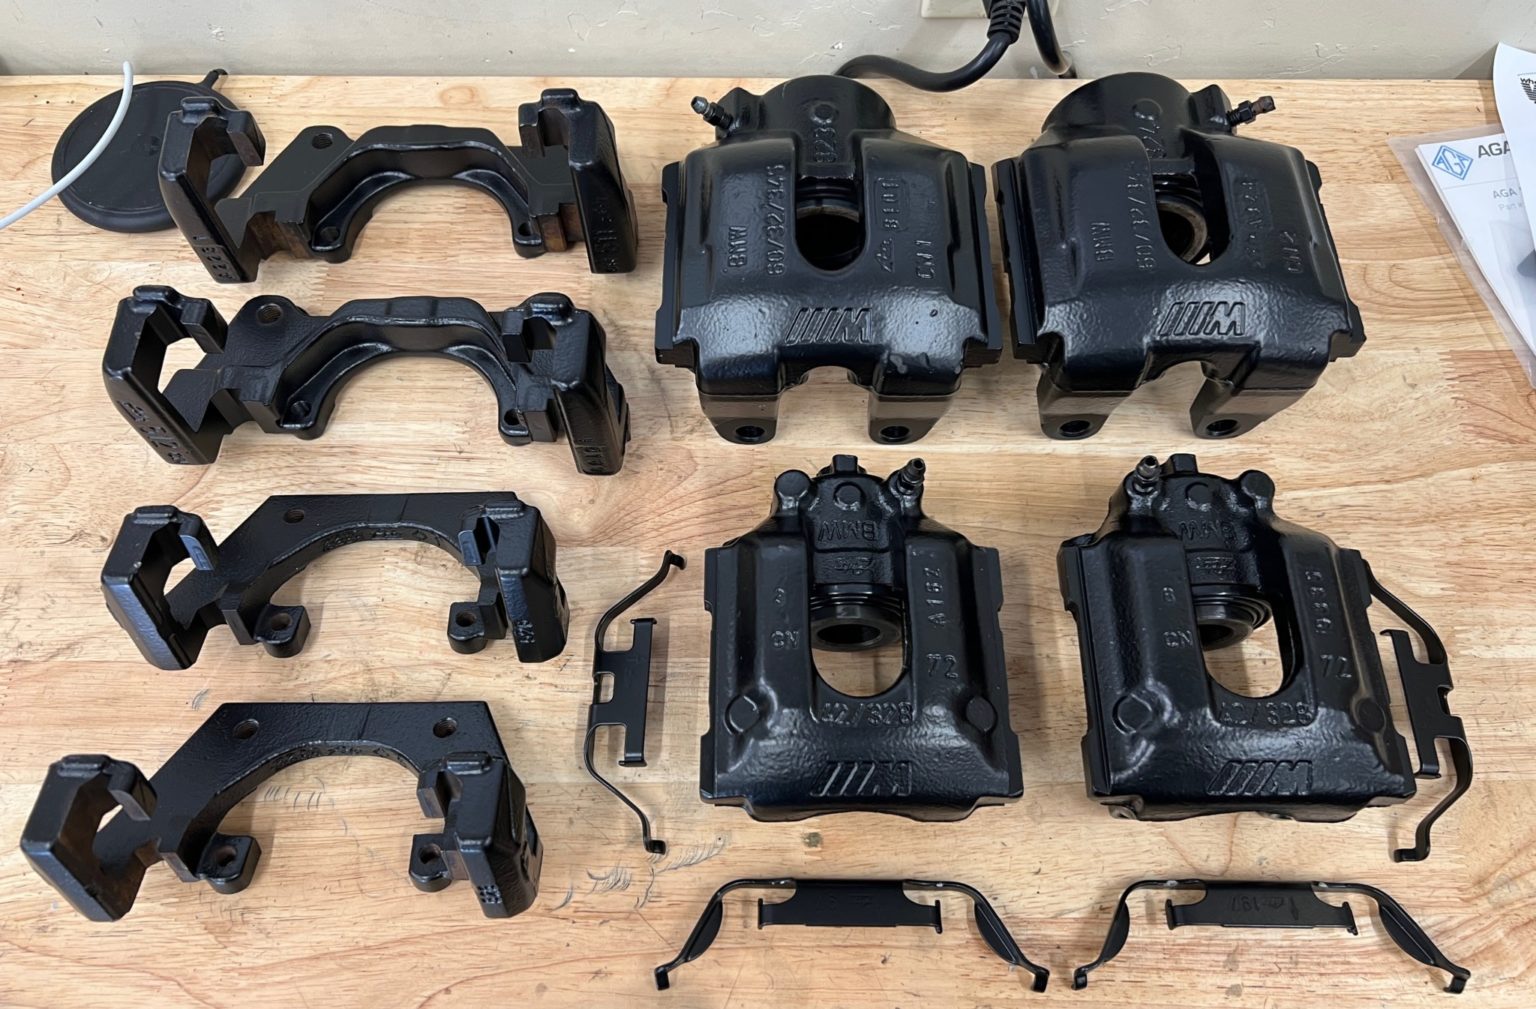
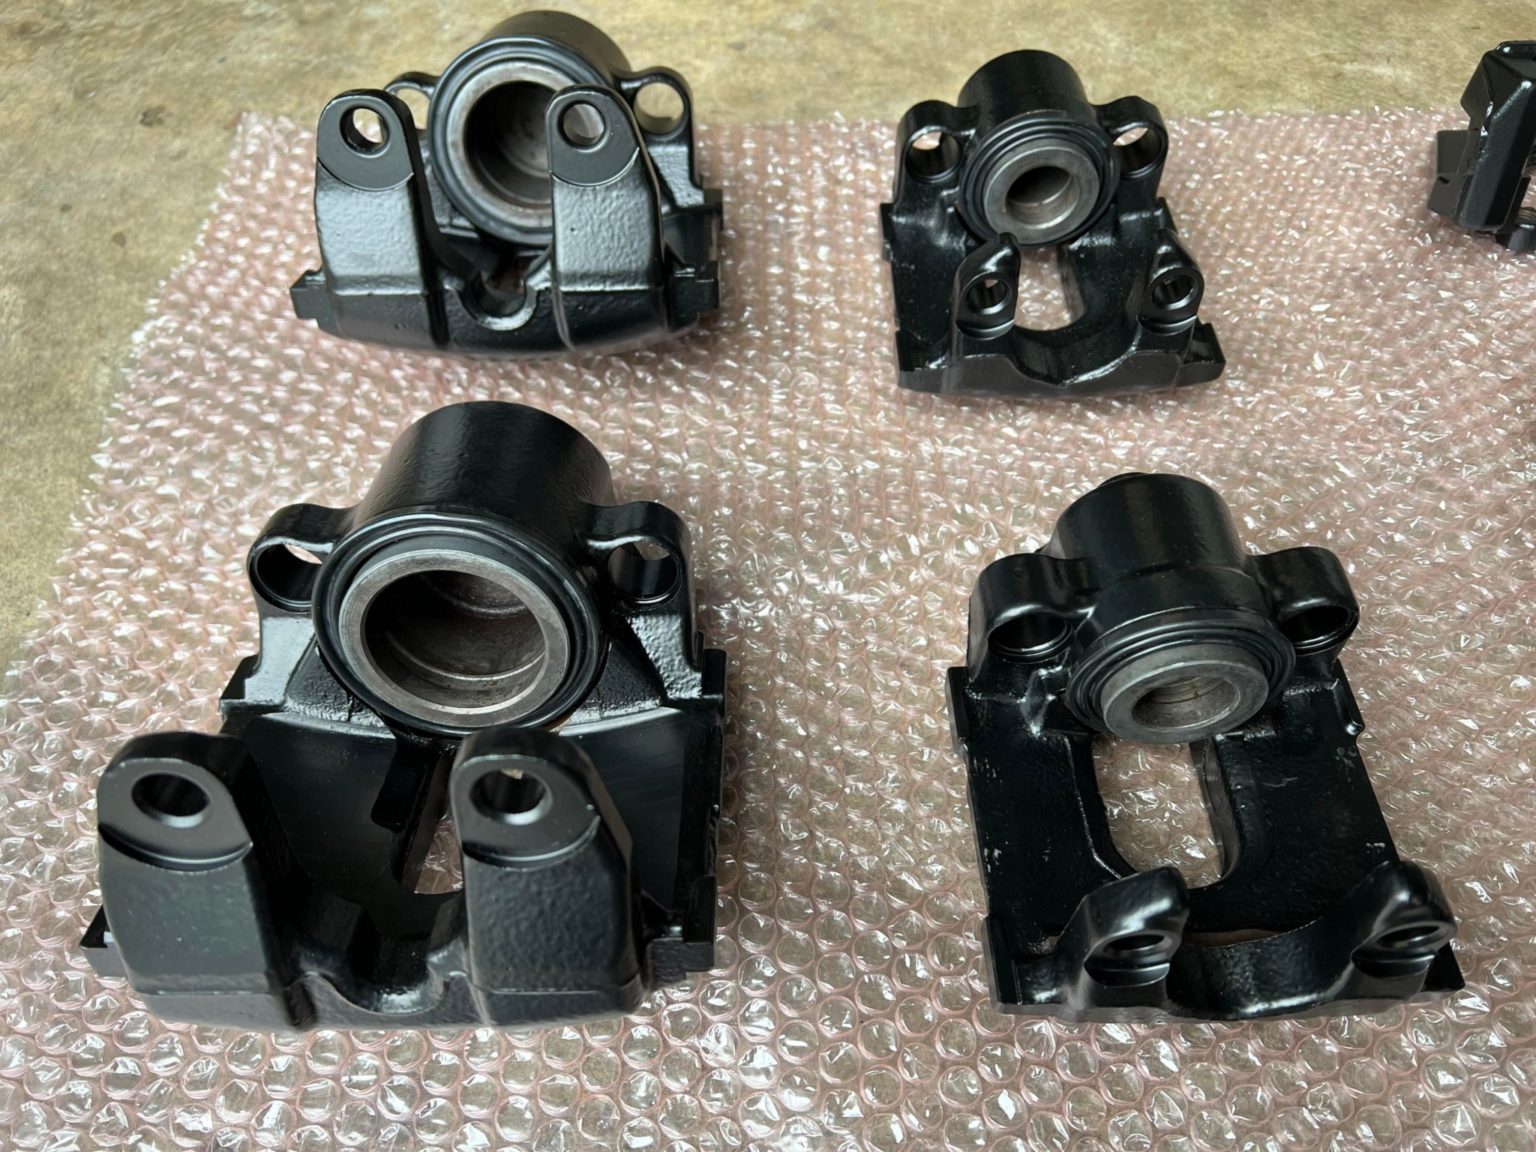
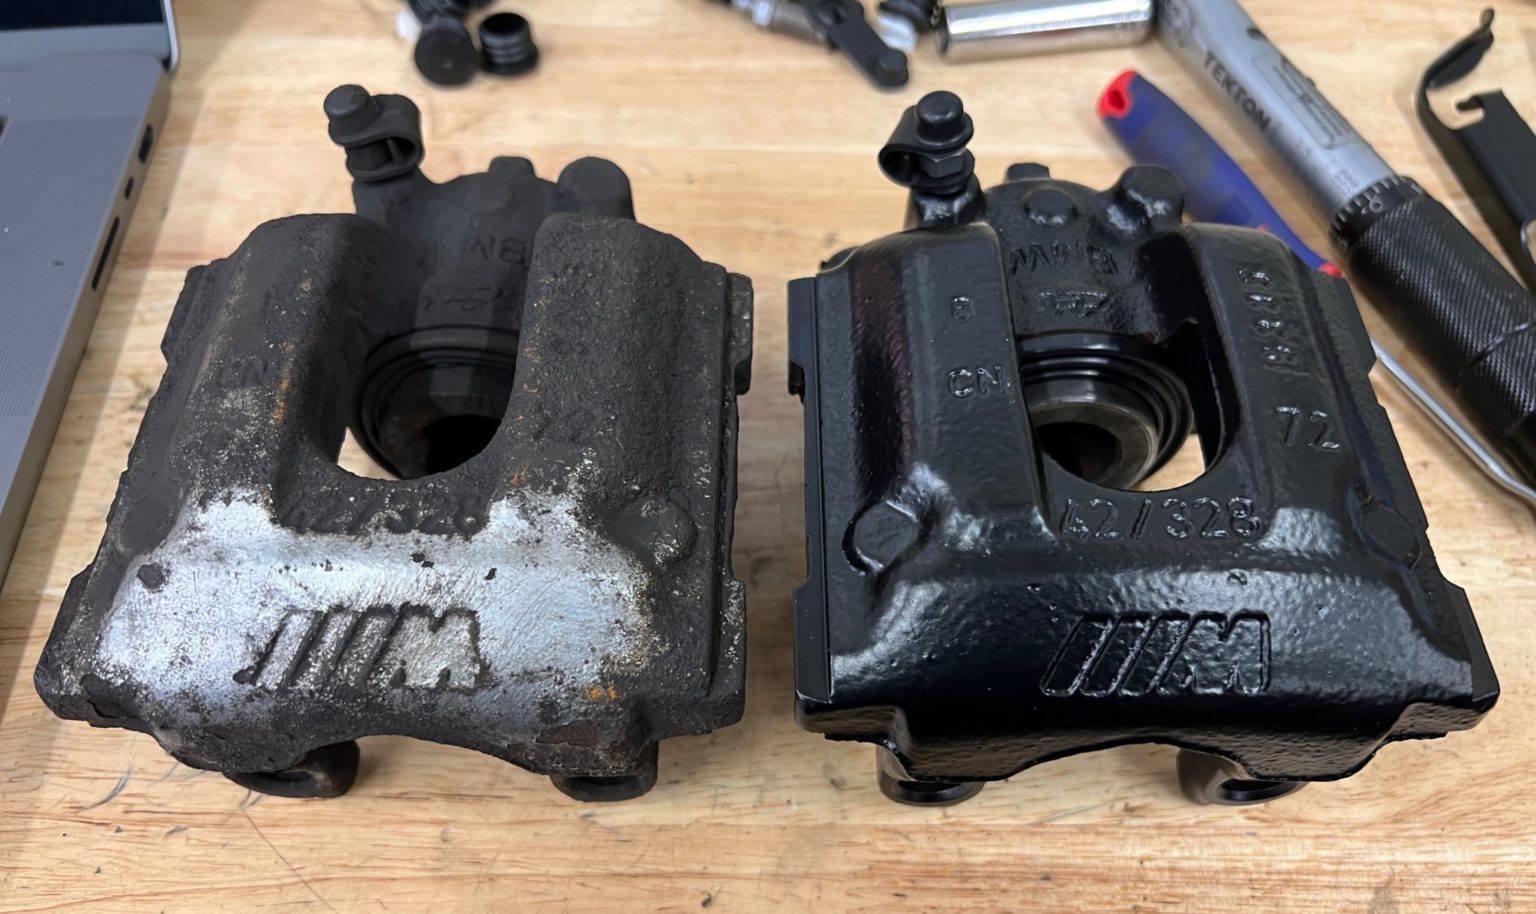
Some before and after on the rear caliper.
I was so excited to finally receive the calipers, I installed them immediately along with Carbotech 1501 performance street brake pads. These pads have a red back plate, which I regret not shooting with some heat-resistant black paint. They’ll turn black with brake dust in time, but for now I don’t love seeing the red peek out from the behind caliper.
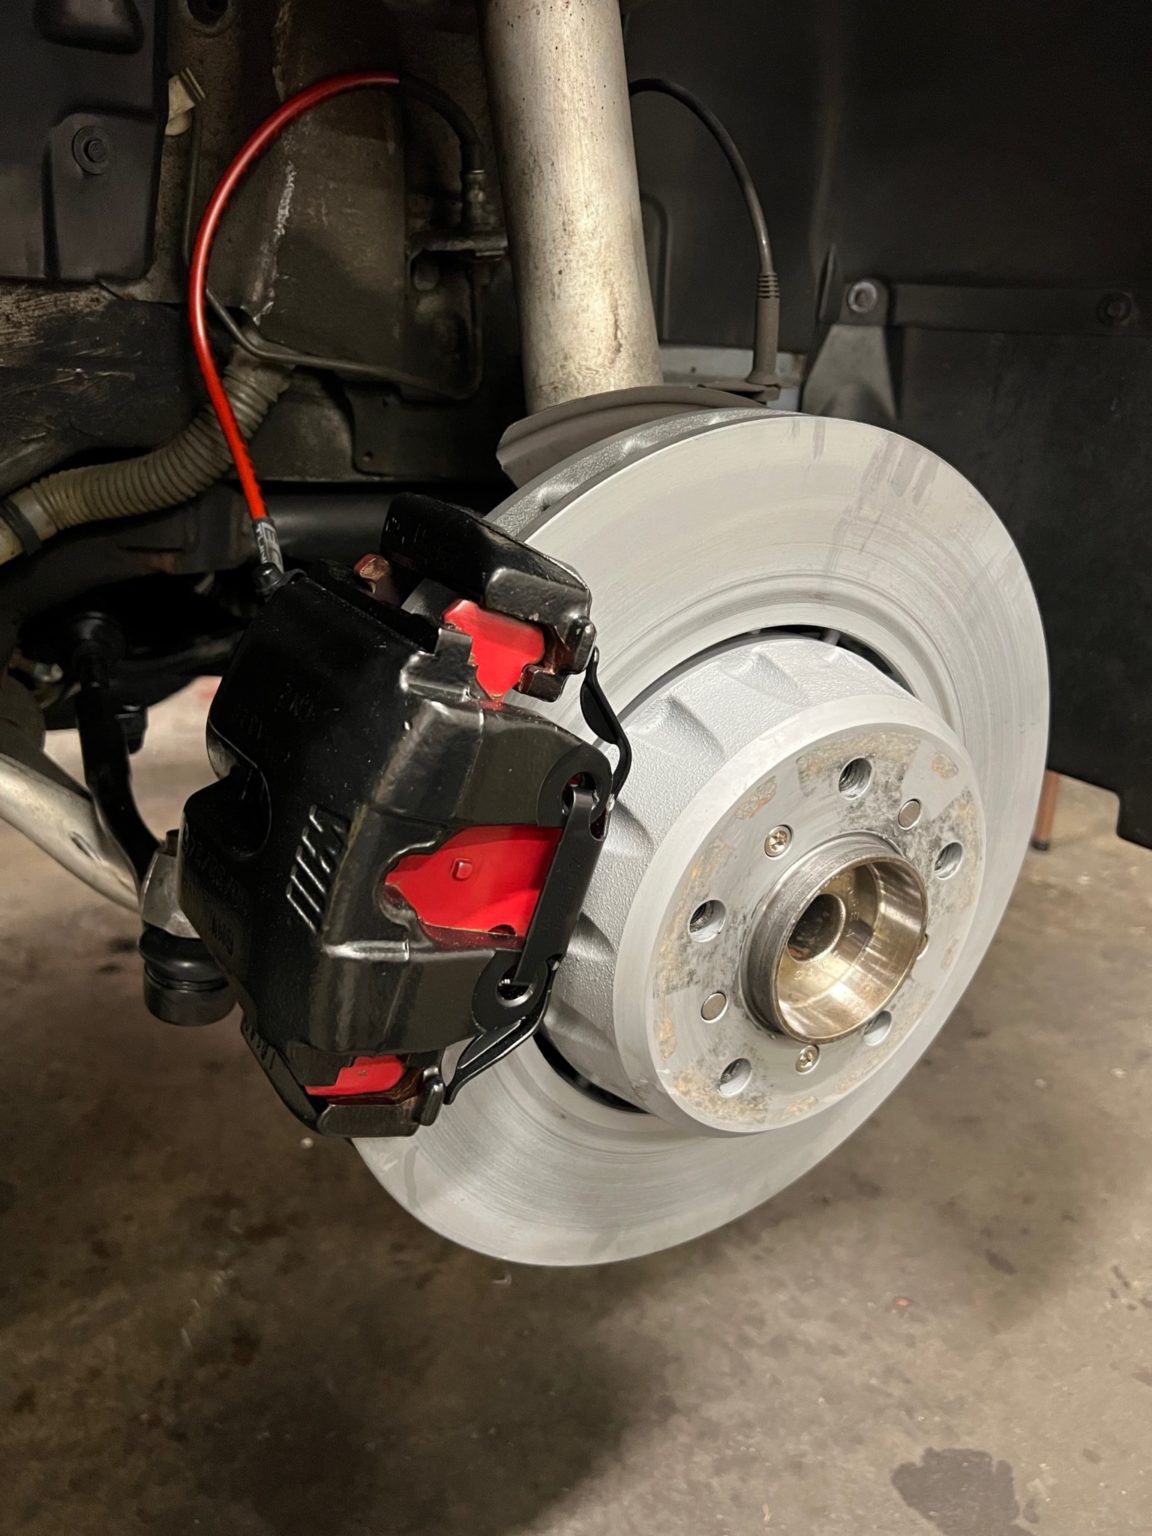
Front brakes done!
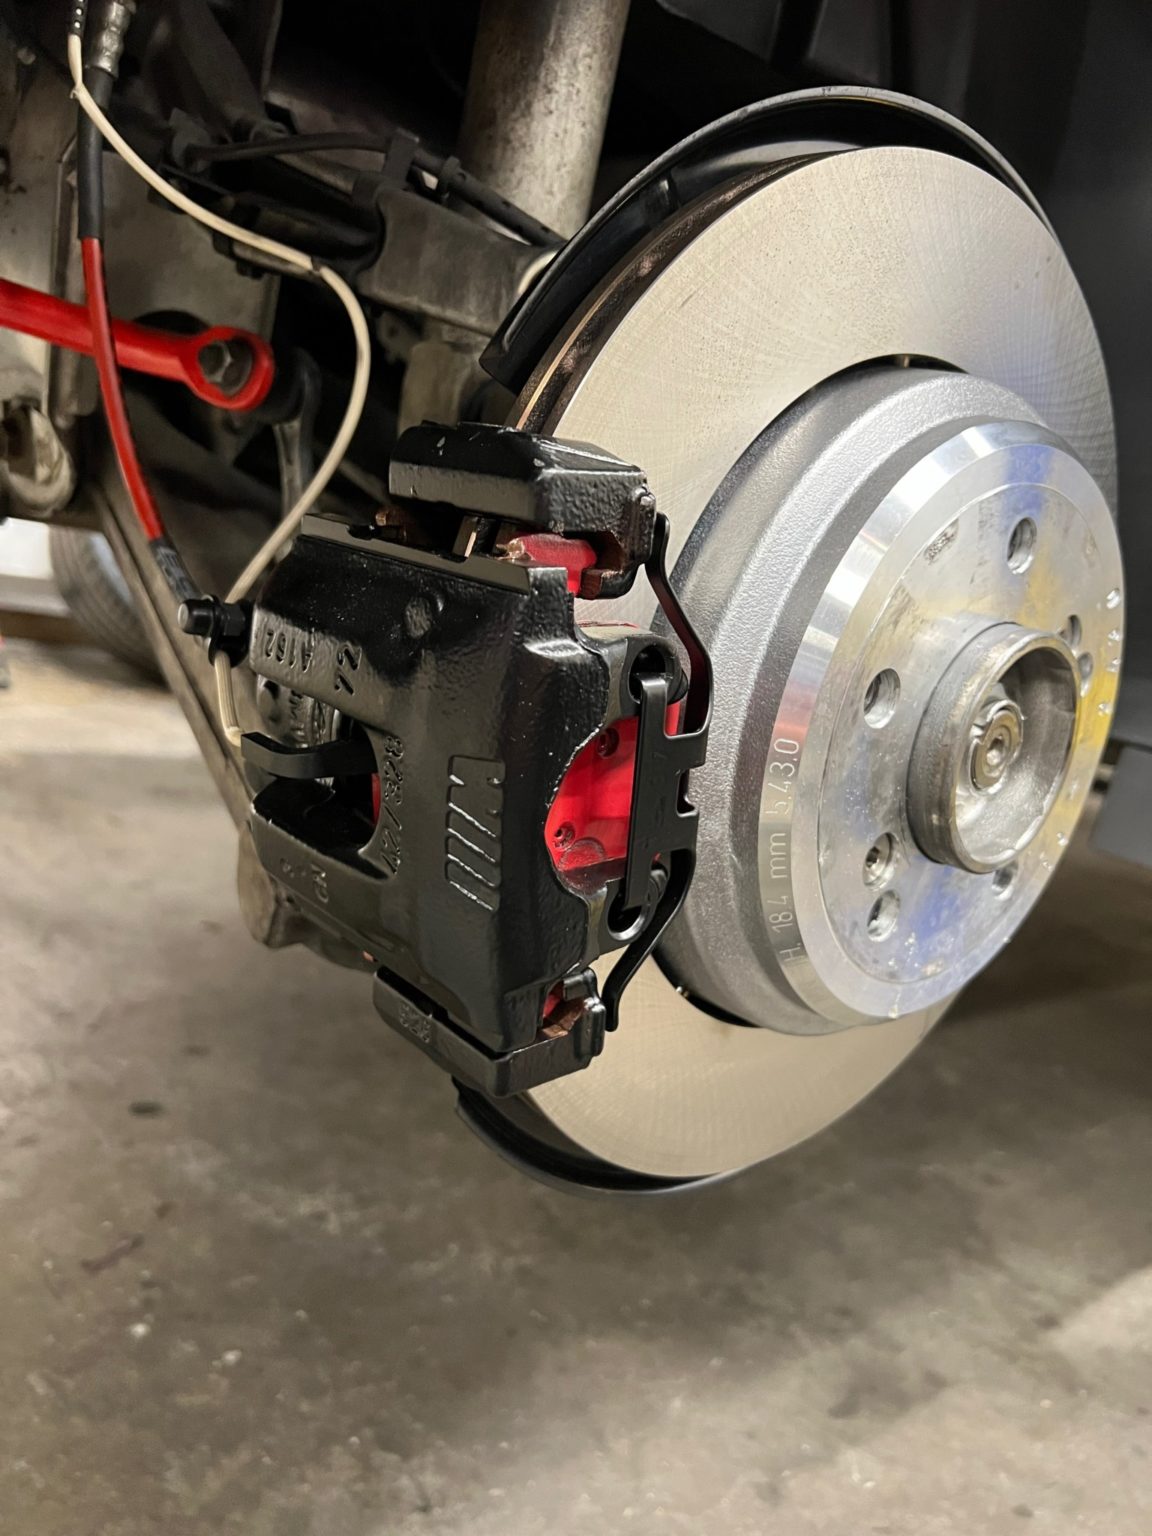
Rear brakes done!
I got the brakes on in a few hours and by 10pm, I had finished a thorough brake fluid flush and was ready to finally drive the car again! My first drive felt great until I reached any speed over 10mph. It felt like someone had welded a half-dollar to one of the rotors. For some reason, ABS was kicking in! It took me some time to realize what was wrong. As it turns out, replacing my rear left wheel speed sensor for preventive measures as I waited for the calipers to return was a bad idea. I replaced it because the plastic housing around the Allen bolt that holds it to the rear wheel carrier had split open, and it was original so I figured it didn’t owe me much. As this sensor is responsible for feeding the speedometer (and thus odometer) with a speed signal, I wanted this to be reliable. It was miserable to replace because the Allen screw that holds it in rounded off, and I could not get anything to bite it to remove it. Thanks, Ohio winters. I resorted to drilling it out and then used a thread repair kit on the wheel carrier for the new sensor. The new sensor fit well and torqued to spec without problem… but I had made a very expensive mistake. While drilling out the old screw, I had hit the reluctor ring inside the rear wheel bearing with the drill bit. This compromised the way the speed sensor read the speed on that rear left wheel, and caused DSC to think that wheel was slipping. My rear bearings were rust-free and relatively spry, and now I needed to replace them again. The hubs are pressed in the bearings, and then the axles install in this assembly. Rear wheel bearings are a job that require tools and patience beyond my reasonable ability. After 2 months of repairs and patience, I was now facing another lengthy and costly service.
After taking some time to deliberate on my best path forwards, I devised a solution. With the rear suspension having to come apart to access that bearing, I wanted to do the job right. My M5 is a February, 2000 car which means it has ‘the old design’ for the rear wheel carriers. BMW made some subtle changes in July, 2000 that allow for different rear toe arm upper control arms to be used. These superior arms use a ball joint inner bushing instead of the press-fit rubber bushing. Factor in my corrosion and the fact that the right rear speed sensor didn’t look much better than the old left did, and I knew I had to replace both wheel carriers. I had good used units in-house, and cleaned them up and chased out all of the threads. New carriers means new wheel bearings, hubs, rear wishbones, rear toe arms, integral links, ball joints, sway bar end links, and of course all of the hardware. I have a trusted colleague about 70 miles north in Orange County, so I scheduled a service date with him. I couldn’t drive the car up there with ABS constantly engaging, so I planned to have it flat-bedded… until I saw the cost. They wanted $700 one-way to deliver the car. Nope. So, I removed the three fuses responsible for running the ABS, and very carefully drove the car North with orange lights on the dashboard. I threw in a fresh set of Genuine BMW axle shafts to the parts box in the trunk, and delivered the car on January 31st.
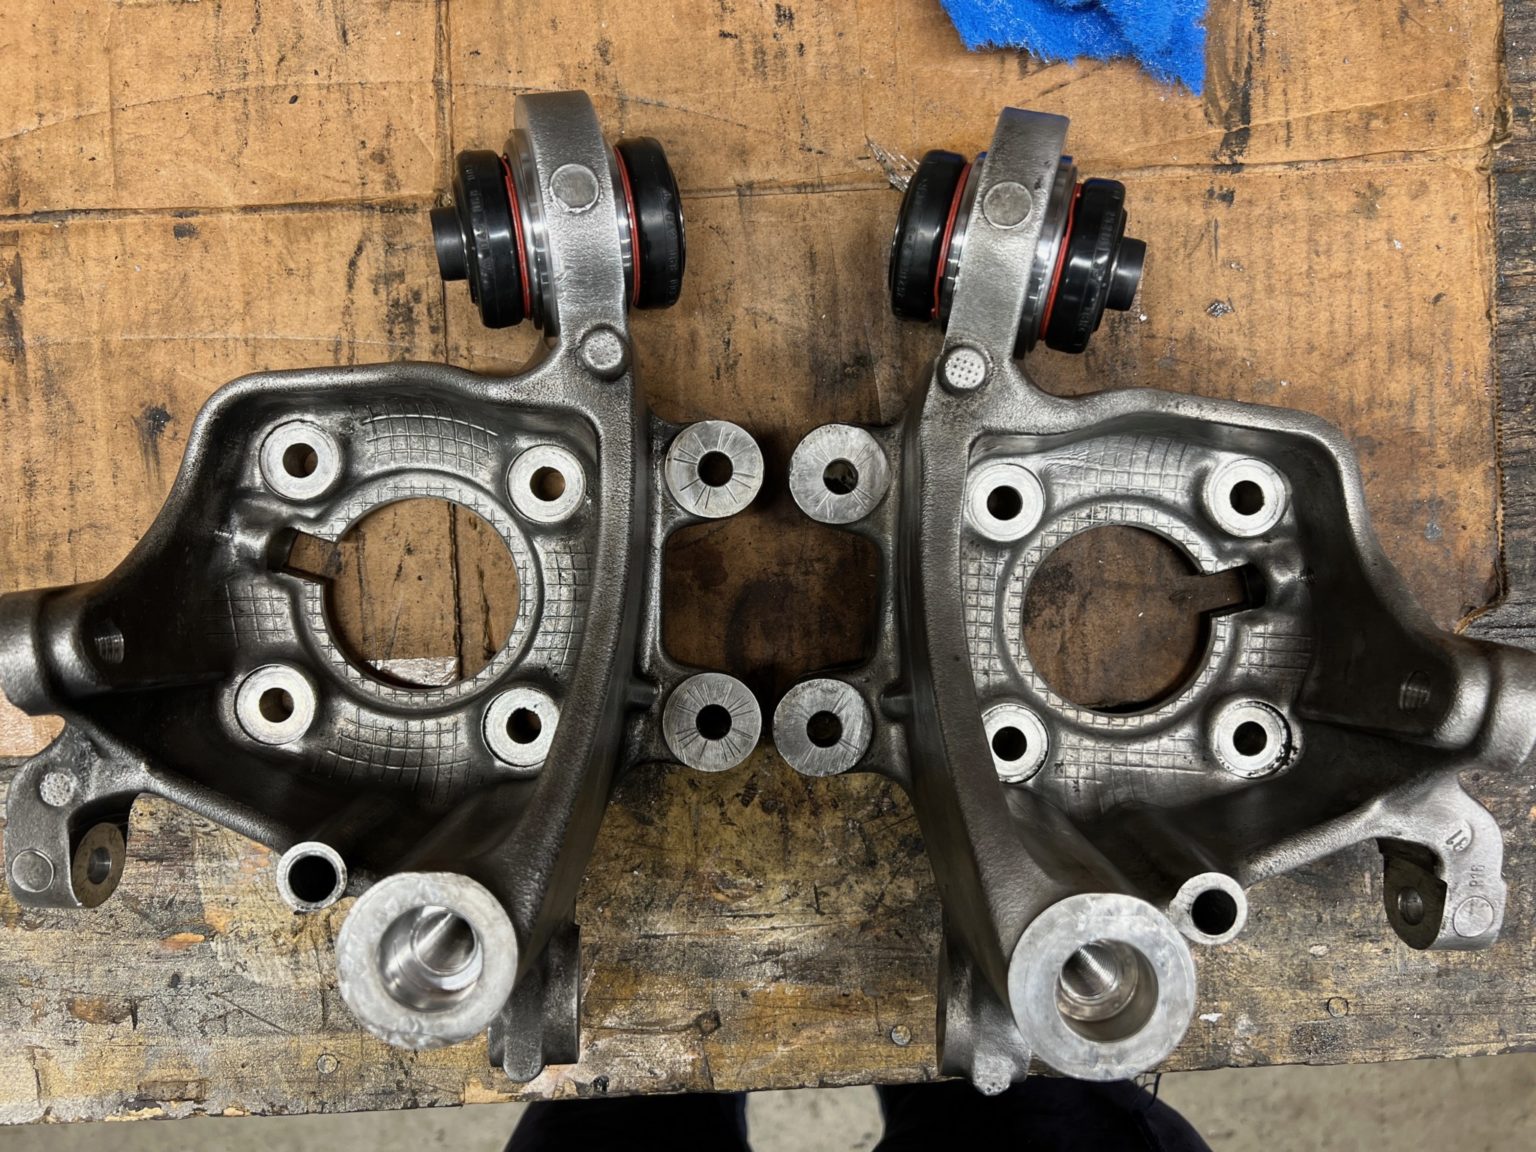
Cleaned up wheel carriers with fresh ball joints installed.
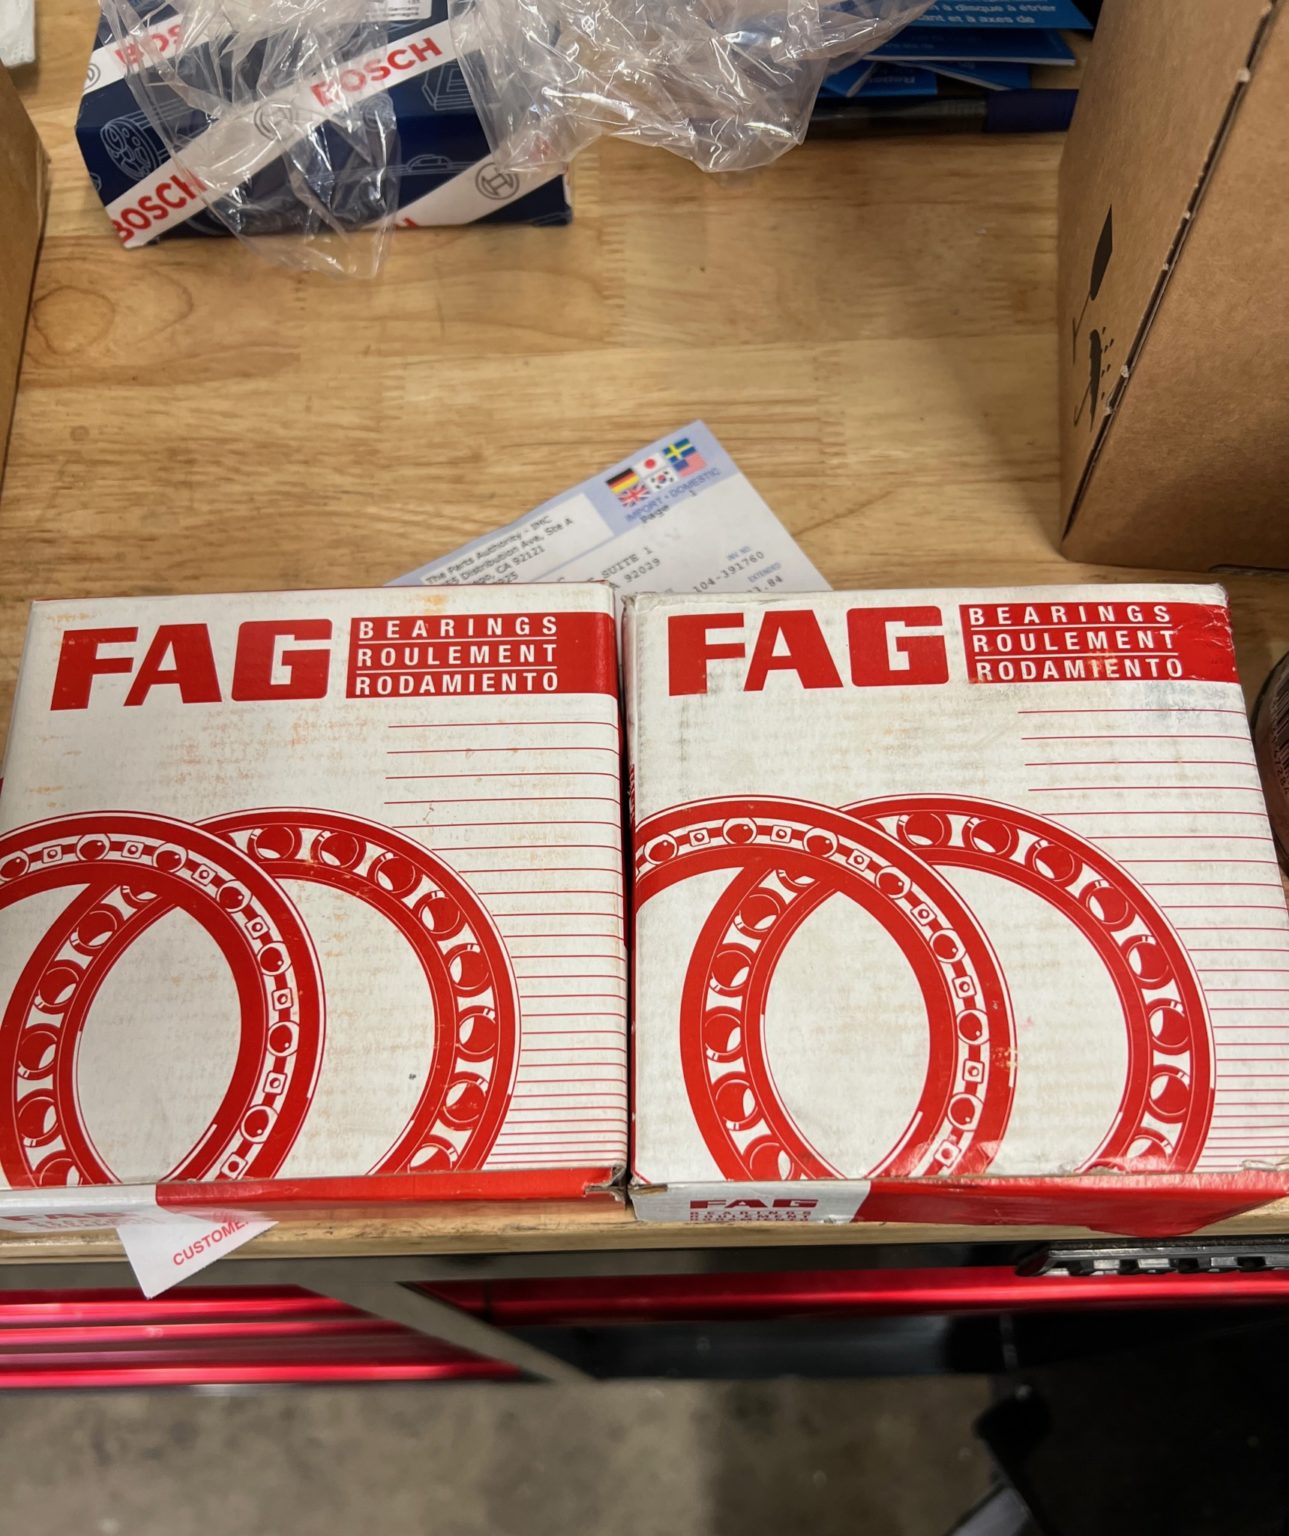
New OEM rear wheel bearings.
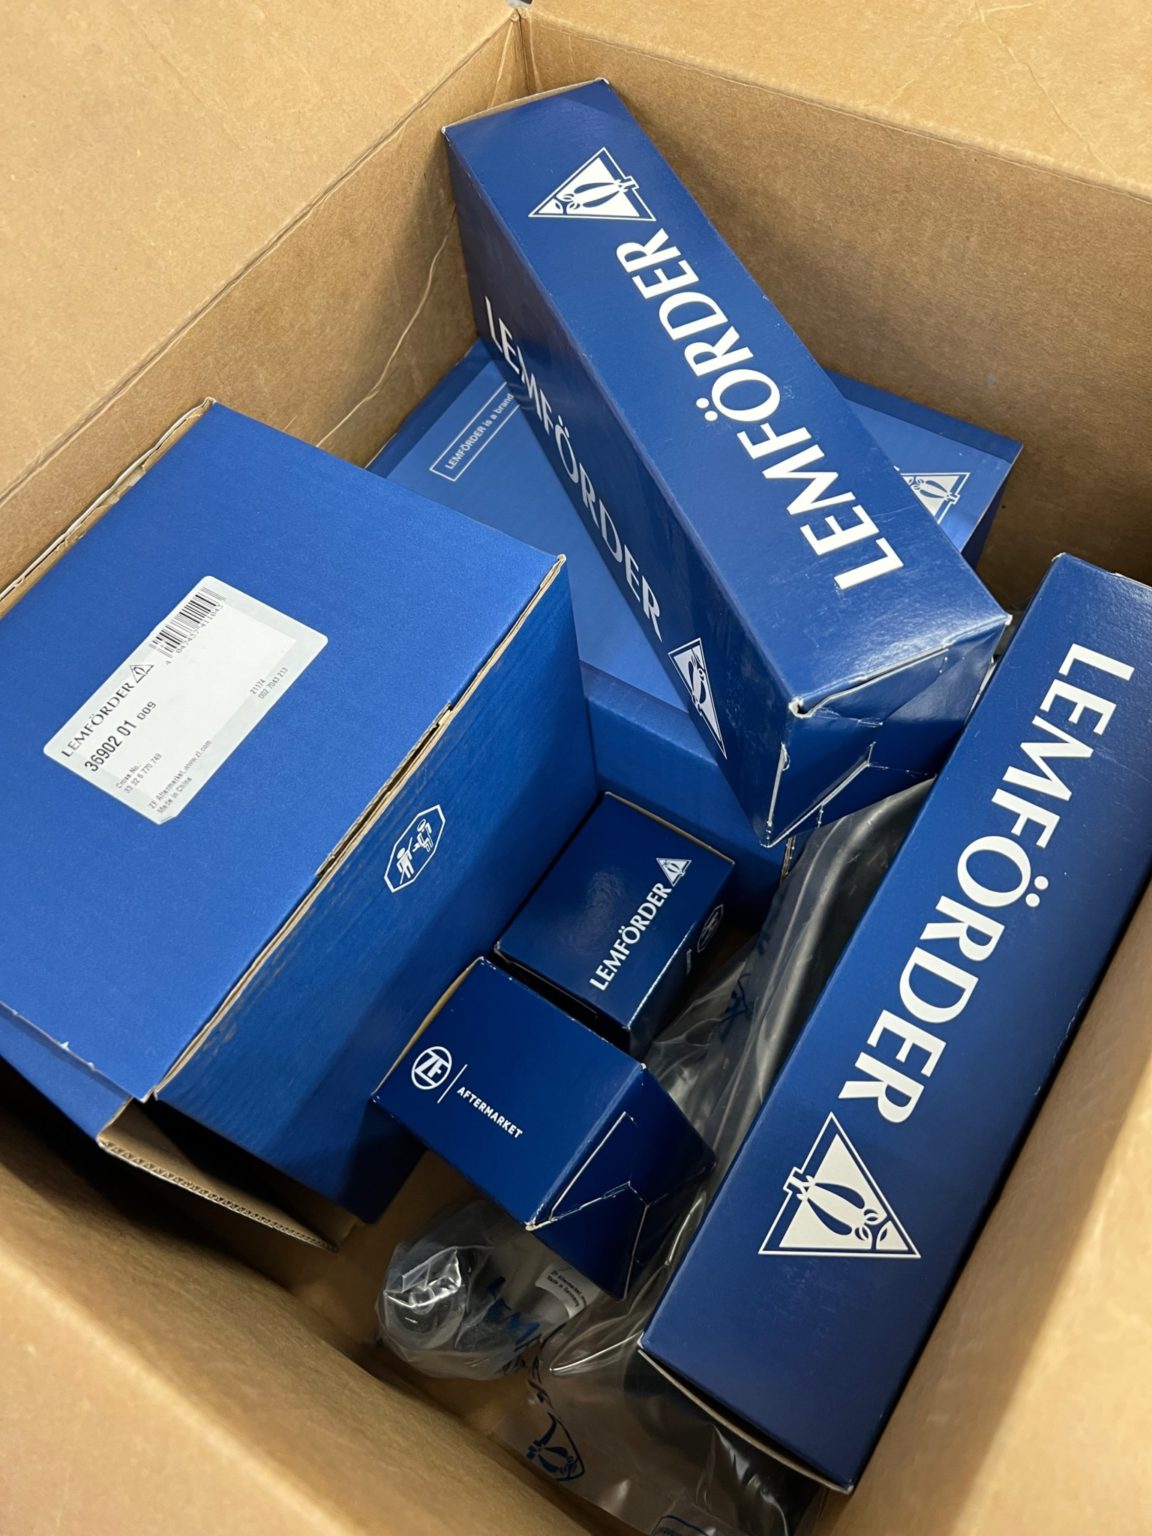
New integral links, rear sway links, toe arms, wishbones, and hardware.
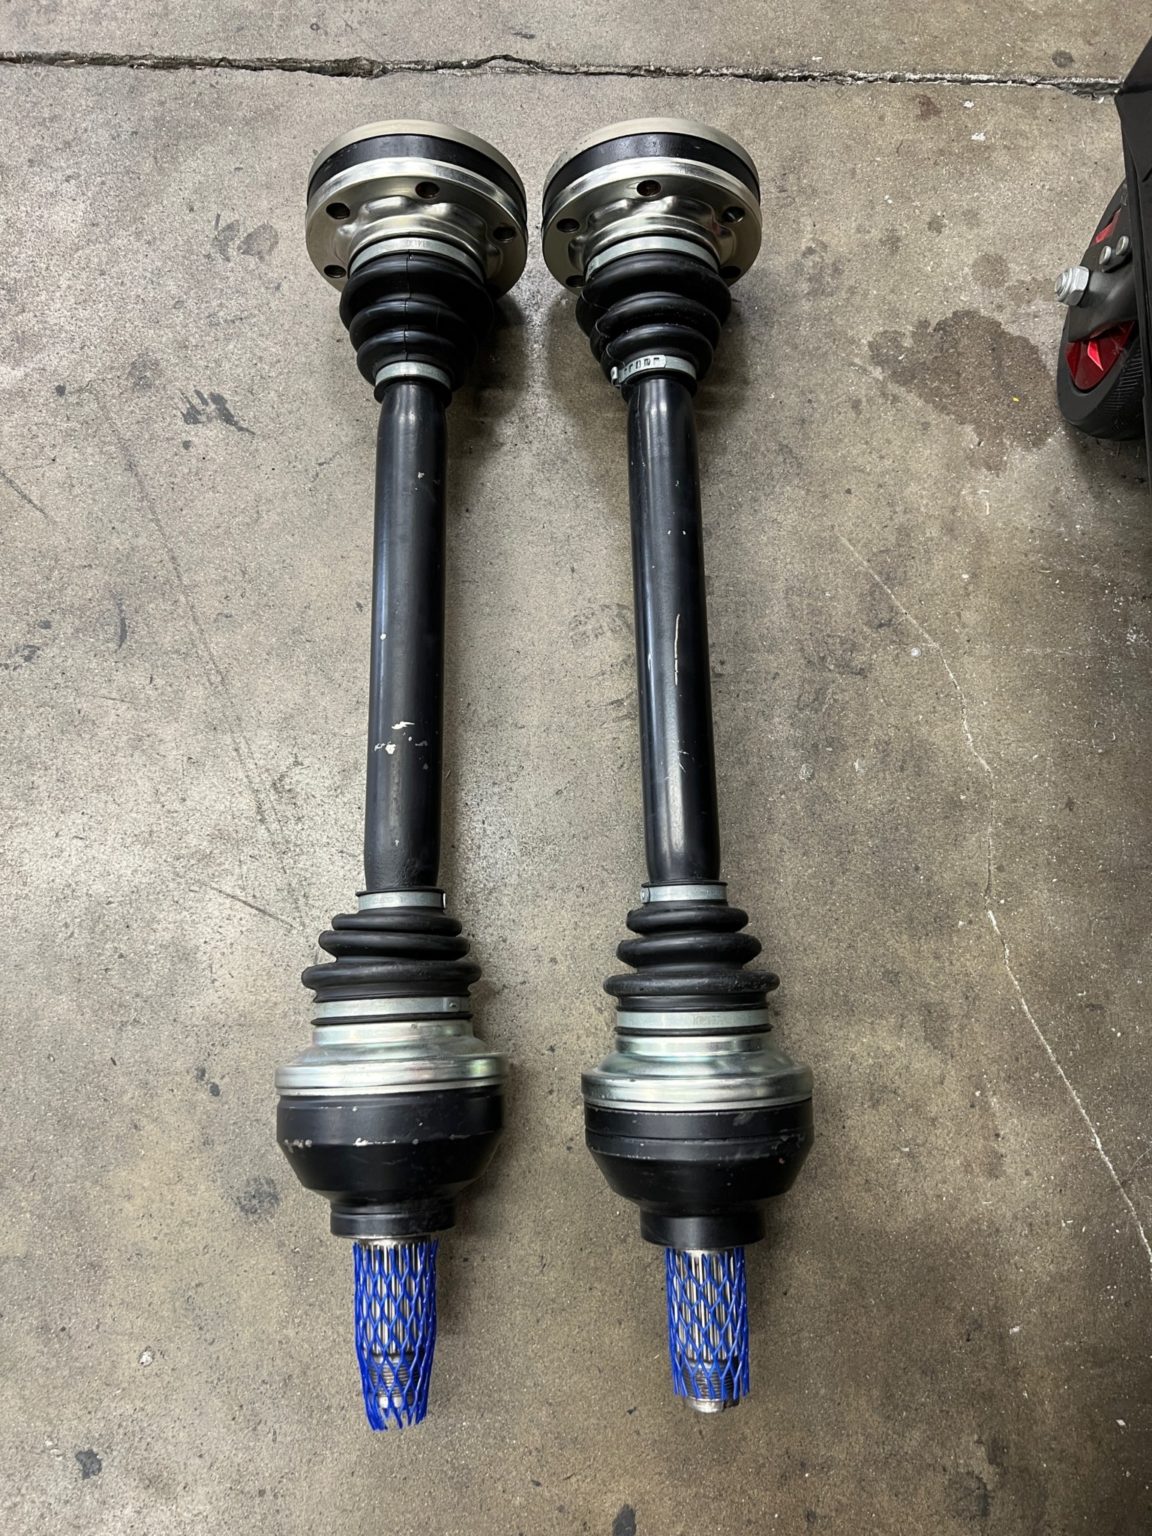
The last new set of E39 M5 rear axles in North America!
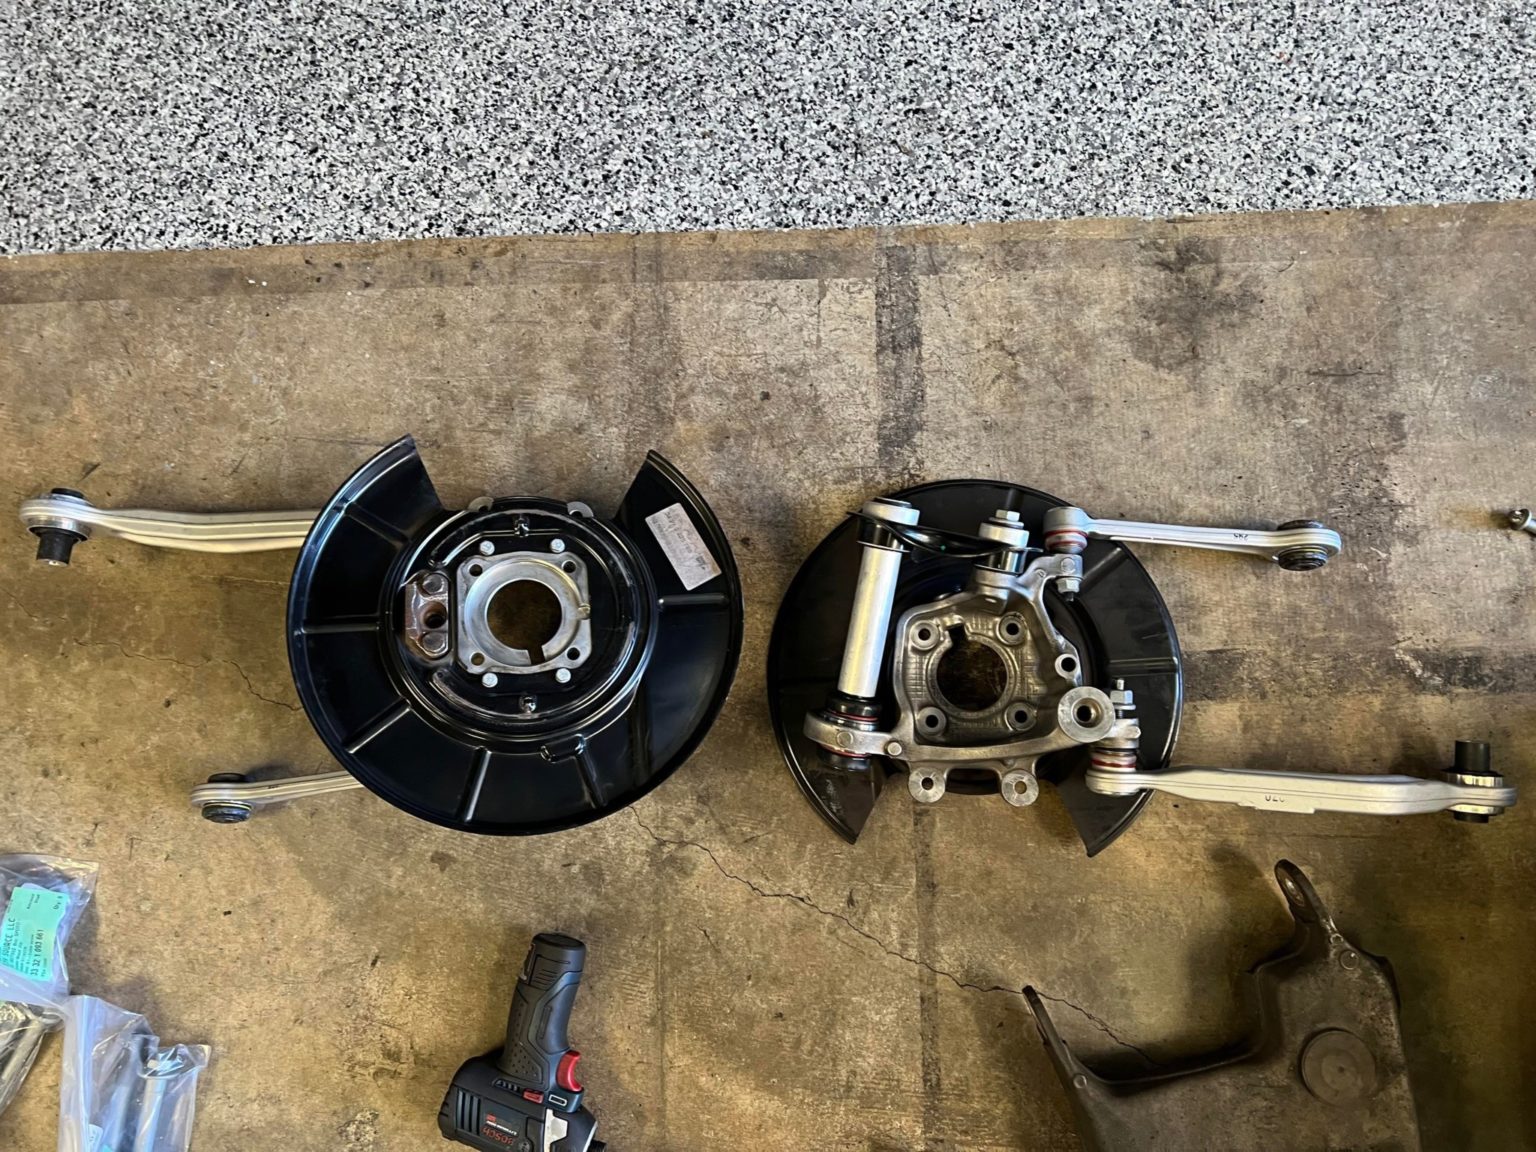
Rear wheel carriers assembled!
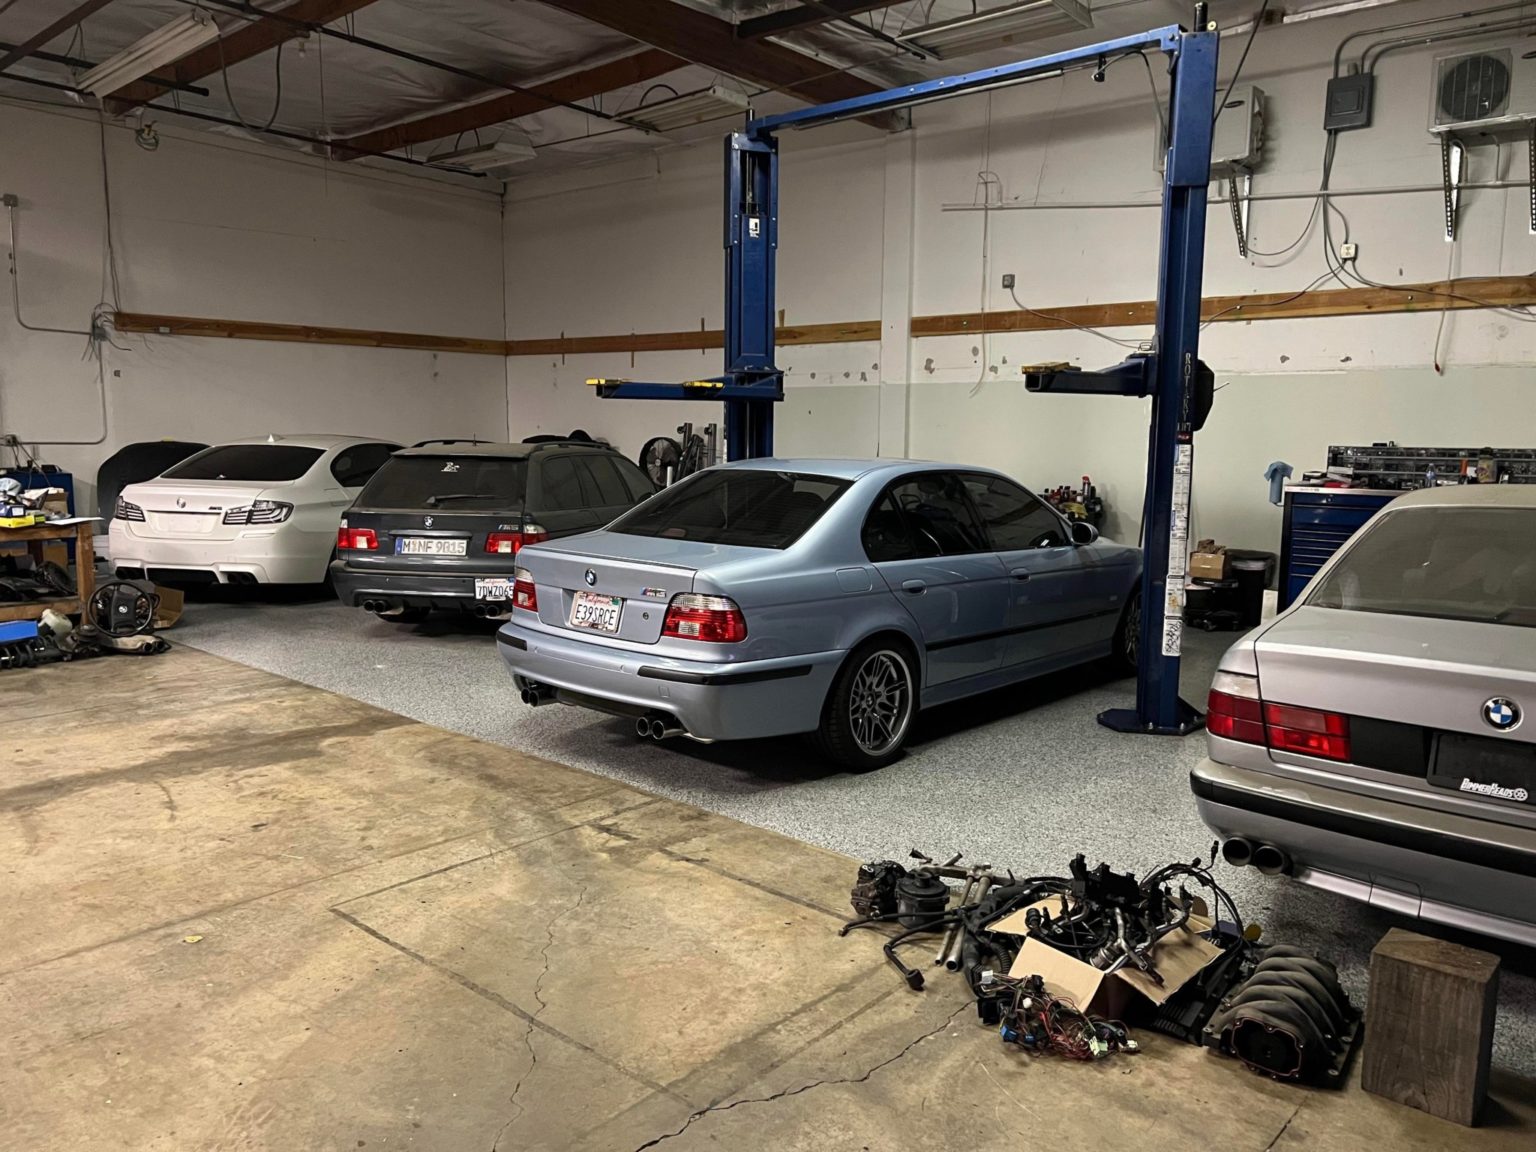
My M5 in good company in Orange County.
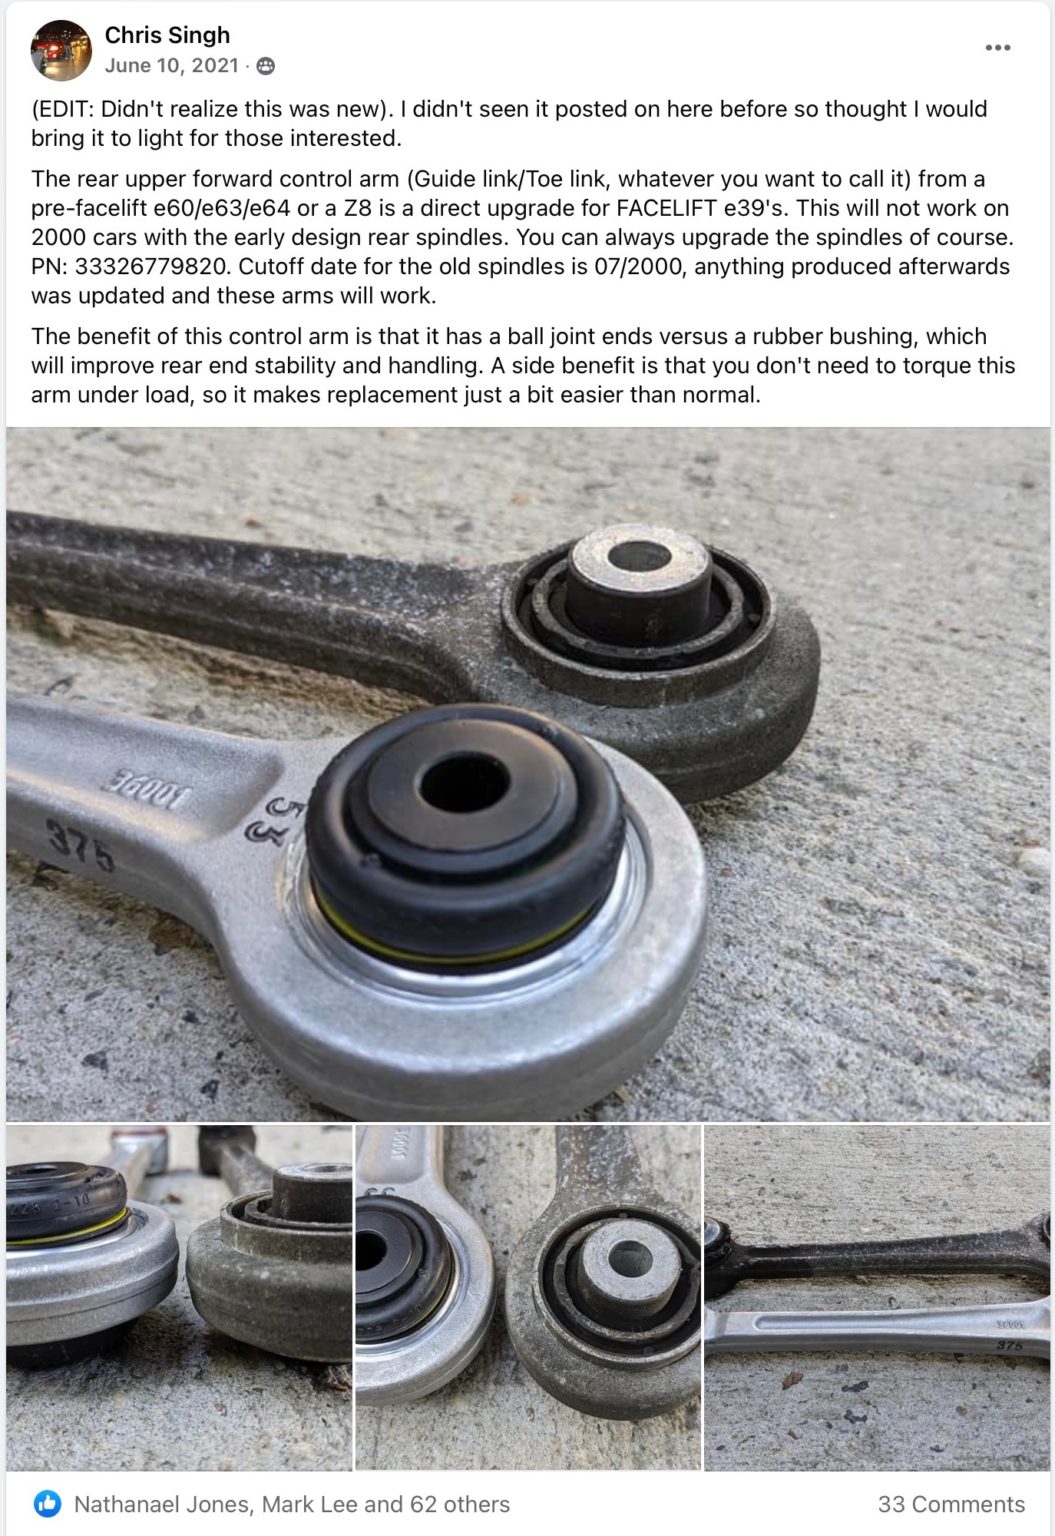
The old/new rear toe arm difference. Thanks Chris!
I picked up the car after an alignment on February 5th, and enjoyed a scenic drive back to San Diego on California’s Pacific Coast highway with my girlfriend. Nearly 3 months later, my M5 was finally back in service!
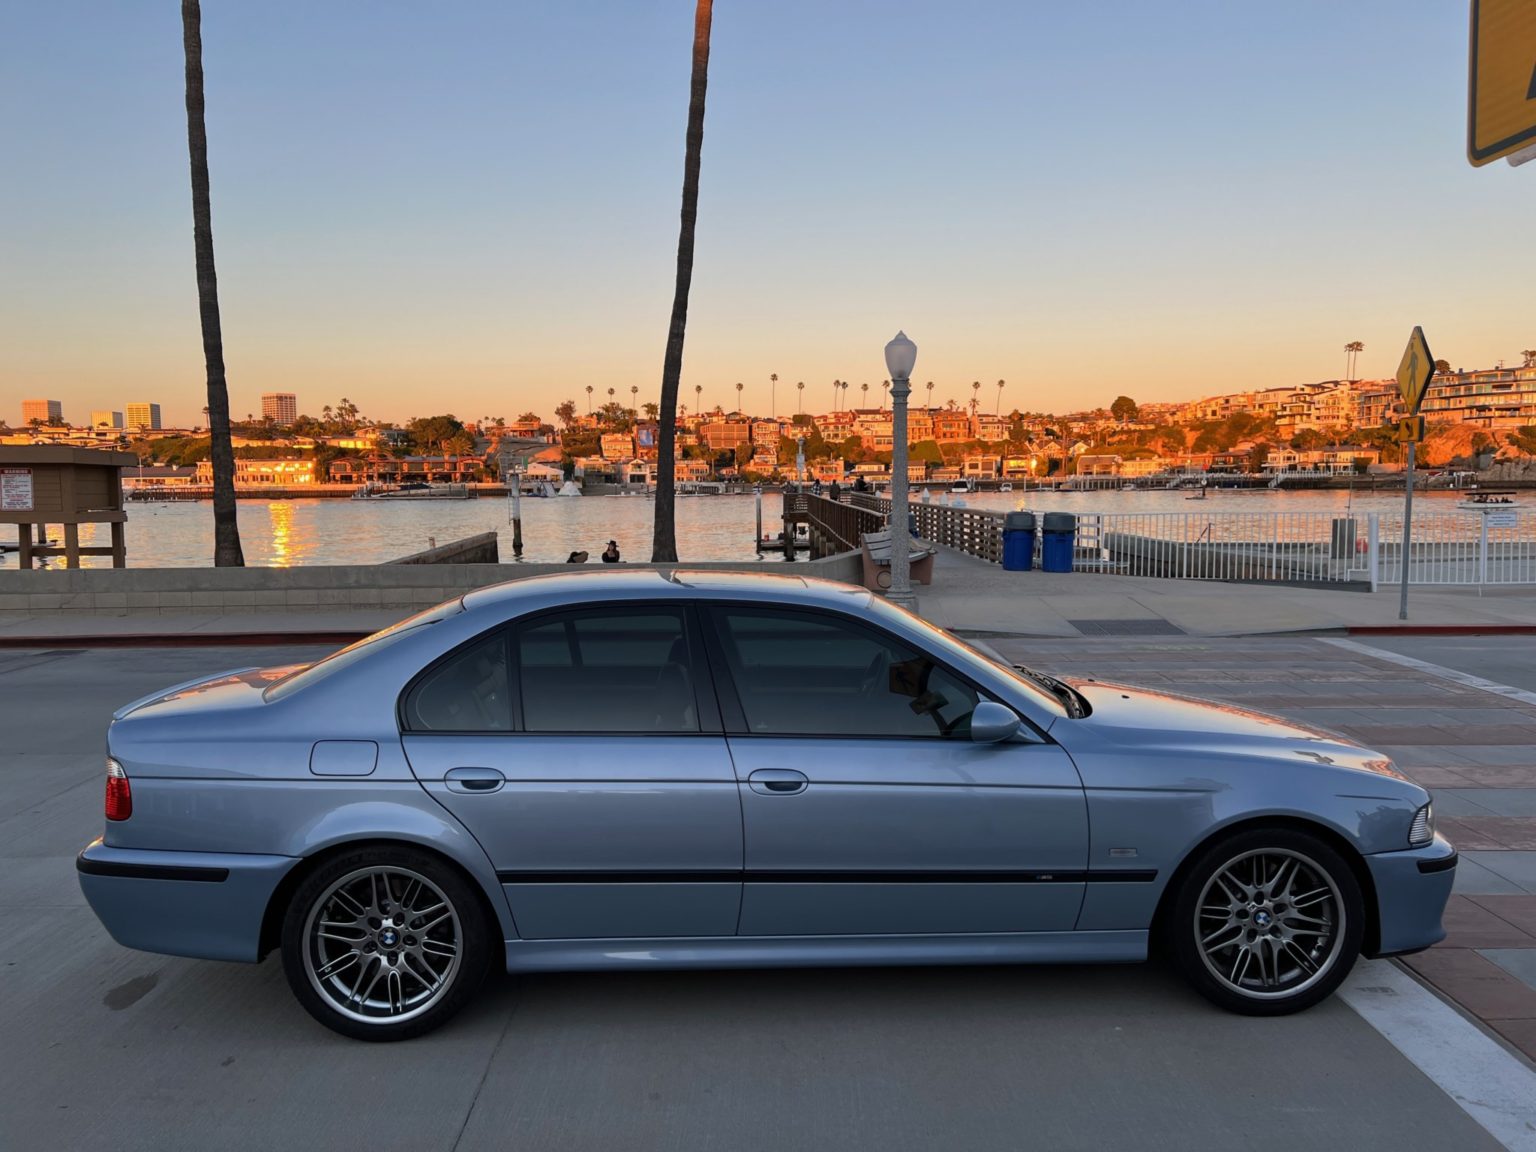
Newport Beach, CA.
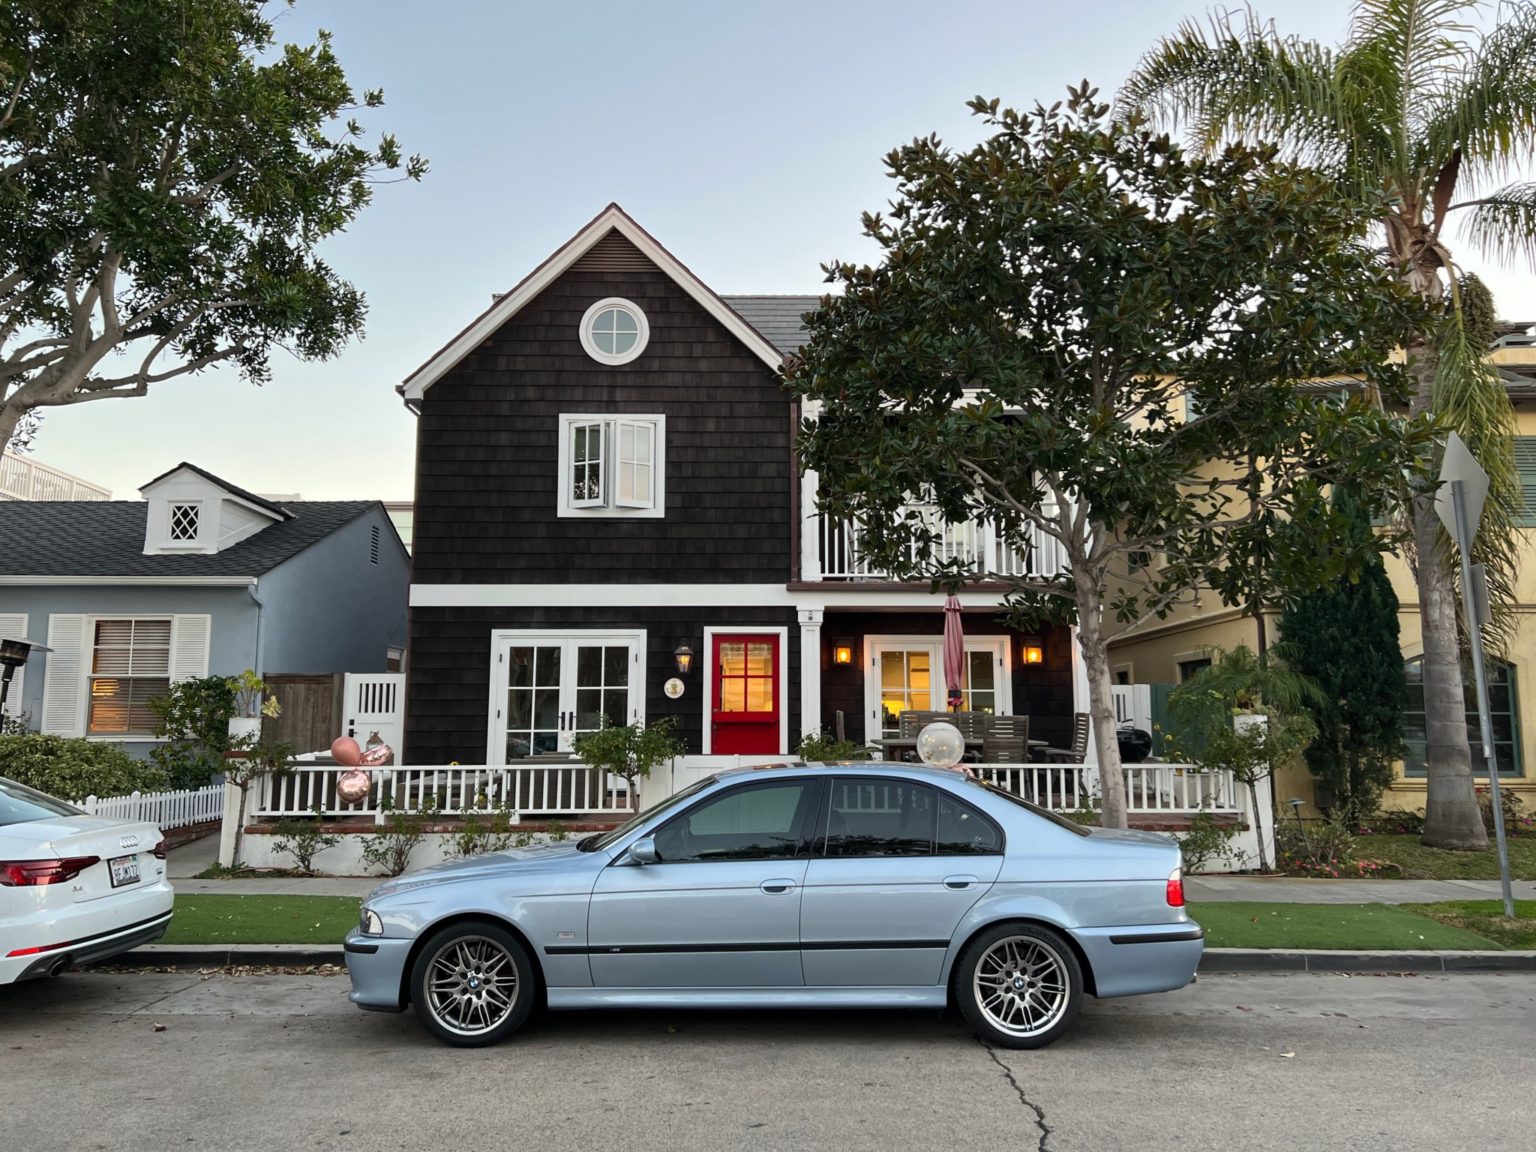
A quaint $5,000,000 house on the Newport peninsula.
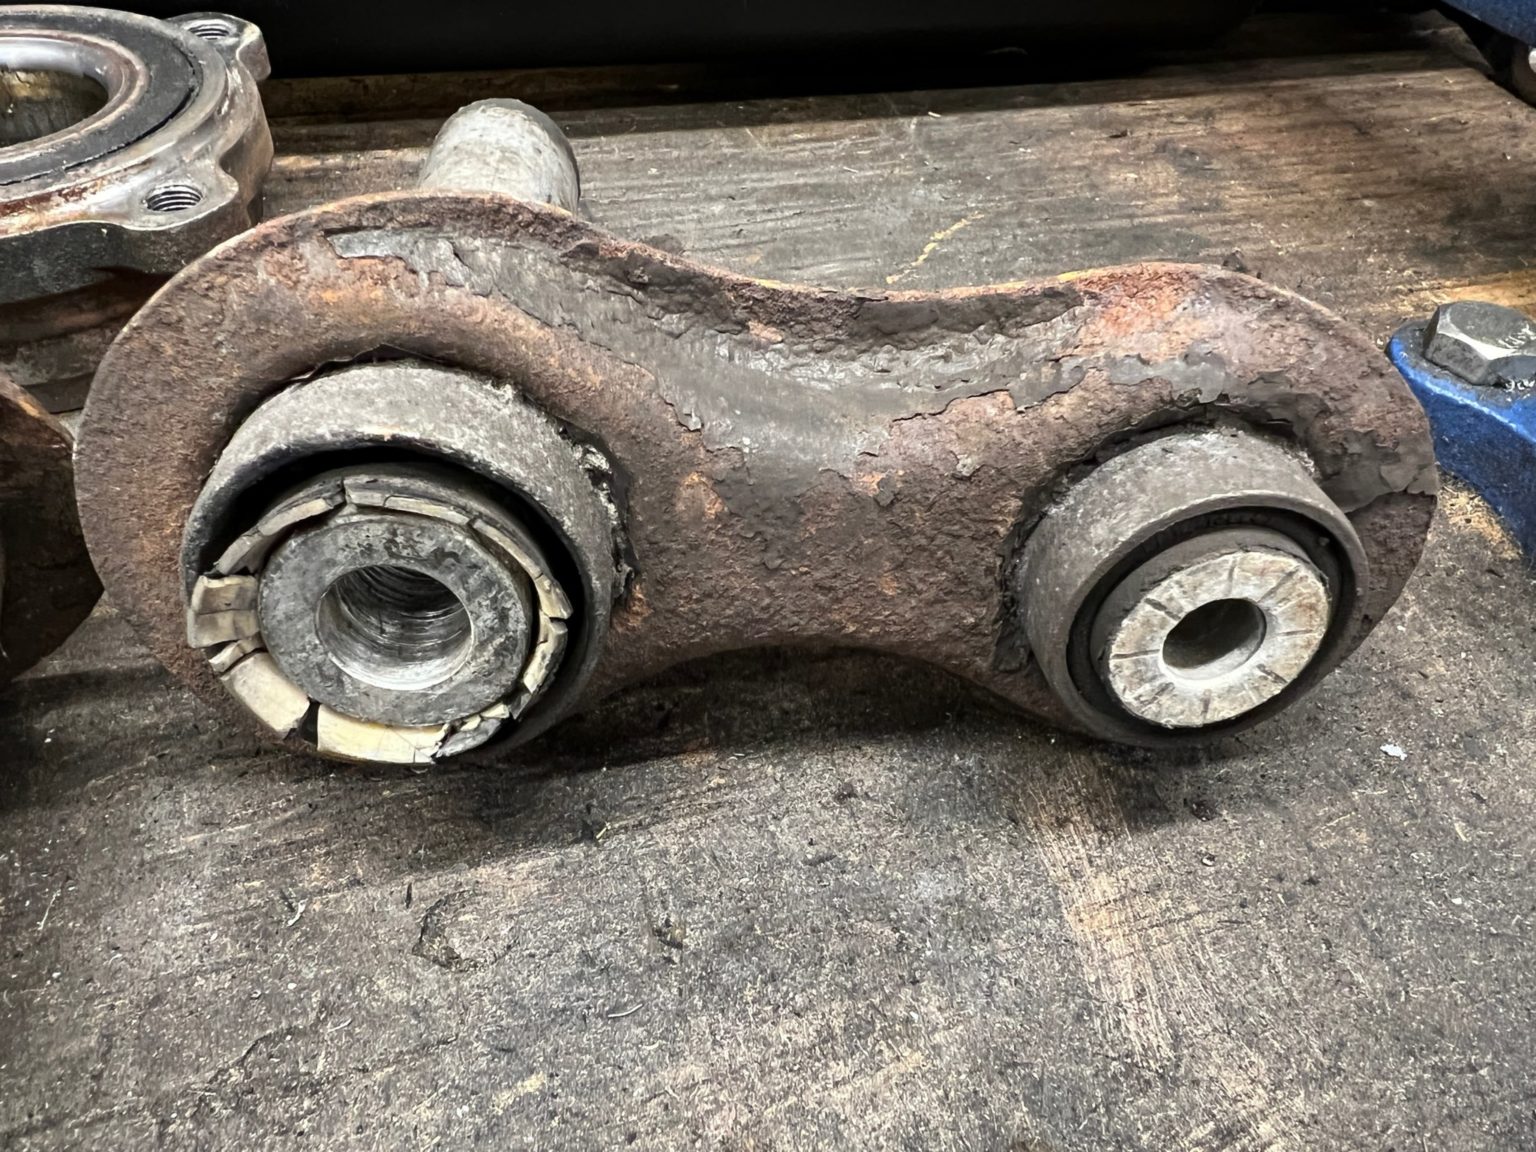
My old integral links were one of two remaining original suspension components… I was not sad to say goodbye to these.
Here is the culprit, the left rear wheel bearing. That rubber circular disk has raised notches in it, one of them being a different size than the other. As the wheel (and thus wheel bearing) spins, the speed sensor (ultrasonic pulse generator) ‘feels’ these notches pass. With the damaged area at (visible at 6:00), it was not able to get a good reading of the speed of this wheel. This has been an expensive lesson.
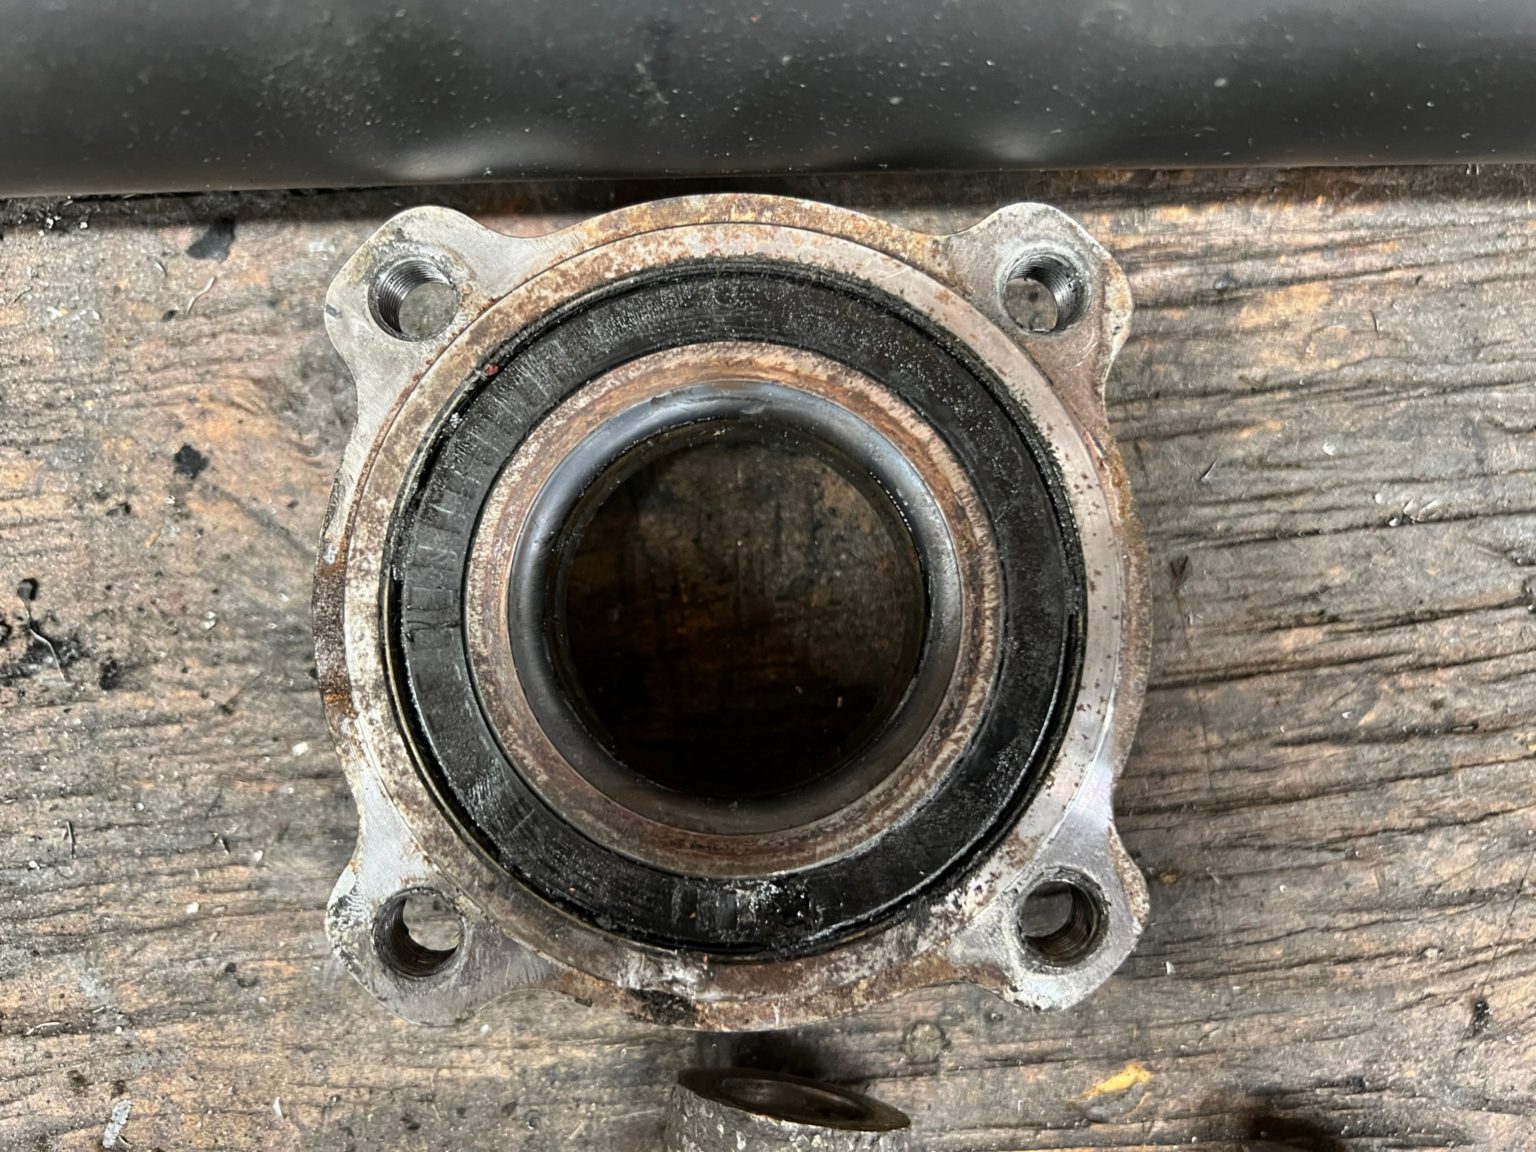
Rear left wheel bearing.
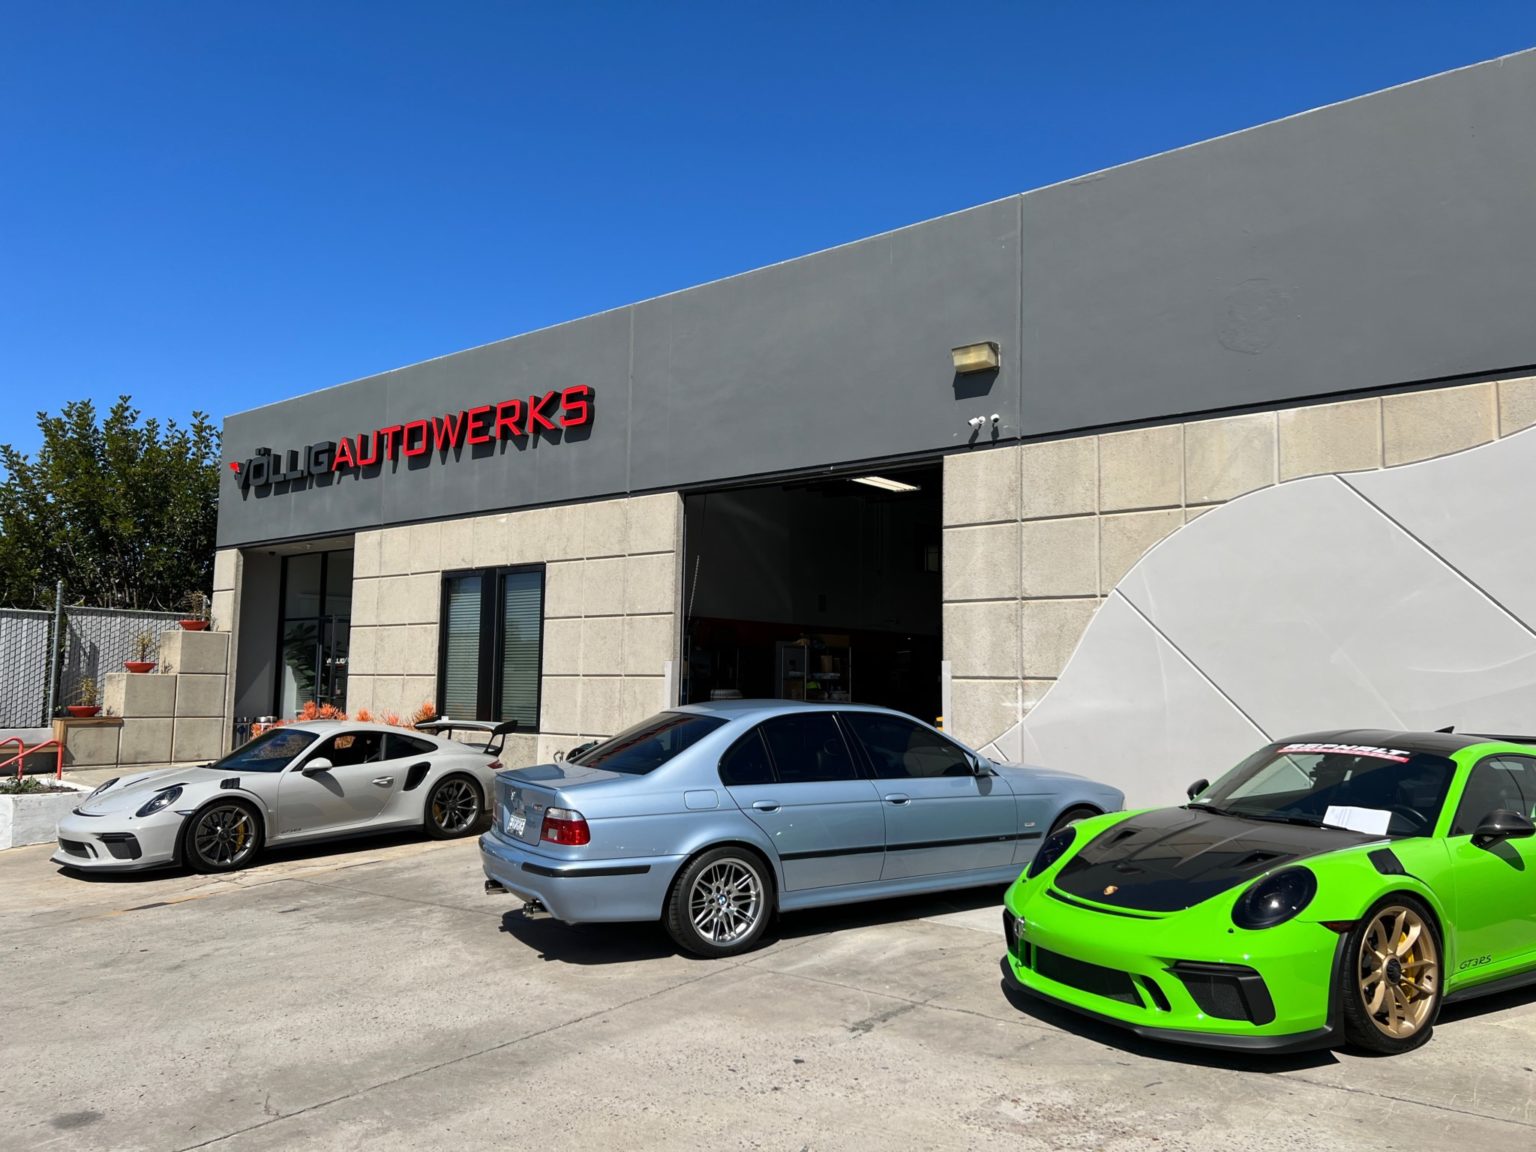
On the way back from Orange County, I noted that the wheel alignment wasn’t perfect. Straight ahead required the wheel to be placed at about 11:45. The car also seemed to pull slightly right at speed. I did some research and found an alignment shop who specializes in Porsche race cars. Their alignments are costly, but they are perfect. They don’t try to get the adjustments ‘in the range’, they get them perfectly centered in the range. The difference in drivability was profound!
For March, I came across some fun E39 M5 performance software. This allows me to modify some values in the DME (engine computer). The only thing I wanted to edit here was the Sport button behavior. My current Shark tune didn’t feature Sport mode memory- which I think is something that these cars should have been capable of from factory. If you like driving it in Sport mode, why should you have to press that button after each startup? With the check of a box (and a re-flash), I was successfully able to enable Sport mode memory!
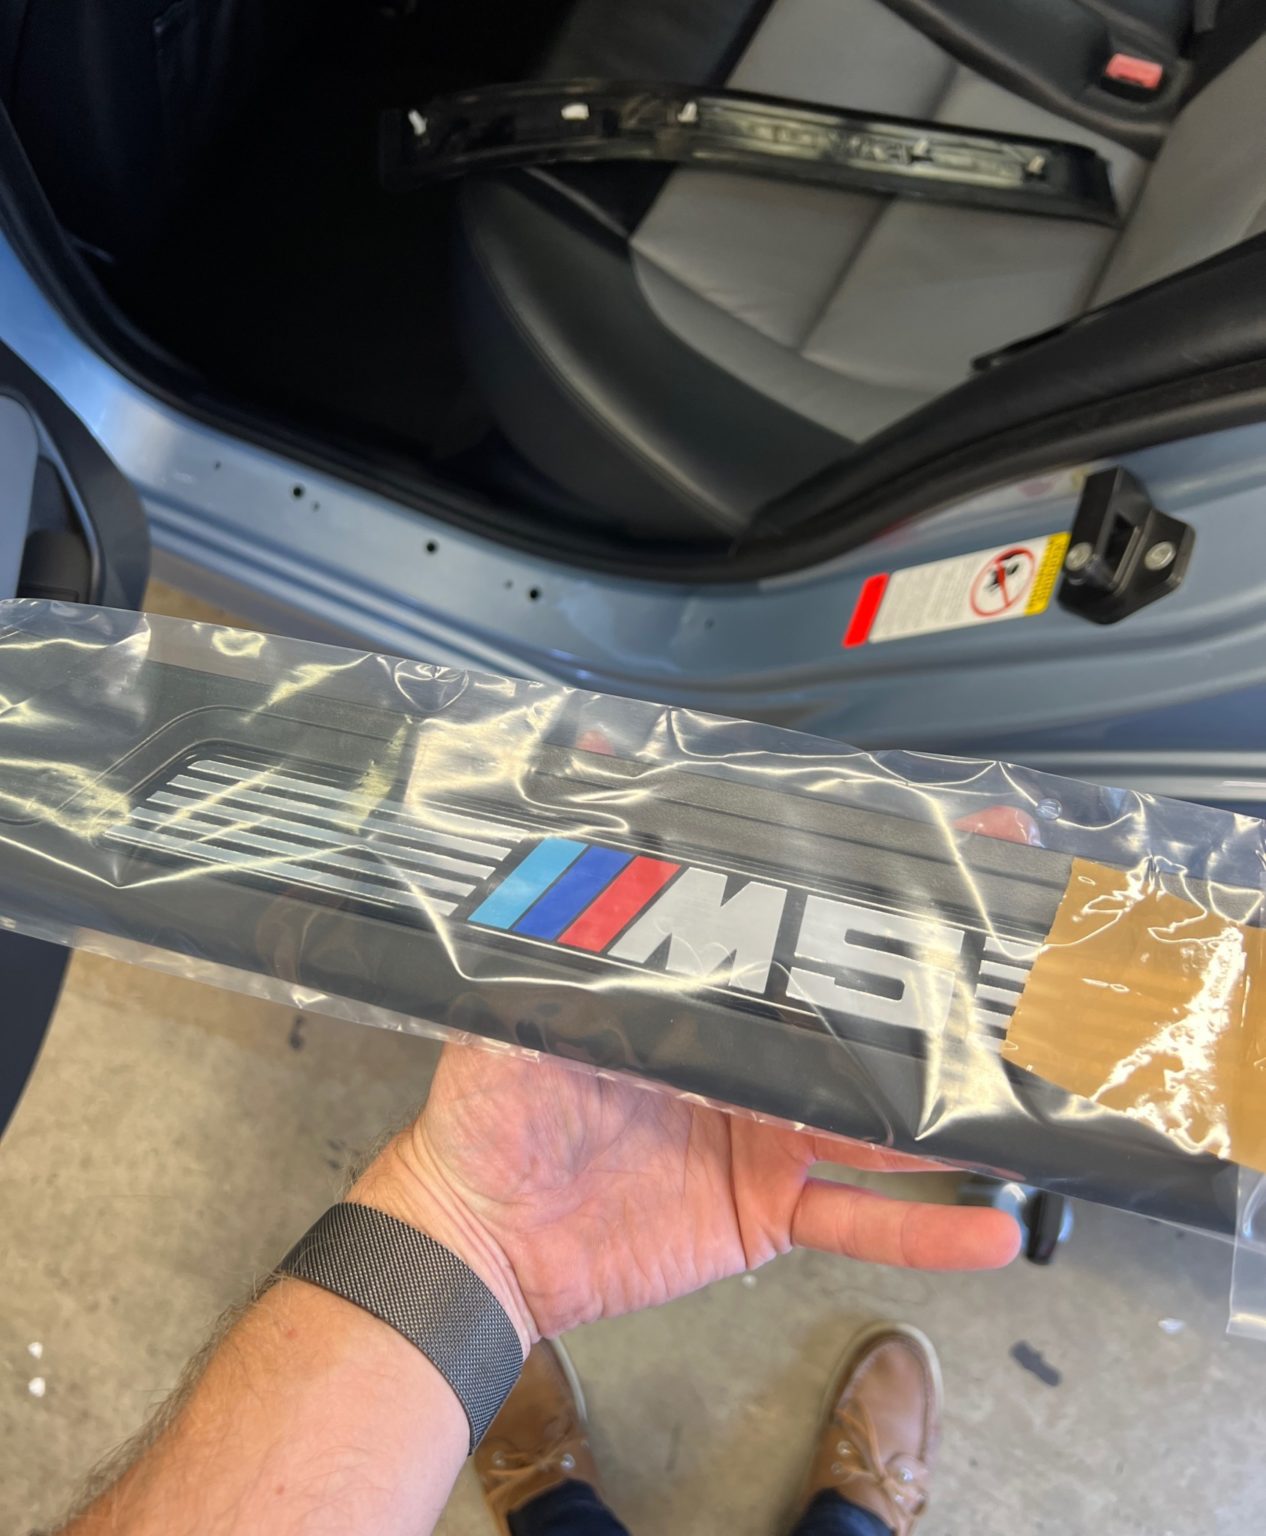
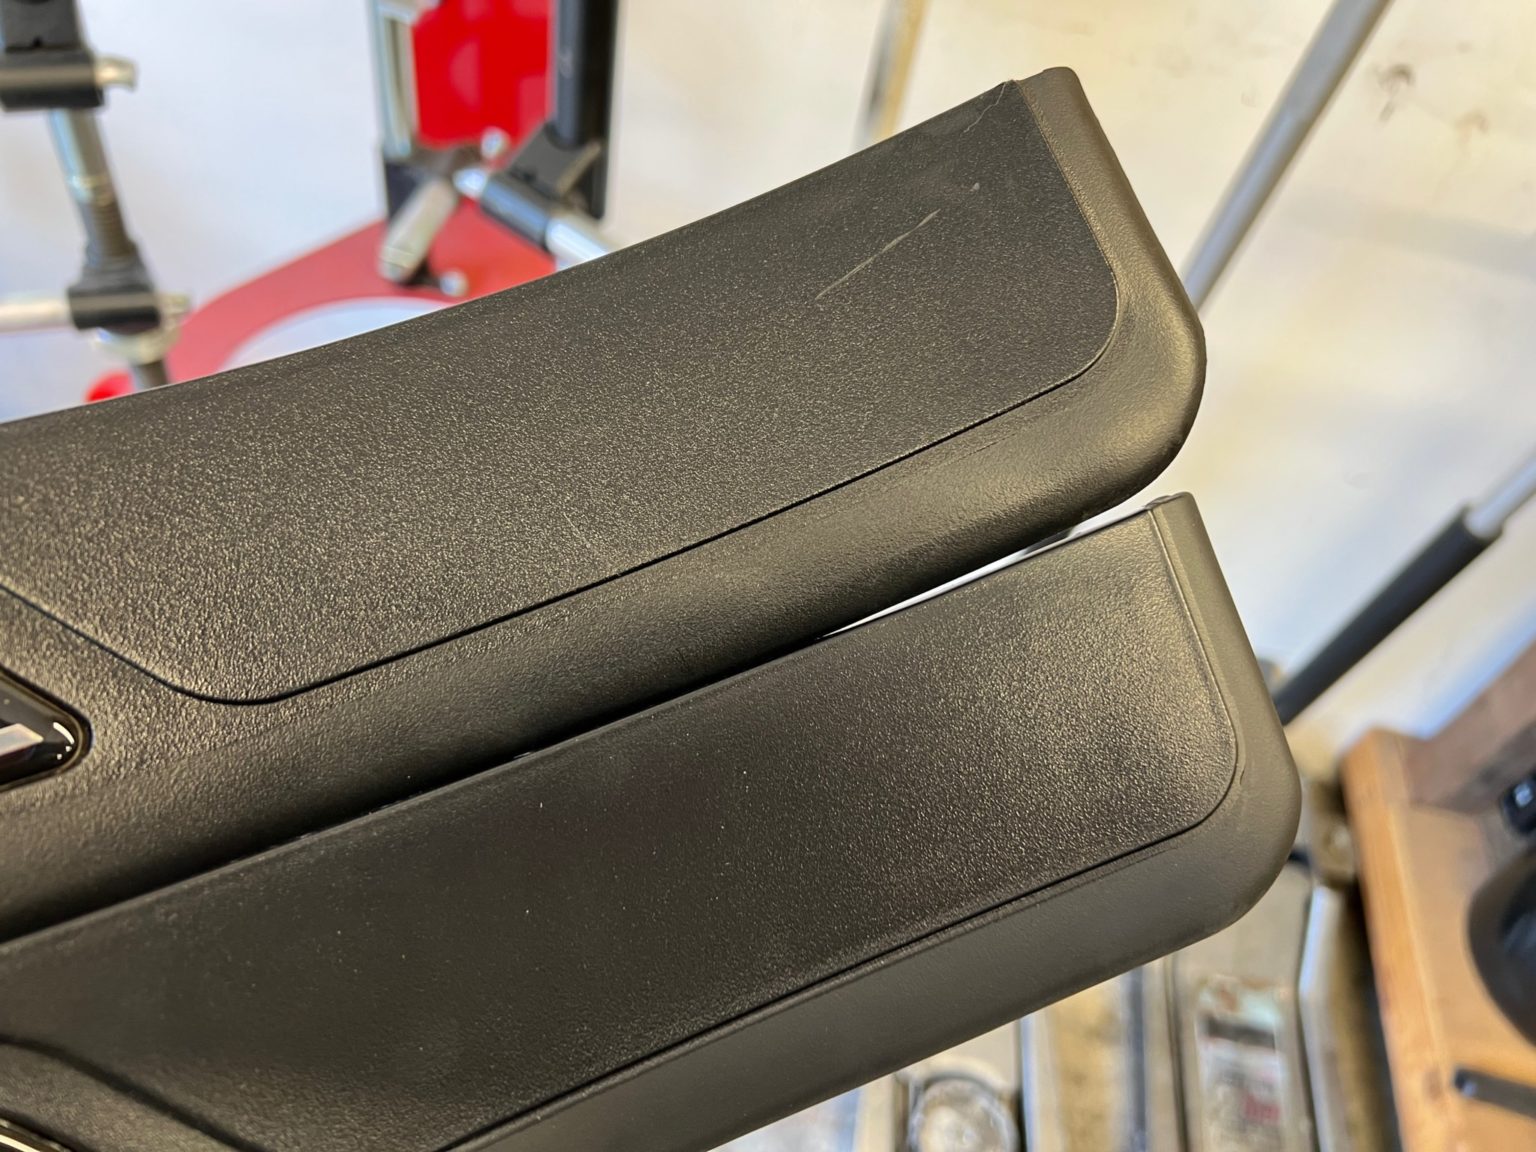
Now in April, it was time for a minor cosmetic improvement. My rear left M5 logo door sill was still original, and with concerns about future availability, I decided to replace it. My old one had one noticeable scratch that had been there since my acquisition of the car. It had finally gotten to me!
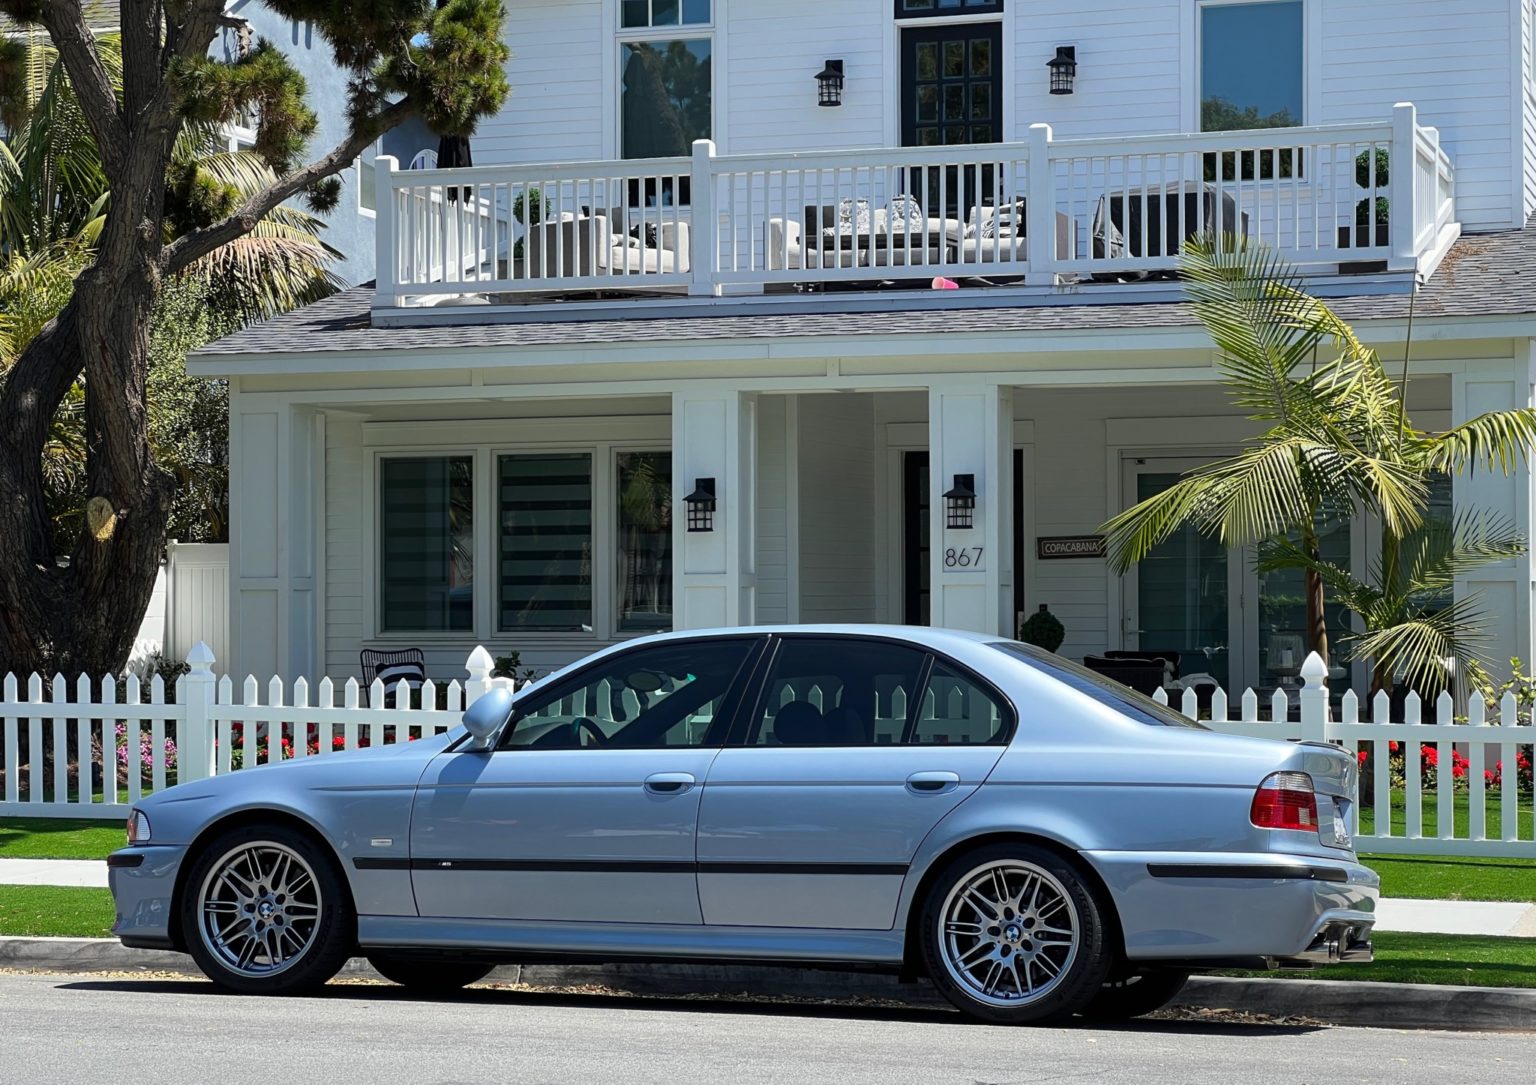
It’s summertime! Let’s enjoy this car in sunny Southern California.
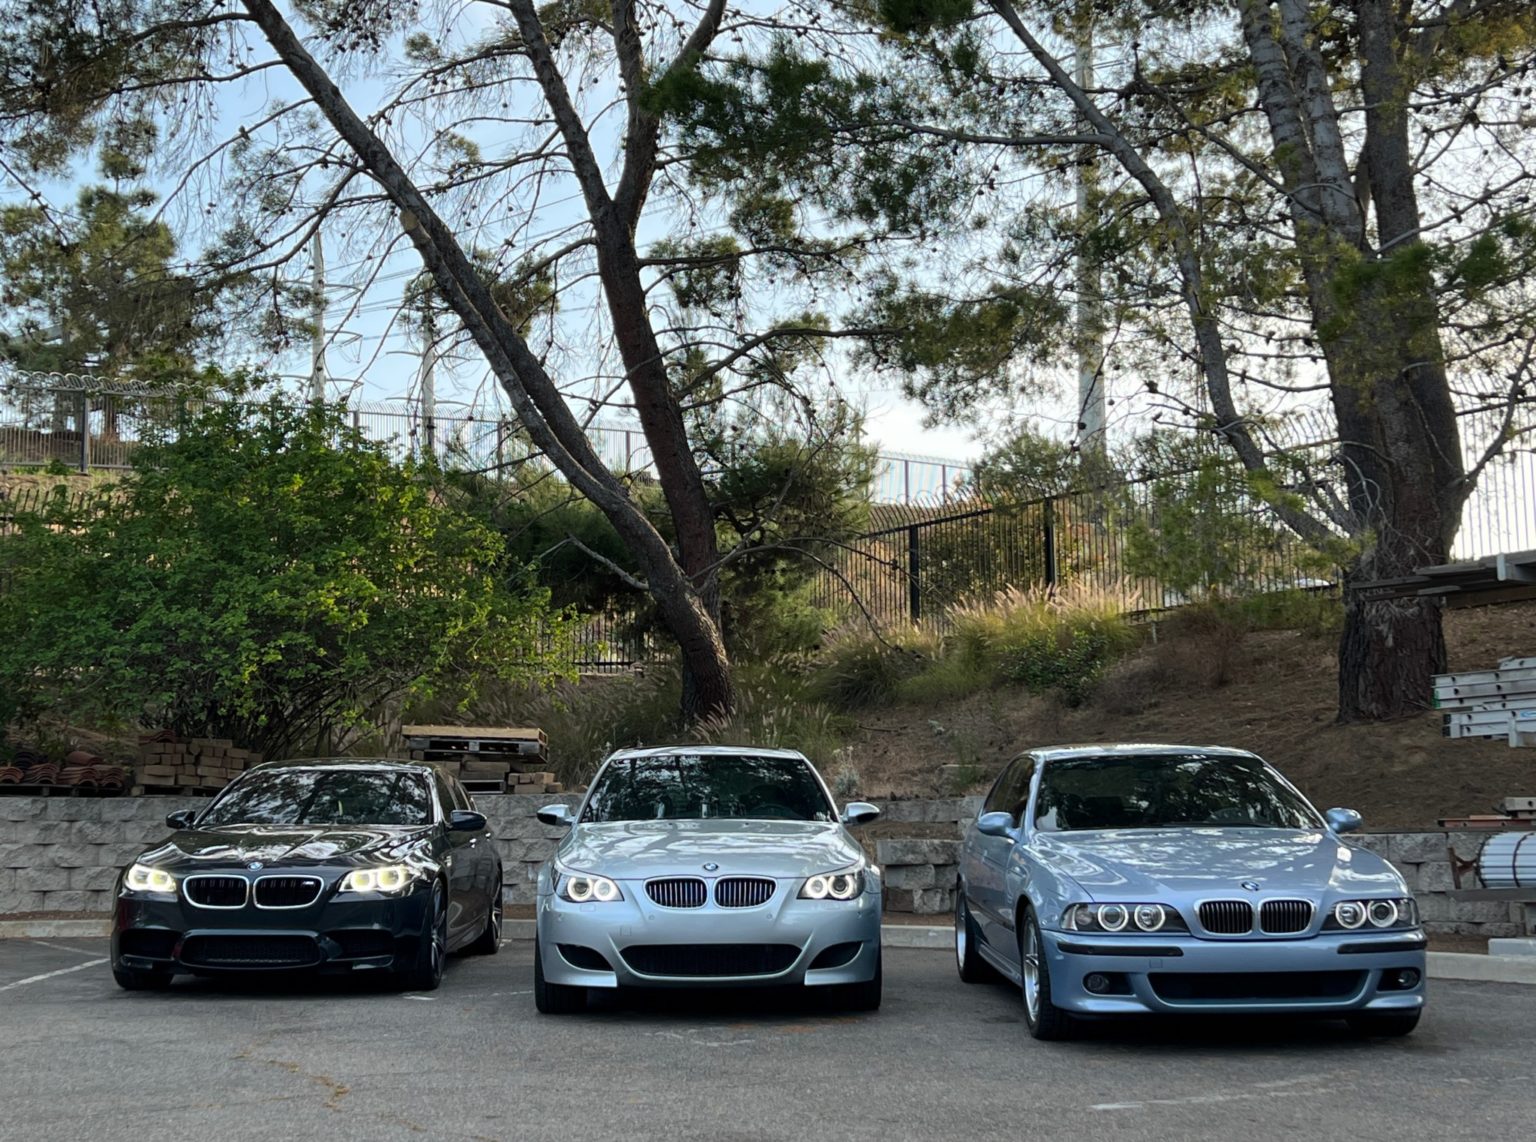
Our proud family of M5s, 3 generations.
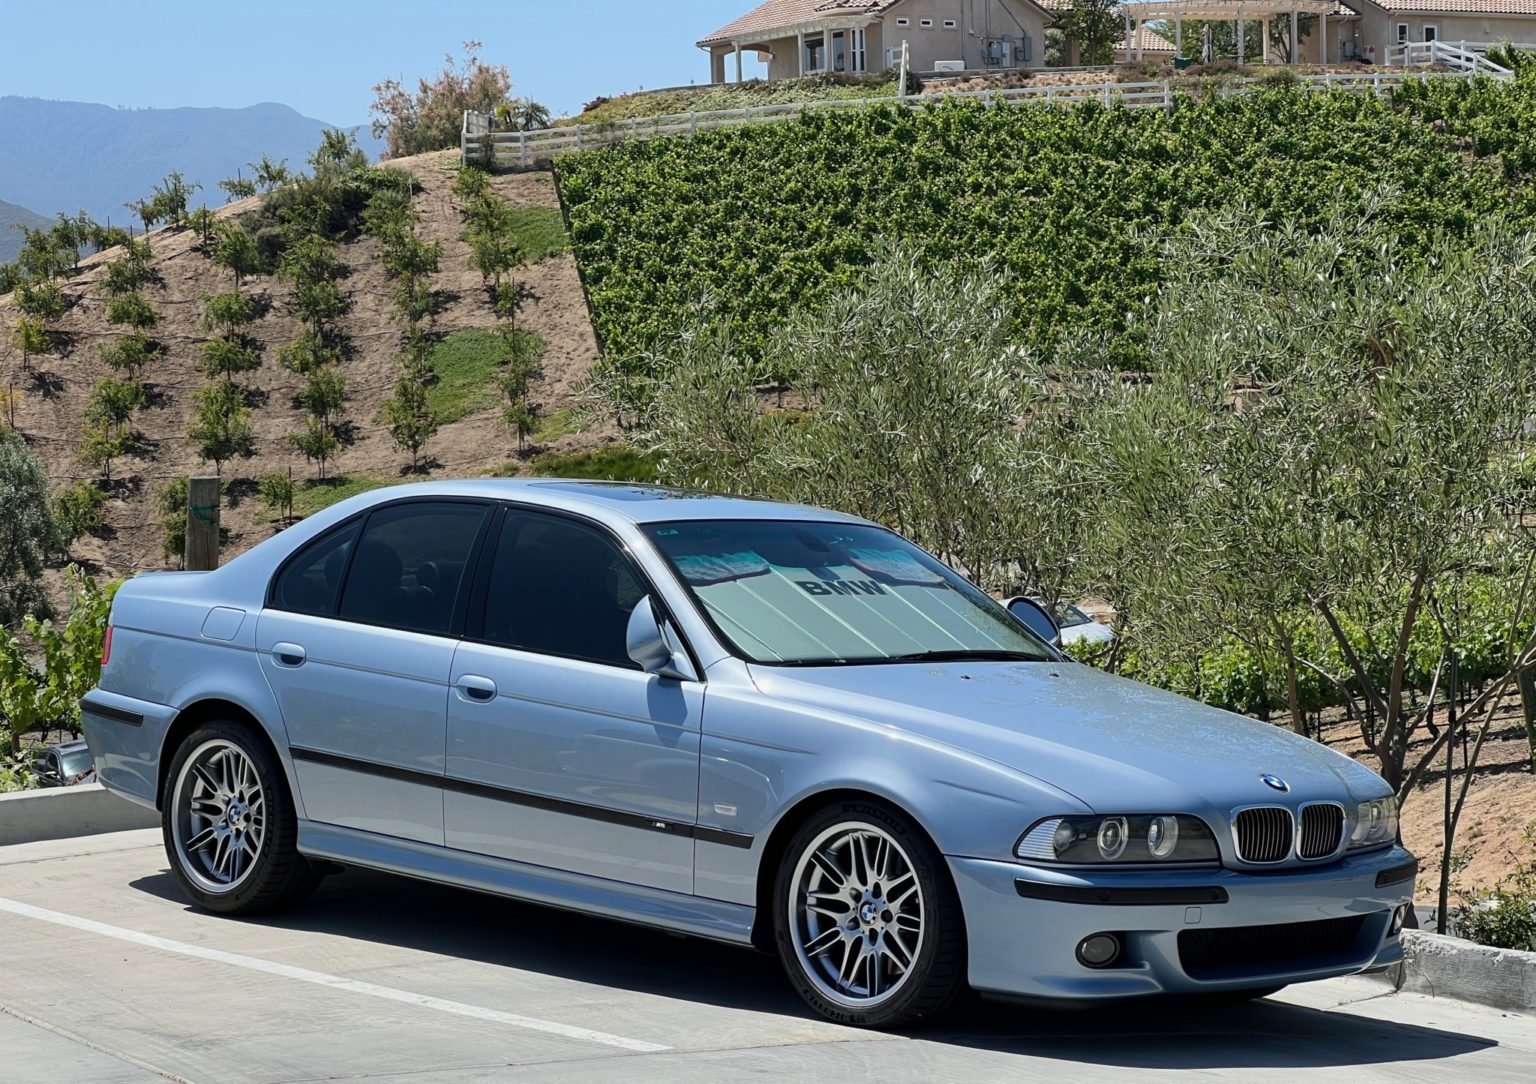
A vineyard in Temecula, CA.
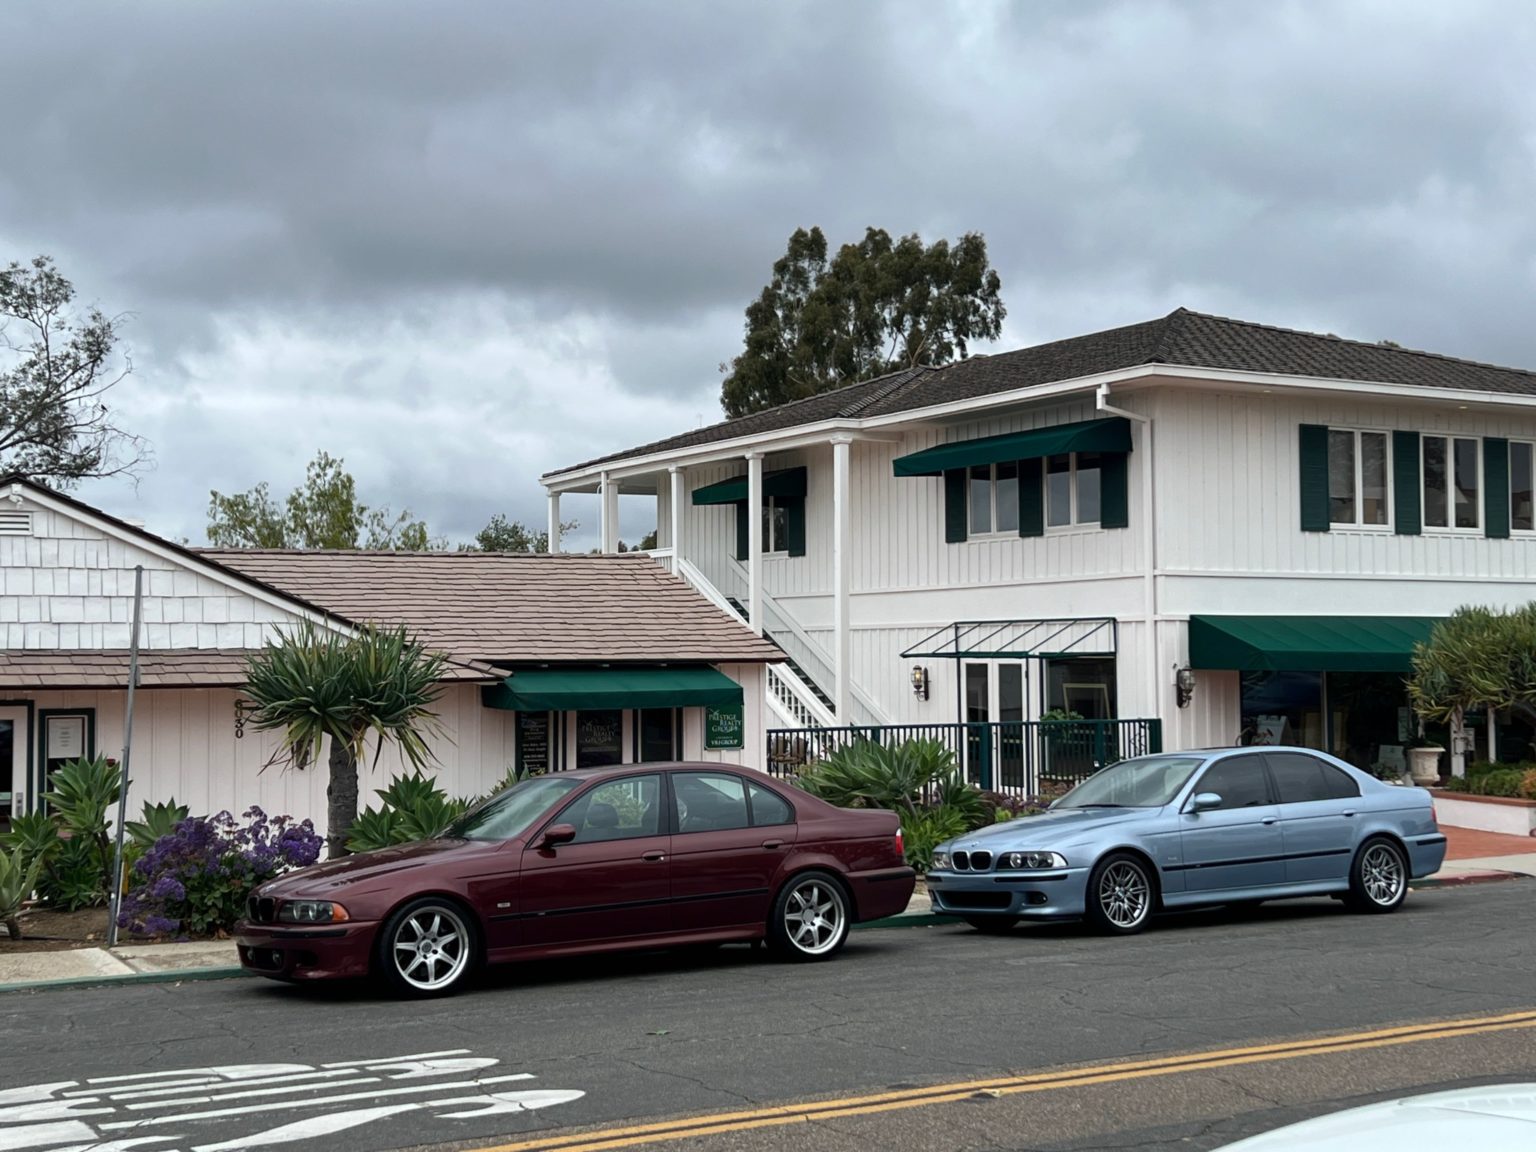
Local cars and coffee with a DINAN S3 E39 M5!
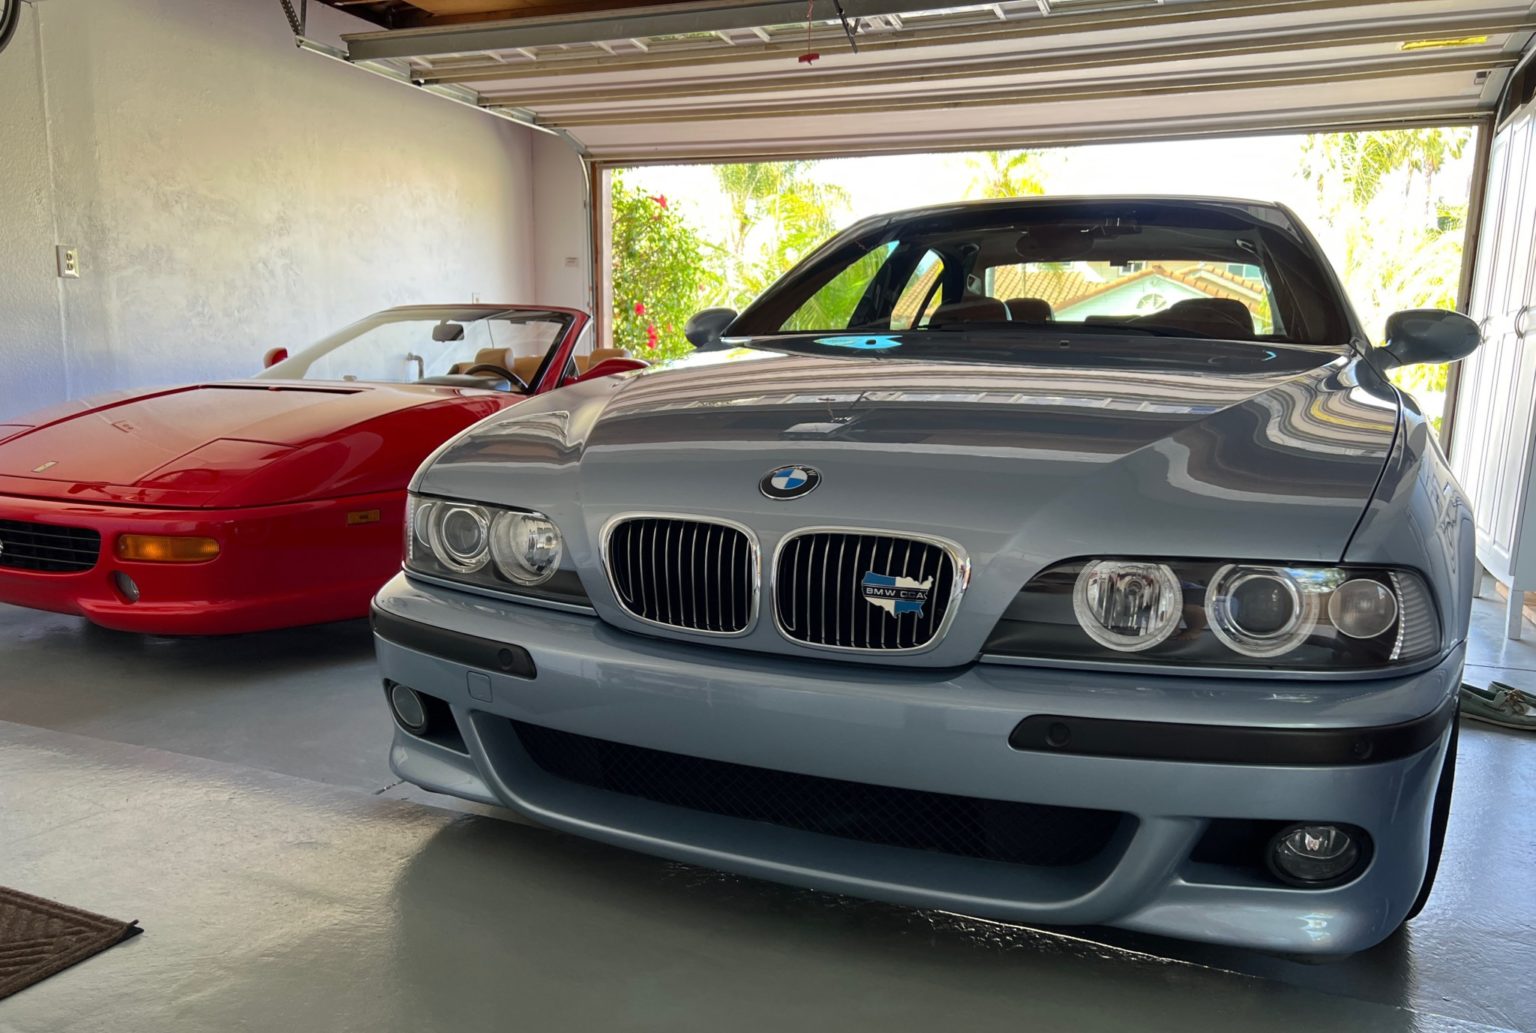
I put my BMW CCA badge back in for a few weeks, and an upcoming CCA event.
It’s time to open the next can of worms. I had noticed my interior creaks/rattles were worsening. My rear door panel upper cladding was loose, and I figured the map pockets on the door panels would need to be re-glued as well. Removing the door panels means replacing the clips, repairing the old glue, and replacing and re-sealing the vapor barriers. While I have the doors open, it’ll be a good time to check the tightness of the window regulators and thoroughly clean out the doors. I also decided to install the BAVSound E39 speaker kit, which replaces the 20+ year old speakers with paper cones with modern kevlar cone units. An improvement in sound quality was not my highest priority here, but rather long-term performance and durability of the speakers. If sound quality improves as well, that’s a bonus feature. I was happy to not find any corrosion or surprises inside the doors. It appeared that I have been the only one to service these doors/panels. The original vapor barriers had let go in many places, and each door panel requires some sort of repair regarding vinyl and/or map pocket glue. I took my time and got the panels restored to factory (or better) spec.
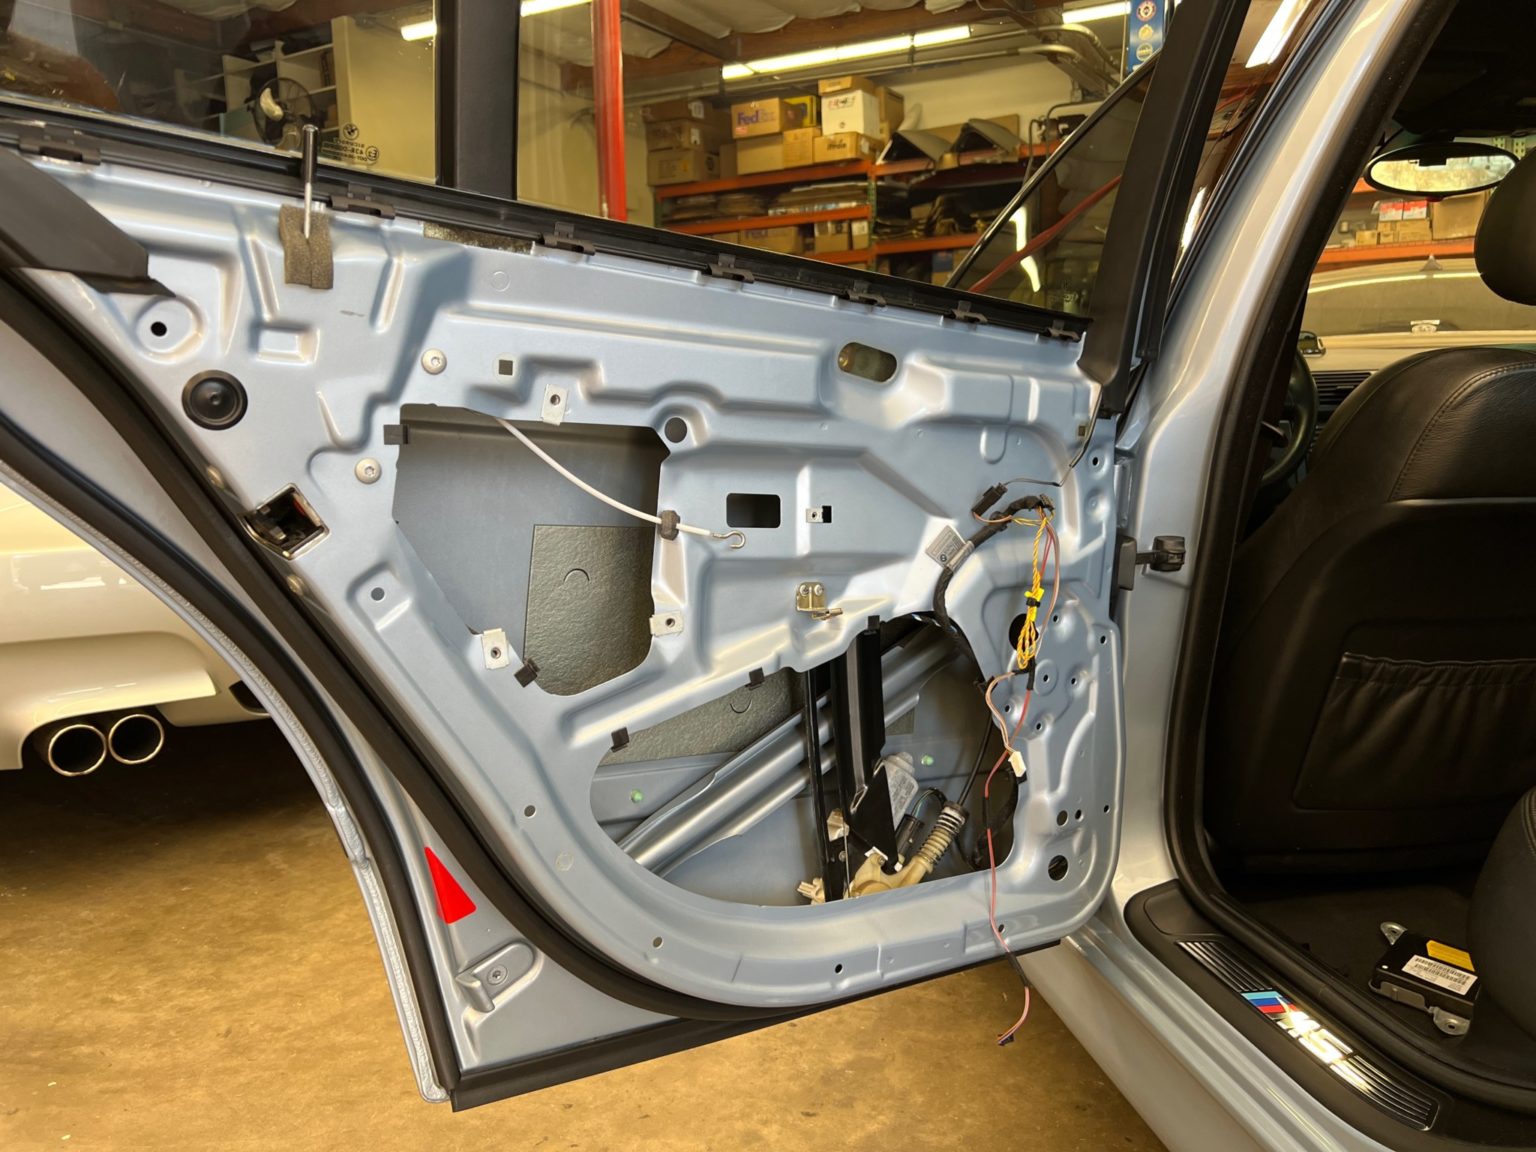
Rear left door opened up and cleaned, I was thankful to find no corrosion!
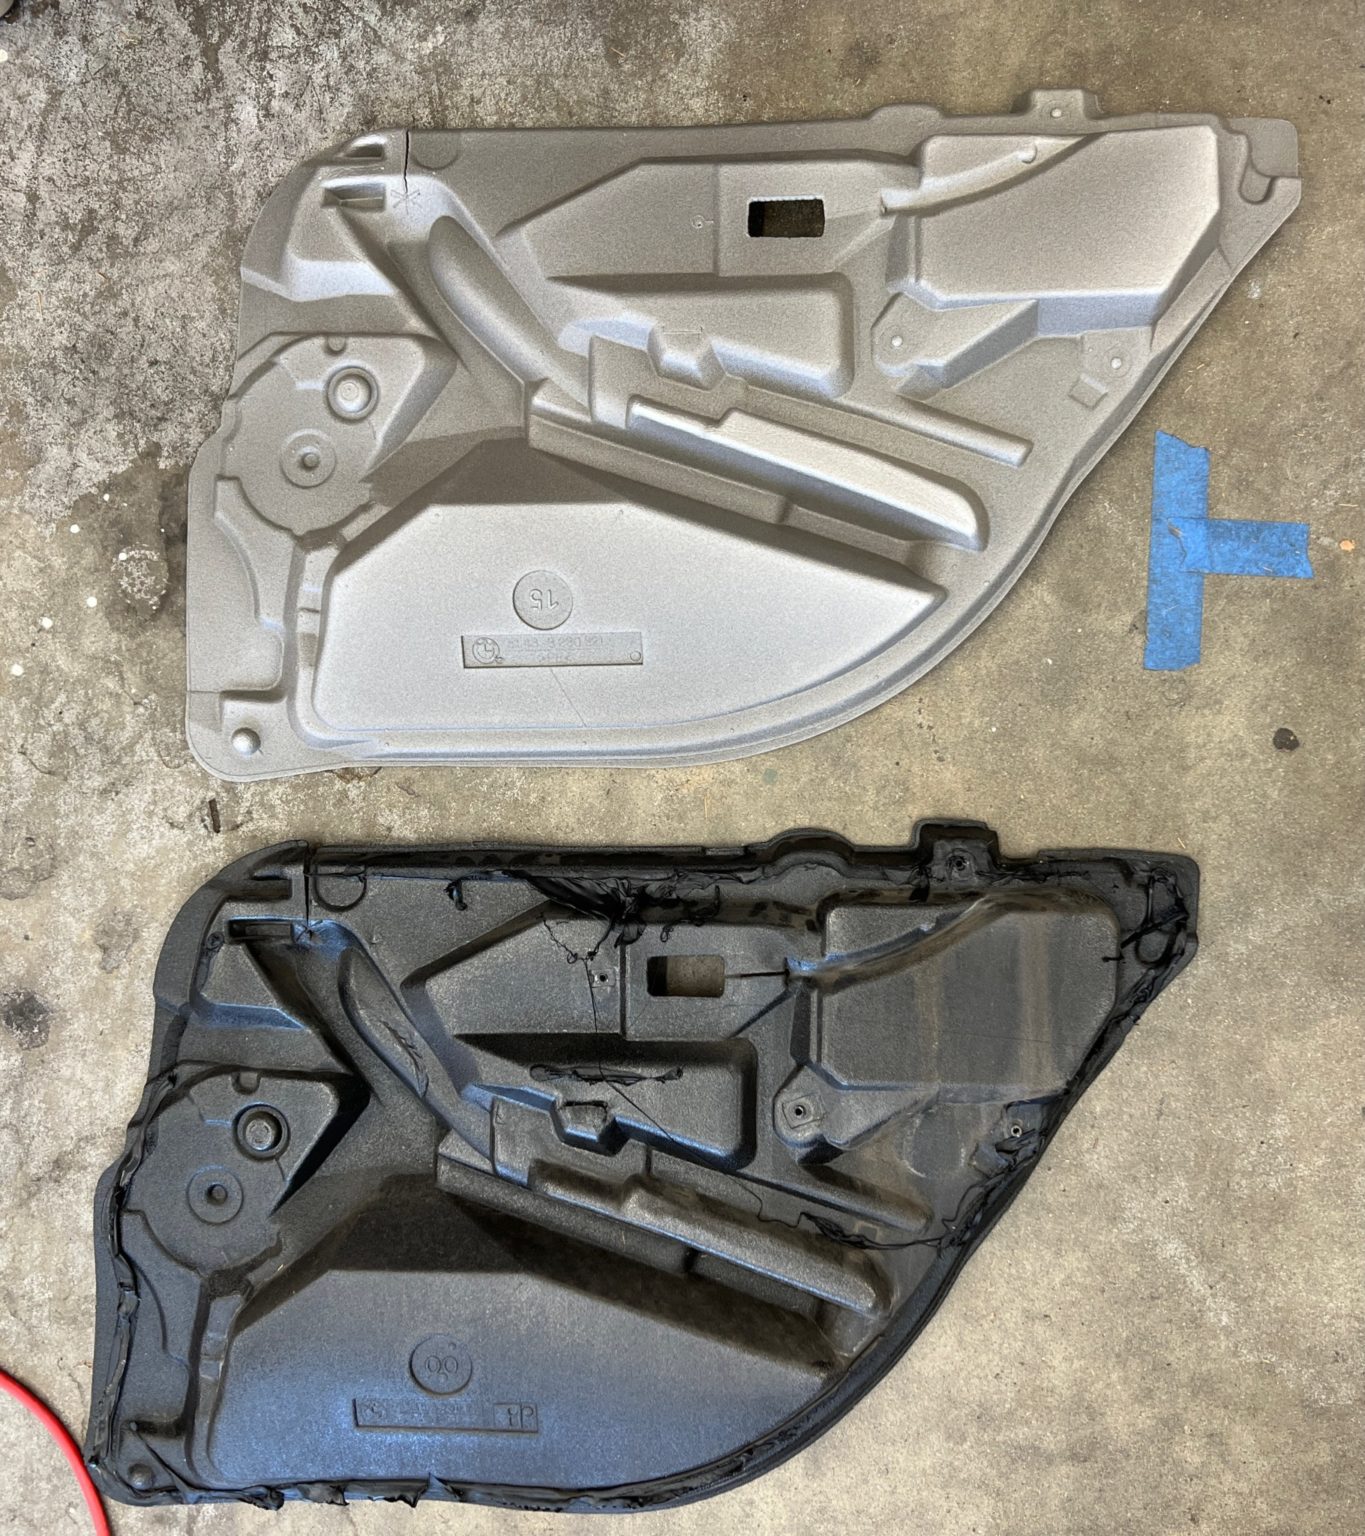
New vapor barrier on top.
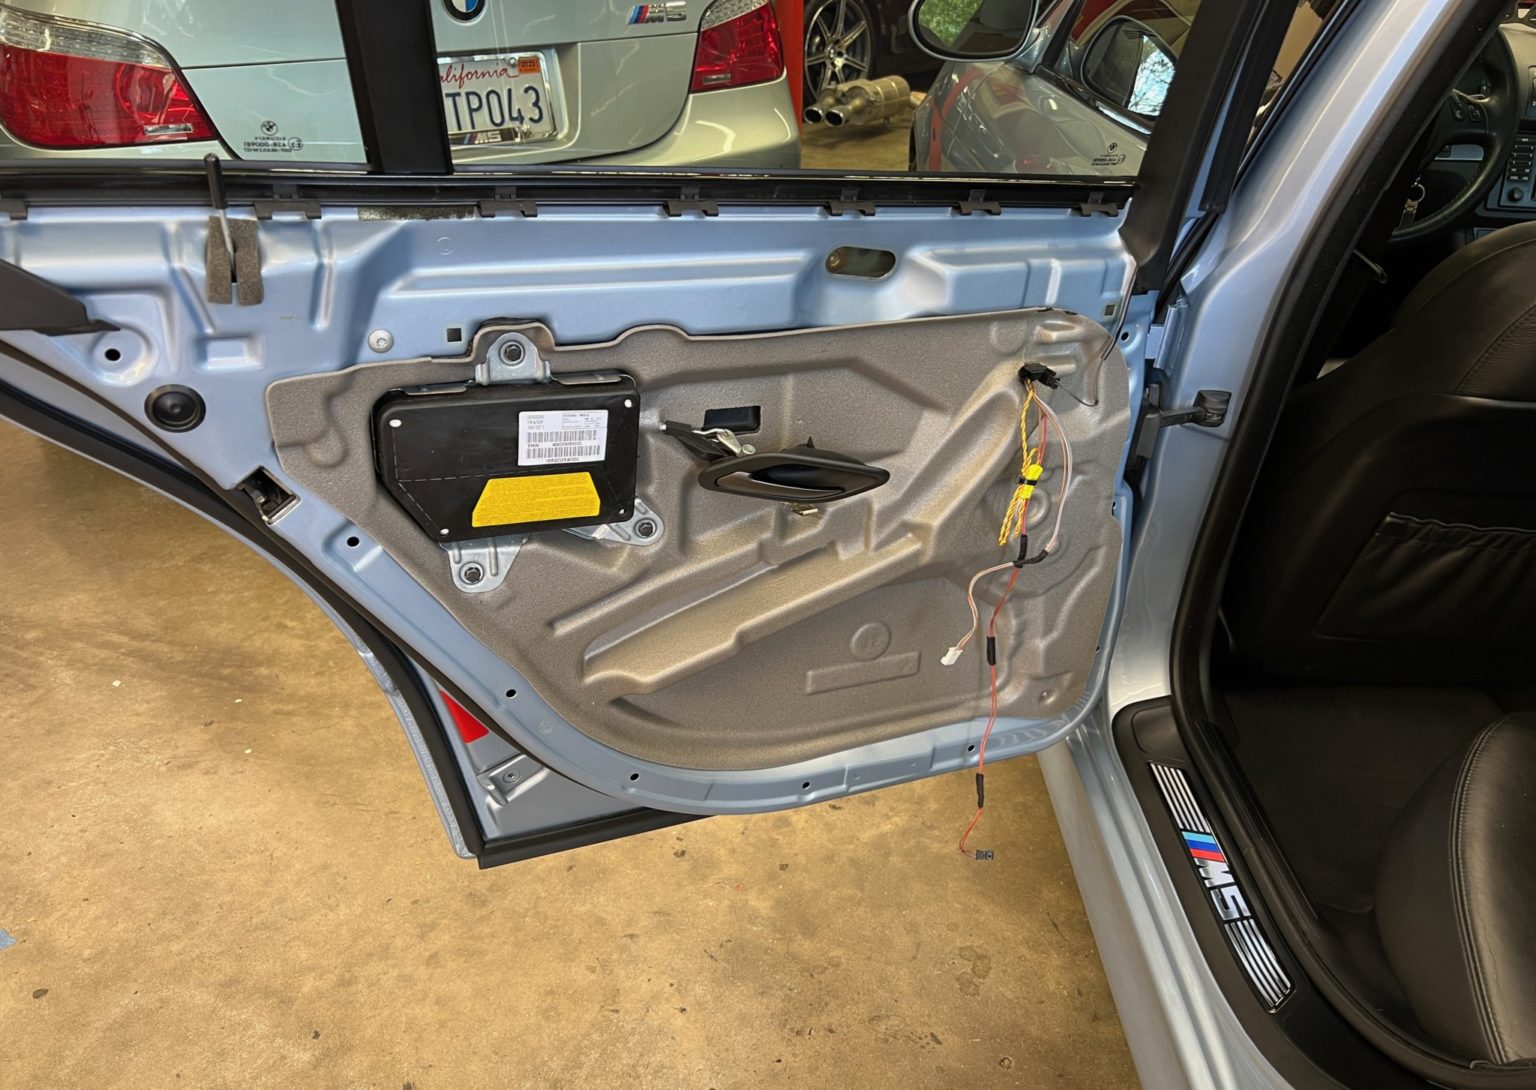
Rear left door simply awaiting the repaired door panel!
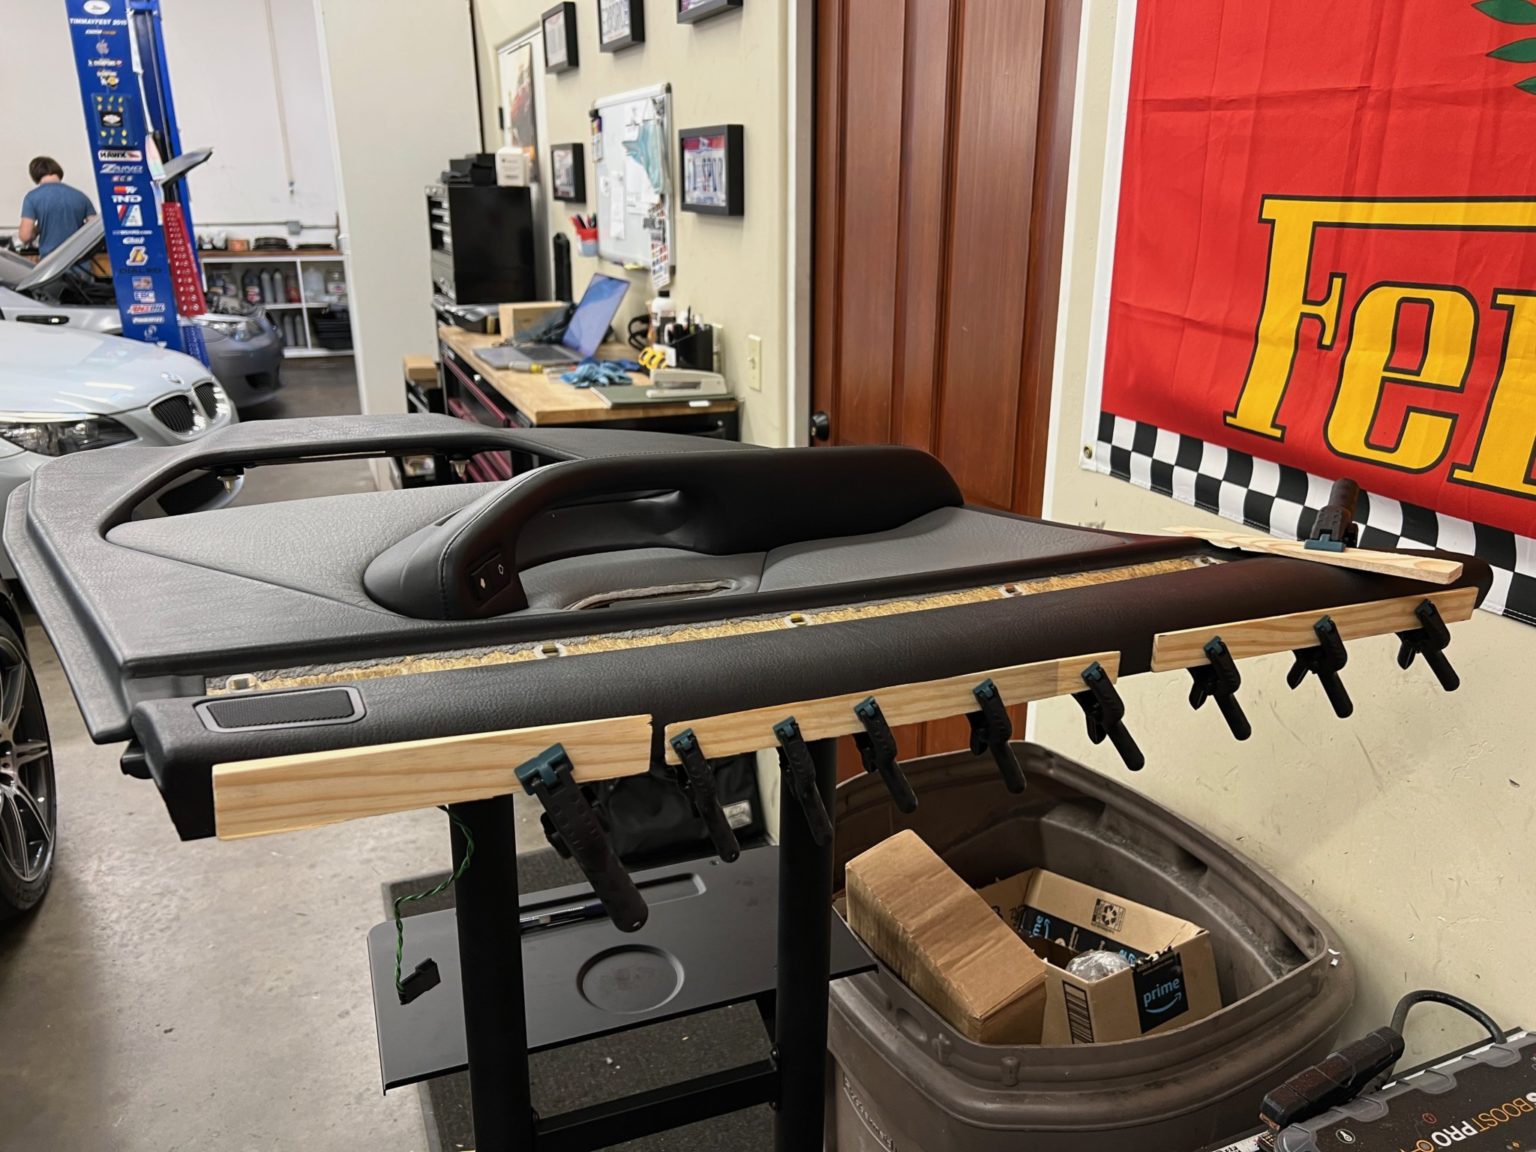
Door panel cladding repair.
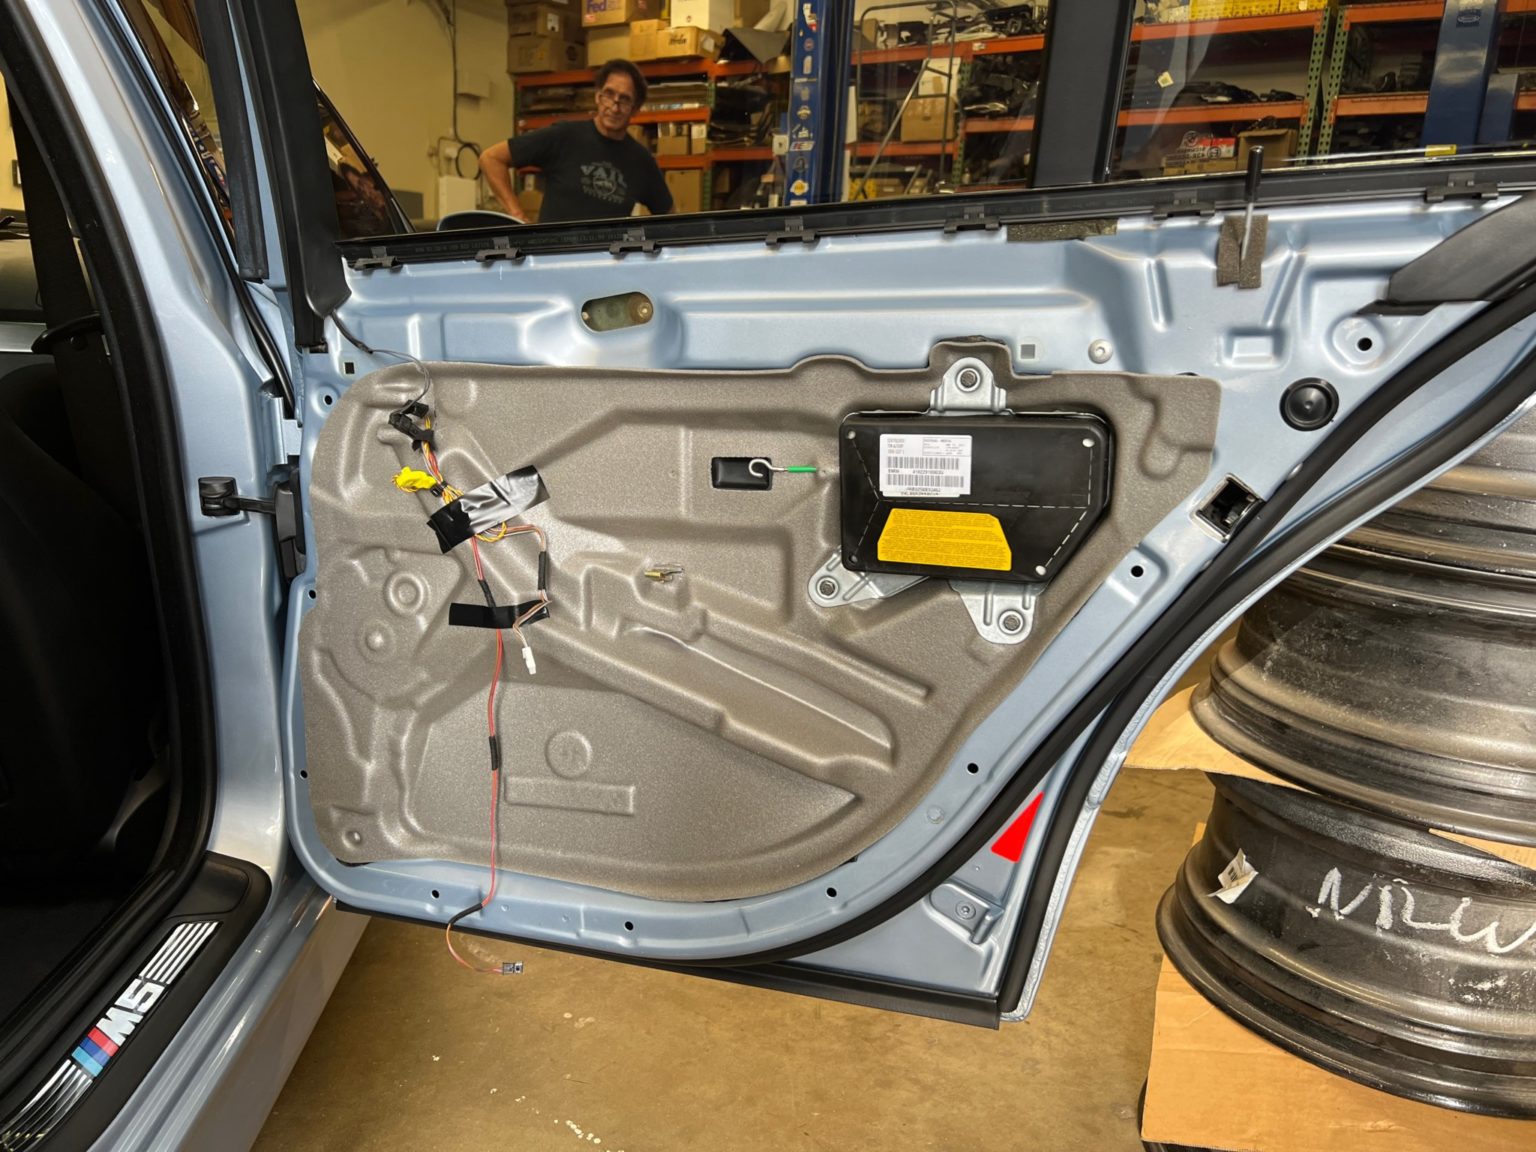
Rear right door all sealed up.
I elected to replace all 40 of the clips that hold the panels to the doors. Only a few of the originals were broken, but these are cheap parts. I had planned on using E38 7-series clips, which feature a small foam gasket to quiet any rattles, but they didn’t fit the E39’s door panels well. So instead, I bought new E38 and E39 clips, and simply transferred the foam gasket over.
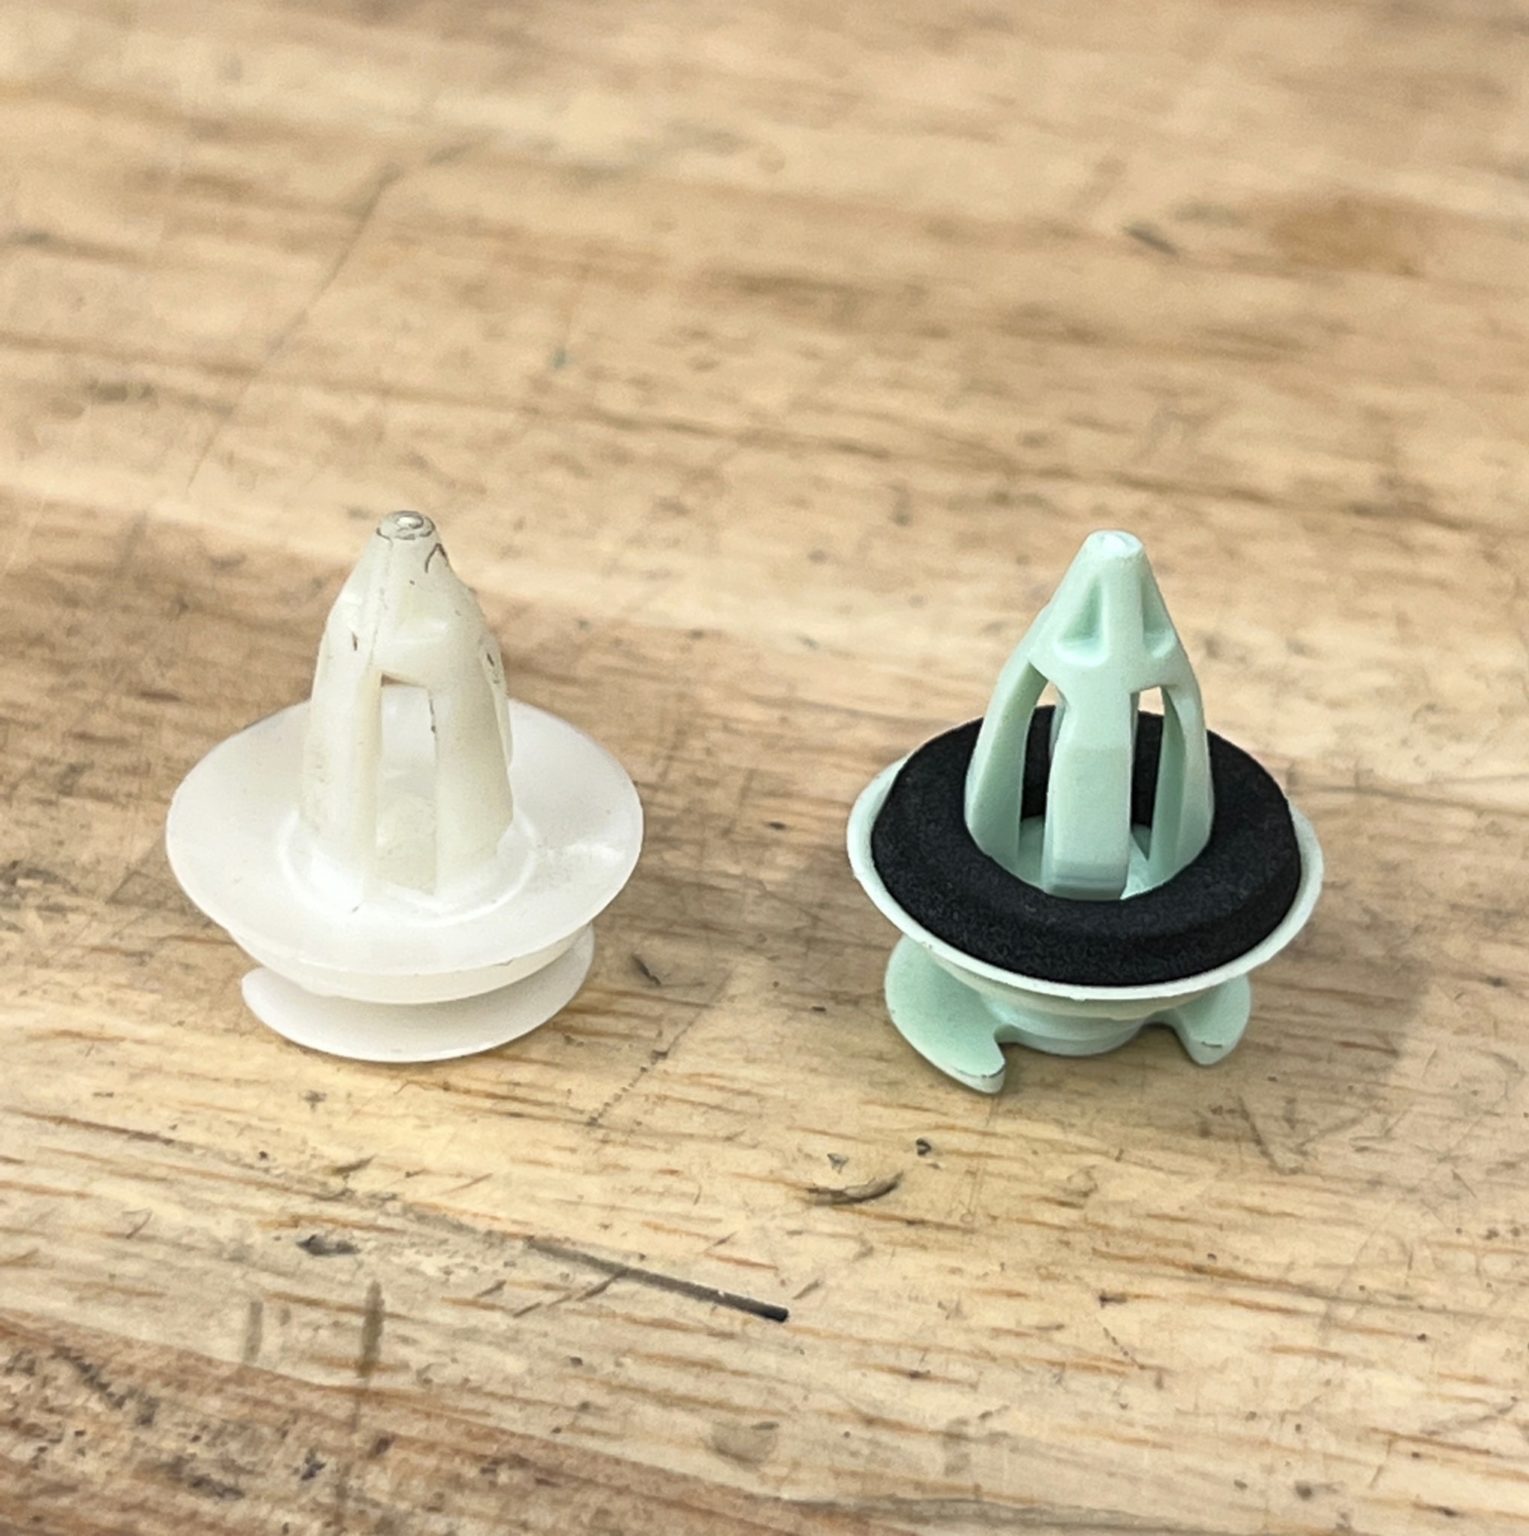
E39 clip left, E38 clip right.
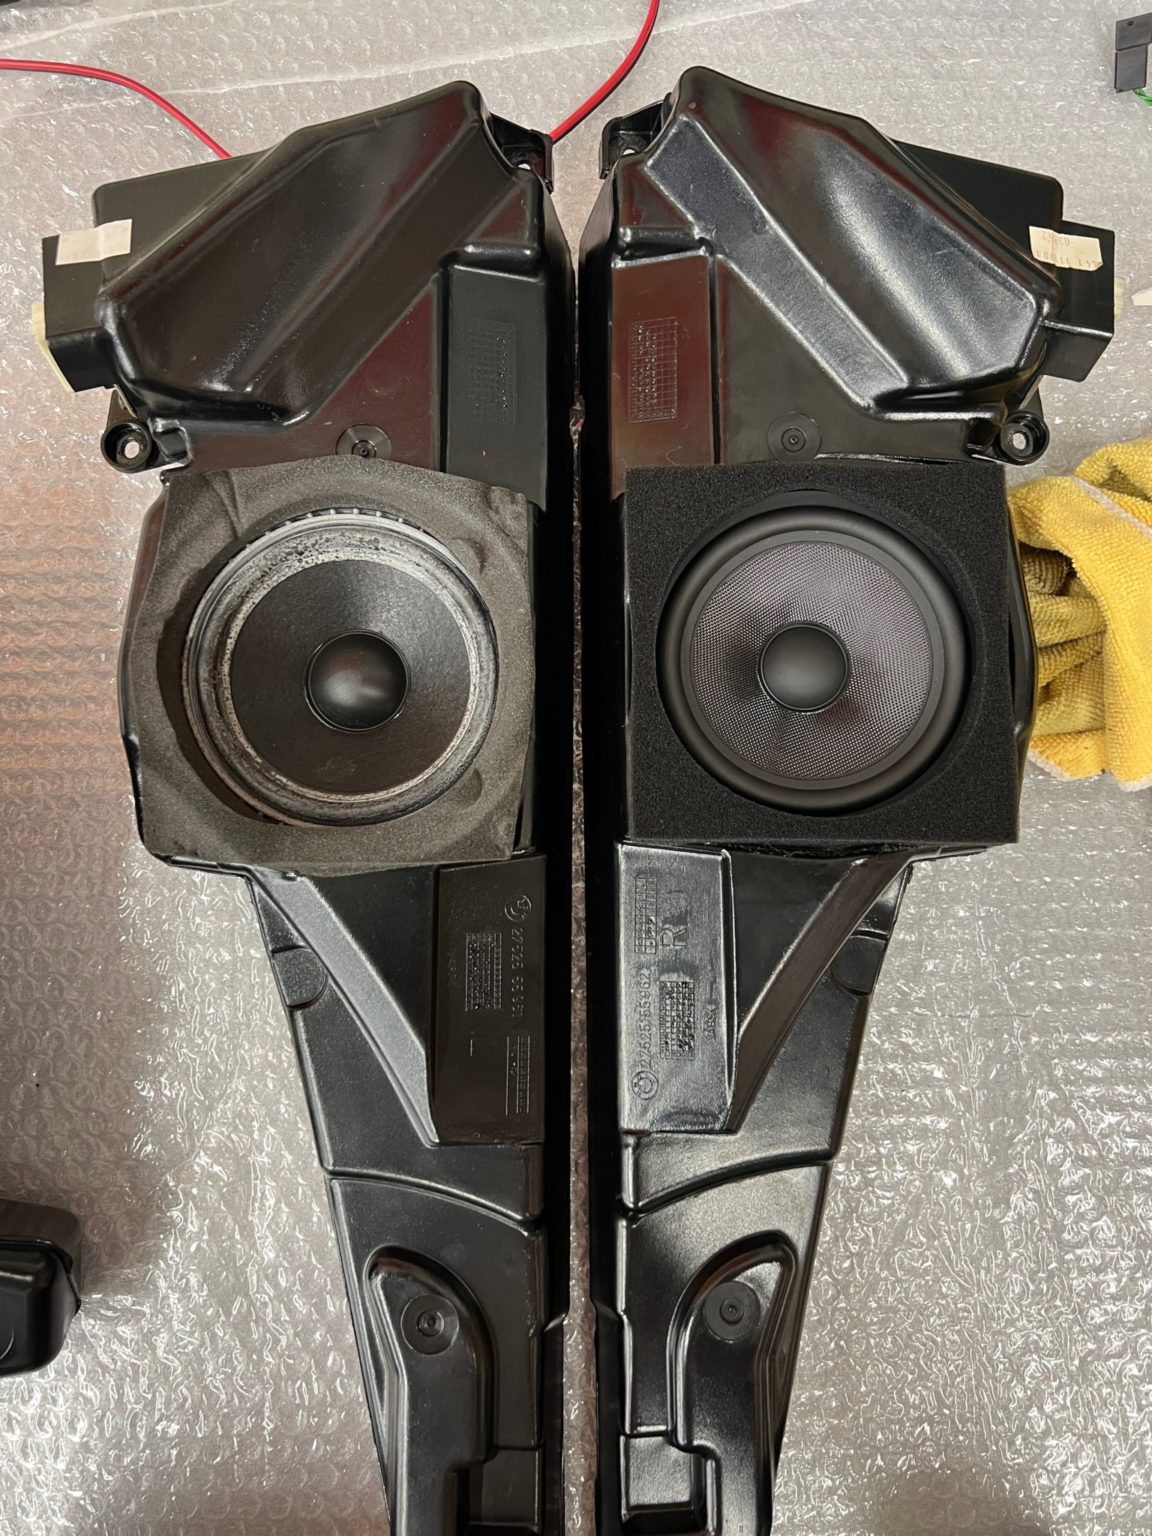
BAVSound speaker and new foam, right.
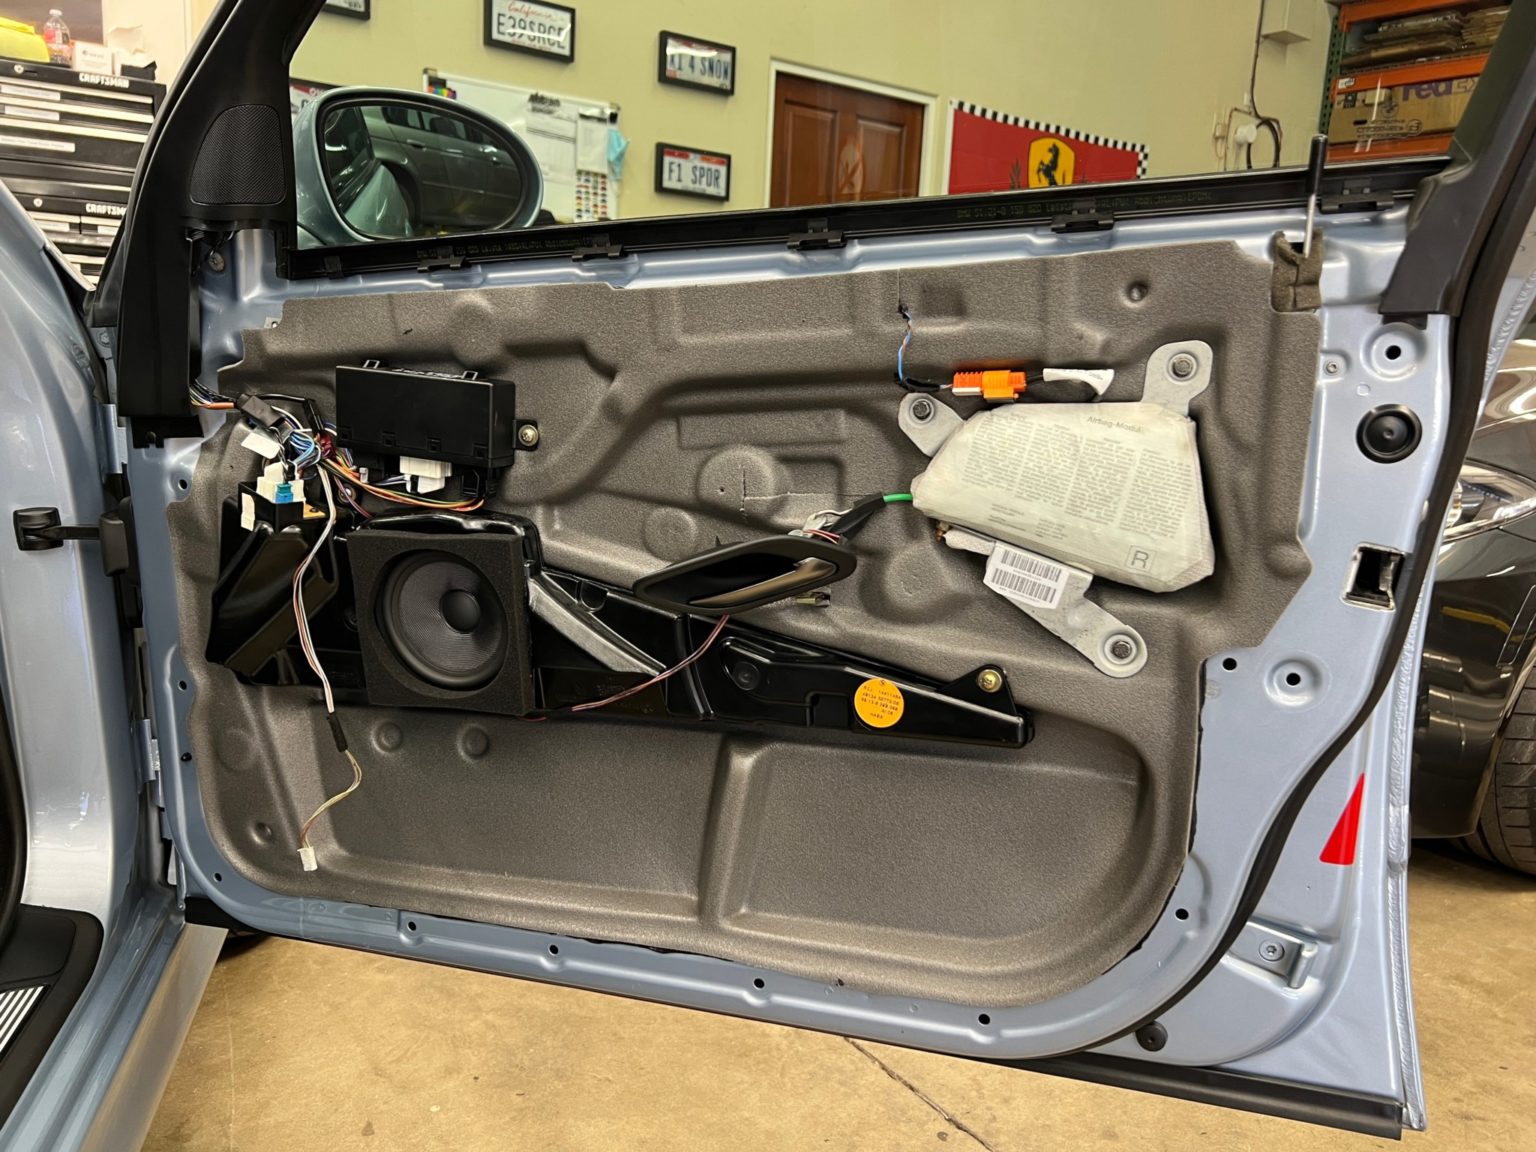
Front right door ready to roll.
On the front doors, the original factory sound insulation around the door tweeters disintegrated once I attempted to remove it. These parts have been NLA since ~2005, so it was time to fabricate something. Amazon had some nice 1″ thick sound insulation foam, and scissors work wells to cut it to shape! There is now less wind noise than before from this area.
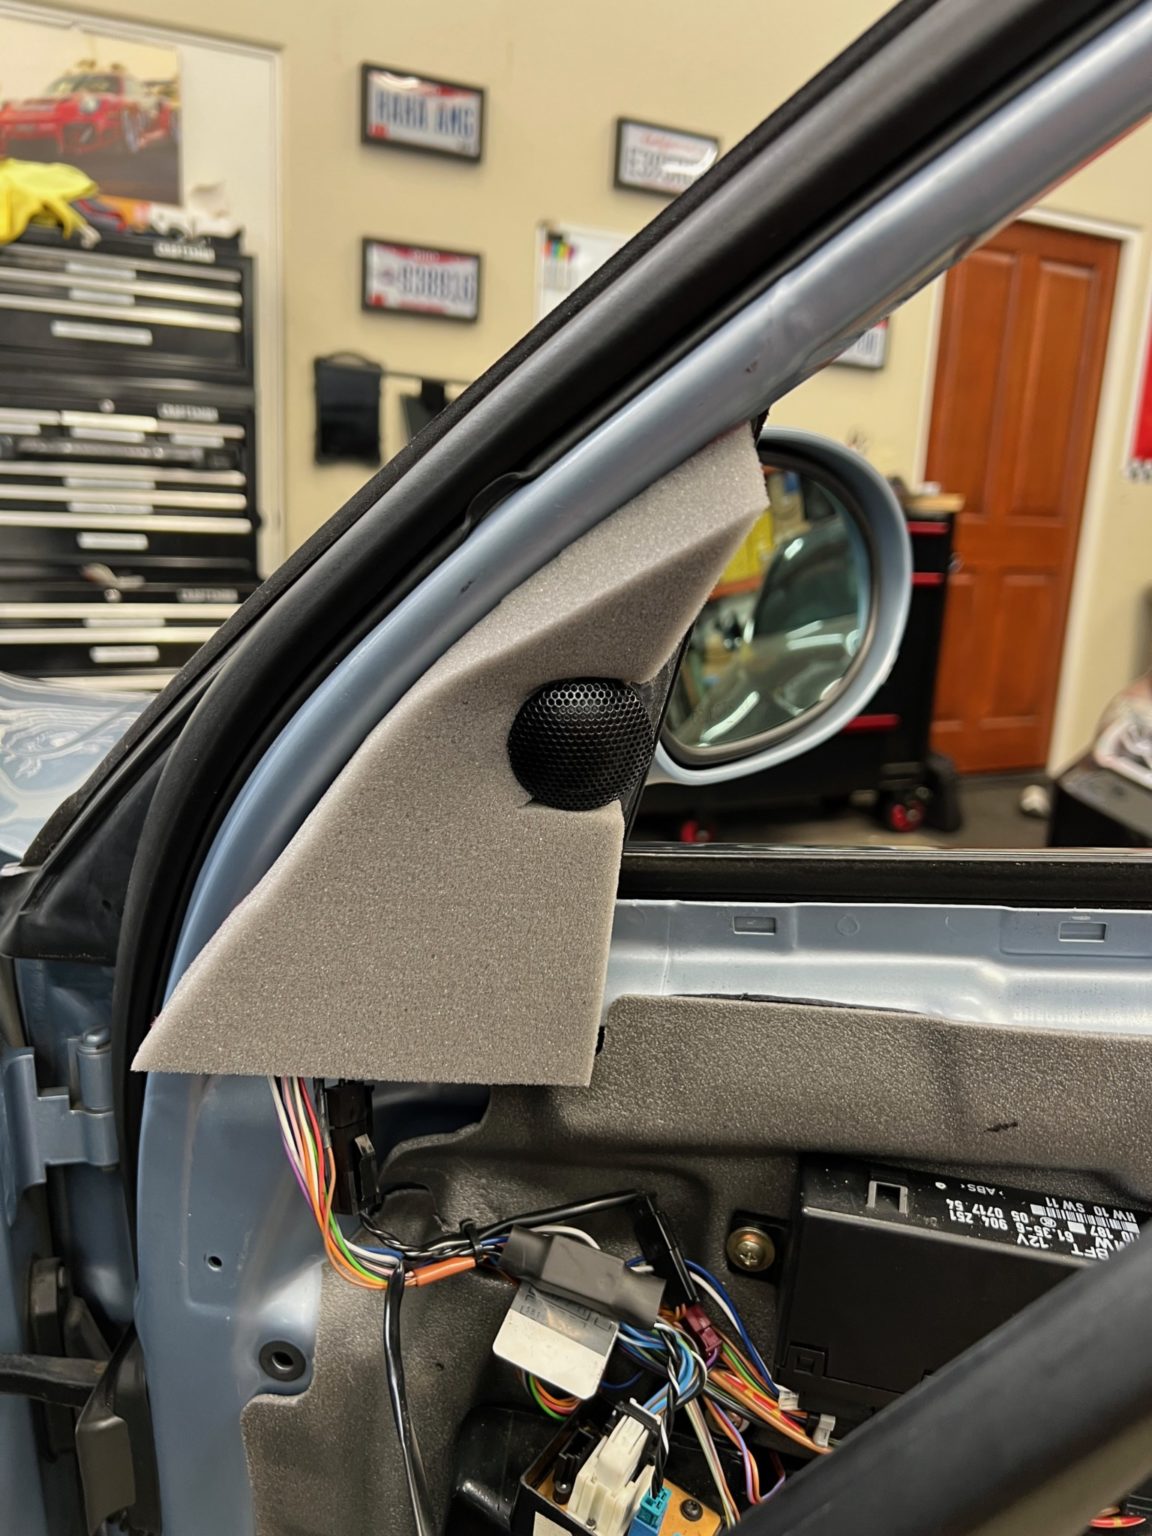
Custom sound insulation solution.
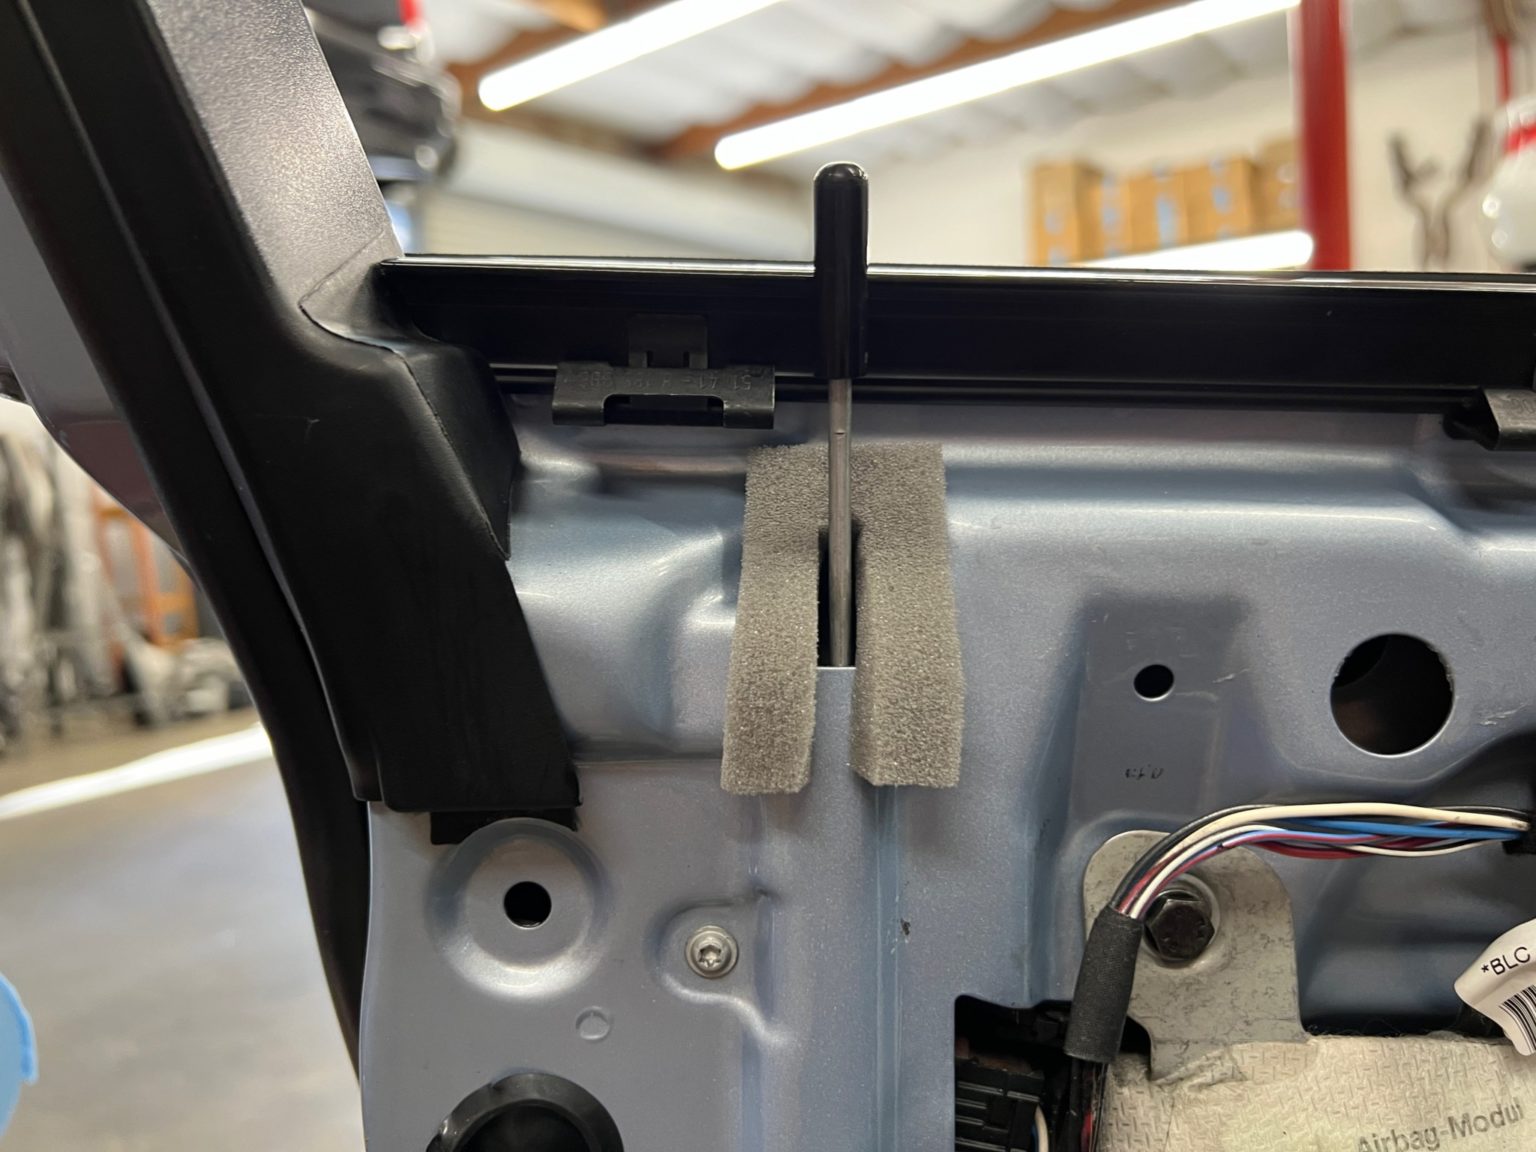
More custom anti-rattle foam.
After re-assembling all of the doors, I was mostly happy with the results. I say mostly because the loudest noise still existed, even after tightening everything in the doors. This noise was coming from the driver’s door latch area, and would make a groaning/rattling noise as the car went over bumps or flexed at all. I opened up the door for a second time and triple checked every bolt and screw that is accessible; all were tight. With the door panel off, I grabbed the door and moved it up and down, and heard my noise coming from the latch area. I removed the door latch assembly and replaced the lock actuator for good measure. After reinstalling the latch assembly, the noise was still there. I turned my attention to the latch catch on the B-pillar and found that it had a groove from wear. After installing and aligning a good used latch, the noise was finally gone!
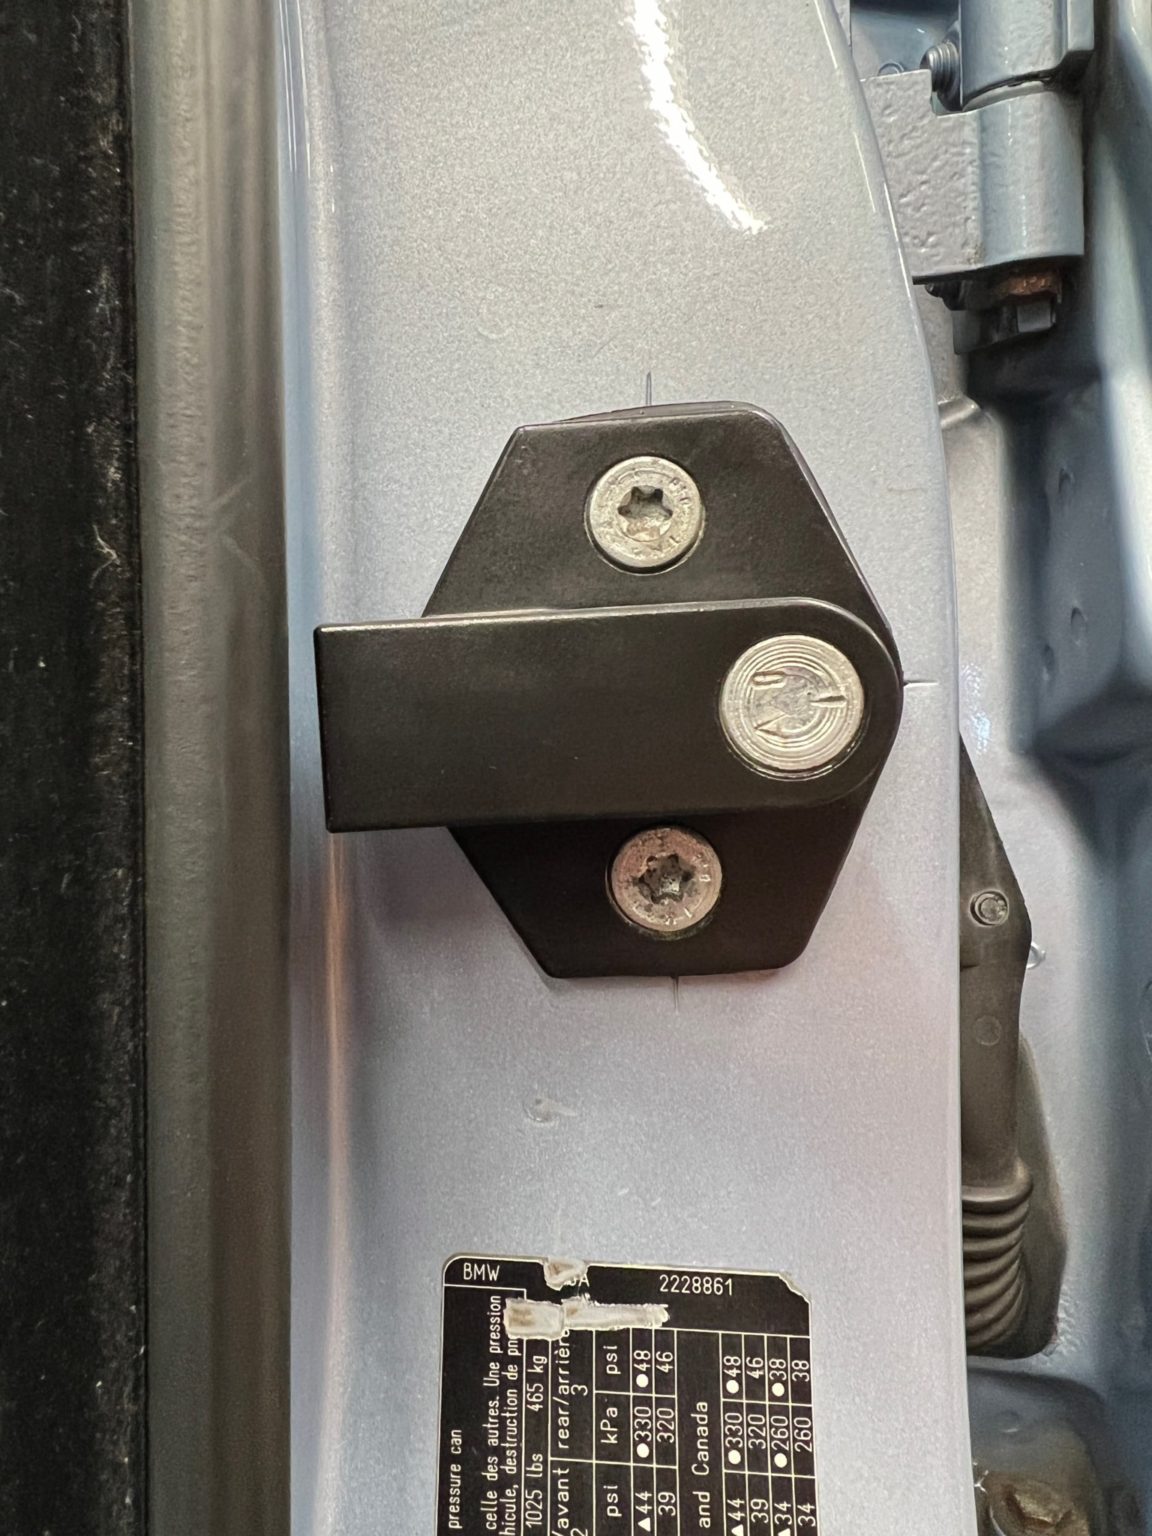
Driver’s door latch catch.
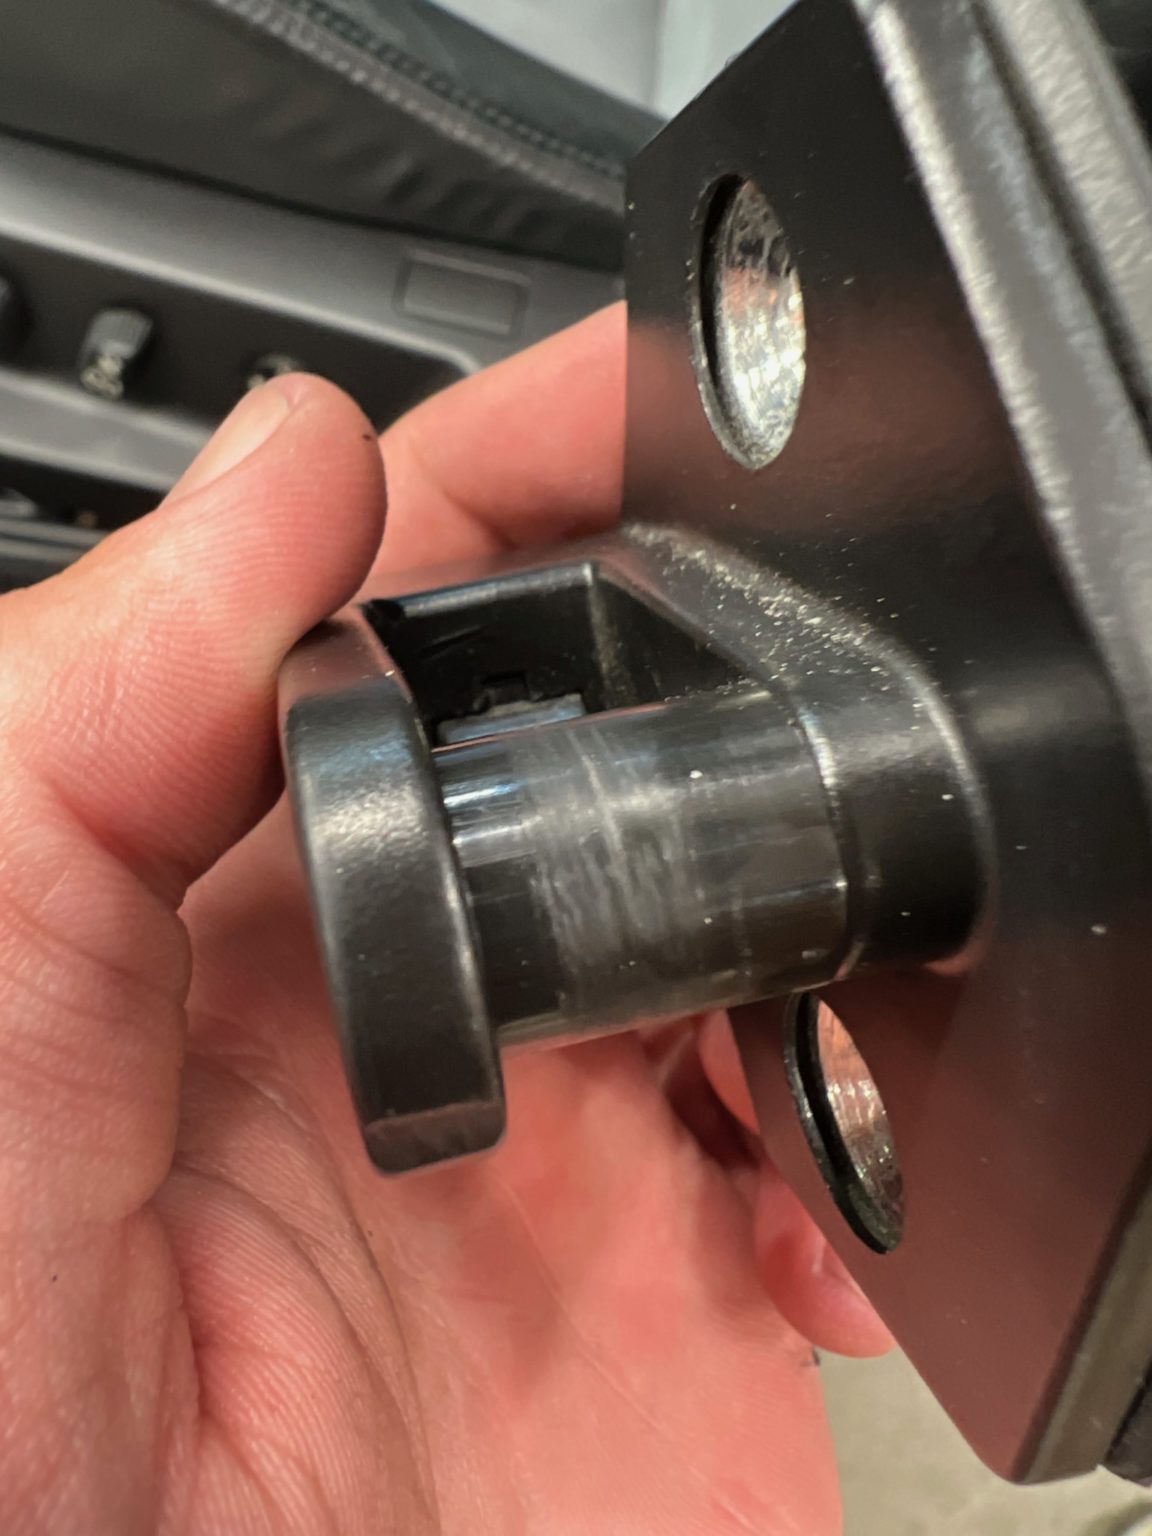
That small wear groove is all it takes to make noise!
2022 Summary (so far):
Rebuilt and refinished brake calipers, carriers, and anti-rattle clips
Under-body exhaust and driveshaft heat shields
Clutch slave cylinder, hard/soft line, hardware
Driveshaft center support bearing, flex disk, and centering sleeve
Shifter carrier bushings and rod joint
July, 2000+ rear wheel carriers
Rear integral links, ball joints, toe arms (Z8), wishbones, sway bar end links, all hardware
Rear wheel speed sensors, wheel bearings, axles
Race car quality alignment
Rear left M5 logo door sill
Re-seal and replace all door vapor barriers
E38 7-series door panel clip gaskets on new E39 clips
BAVSound interior speaker upgrade kit
Repair all door panels
Front door sound deadening foam
Driver’s door lock actuator
Driver’s latch striker
As I mentioned before, this article will be updated as things change. Stay tuned, and feel free to leave me some comments or feedback!
2000 BMW E39 M5 WBSDE9349YBZ95540
Production: Thursday, February 3rd, 2000
Color: Silverstone Metallic
Interior: Sport: Silverstone Extended with Titan-Line Trim, Alcantara Headliner
Factory Options: Split-fold Lockable Rear Seat with Ski Bag
Rear Park Distance Control
Total Suggested Retail Price: $72,895
